PERSONAL WORK (work in progress)
Actual progress (clic on the steps to see the renders) :
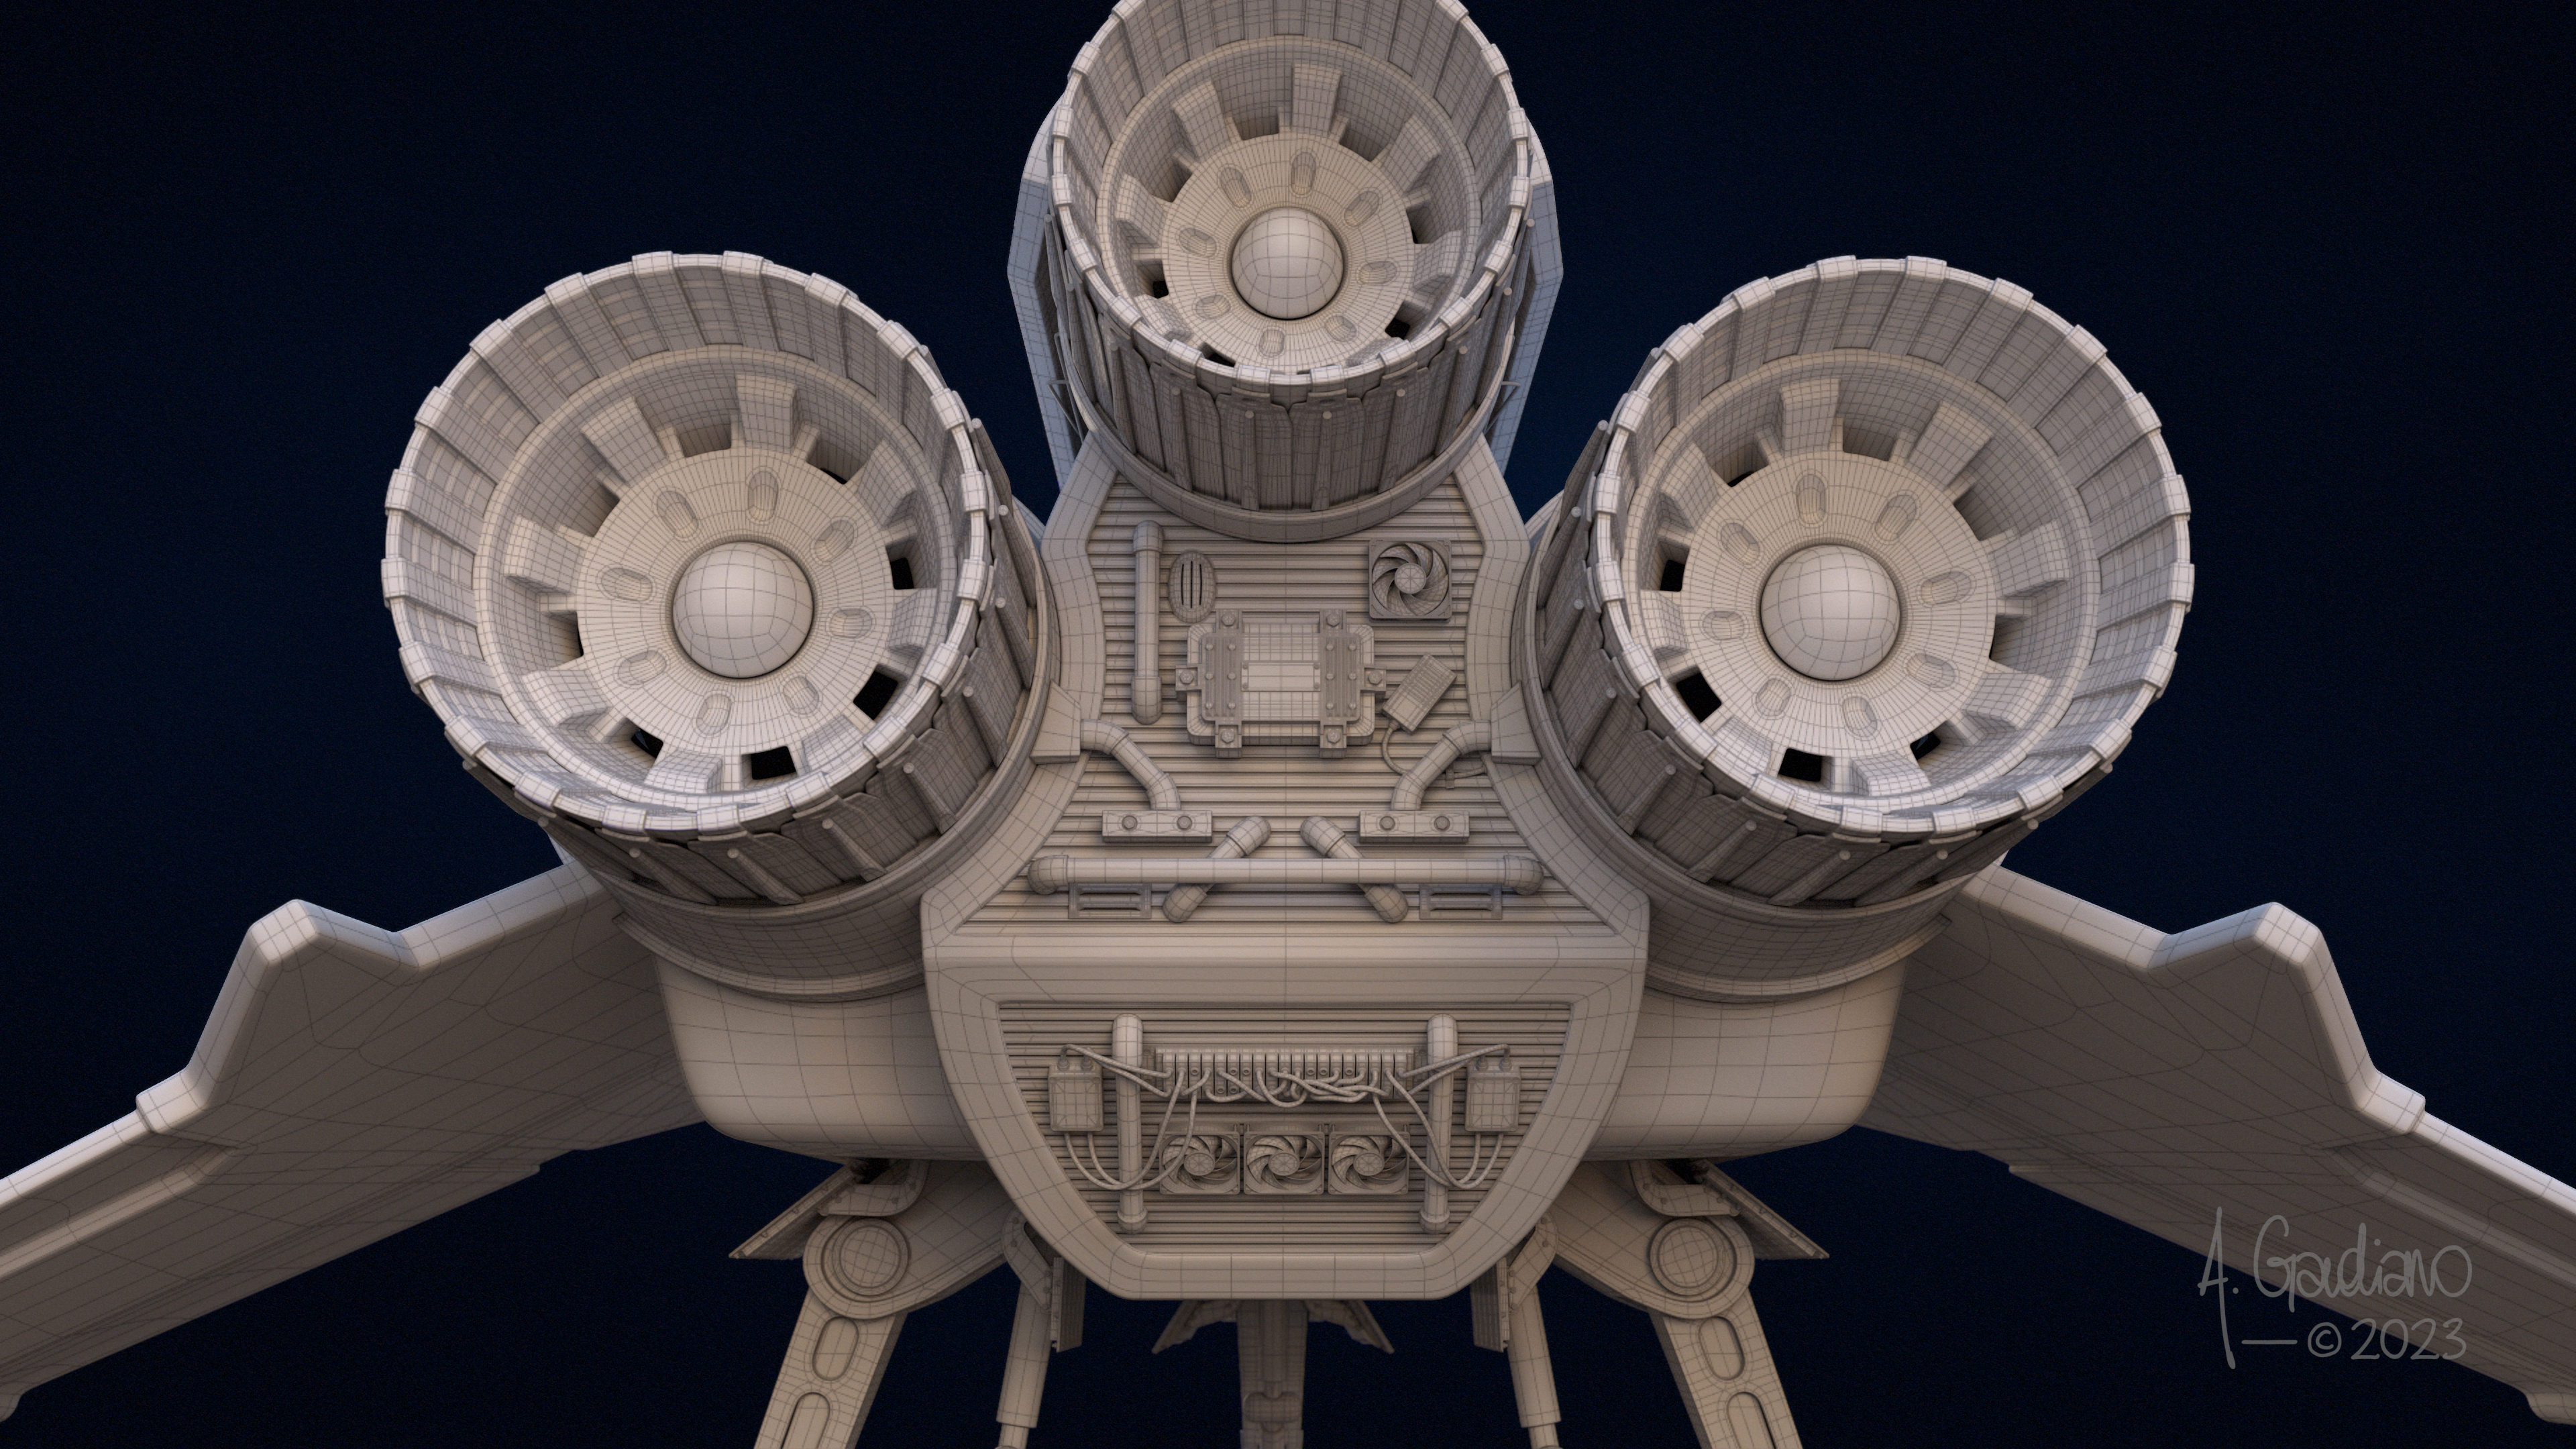
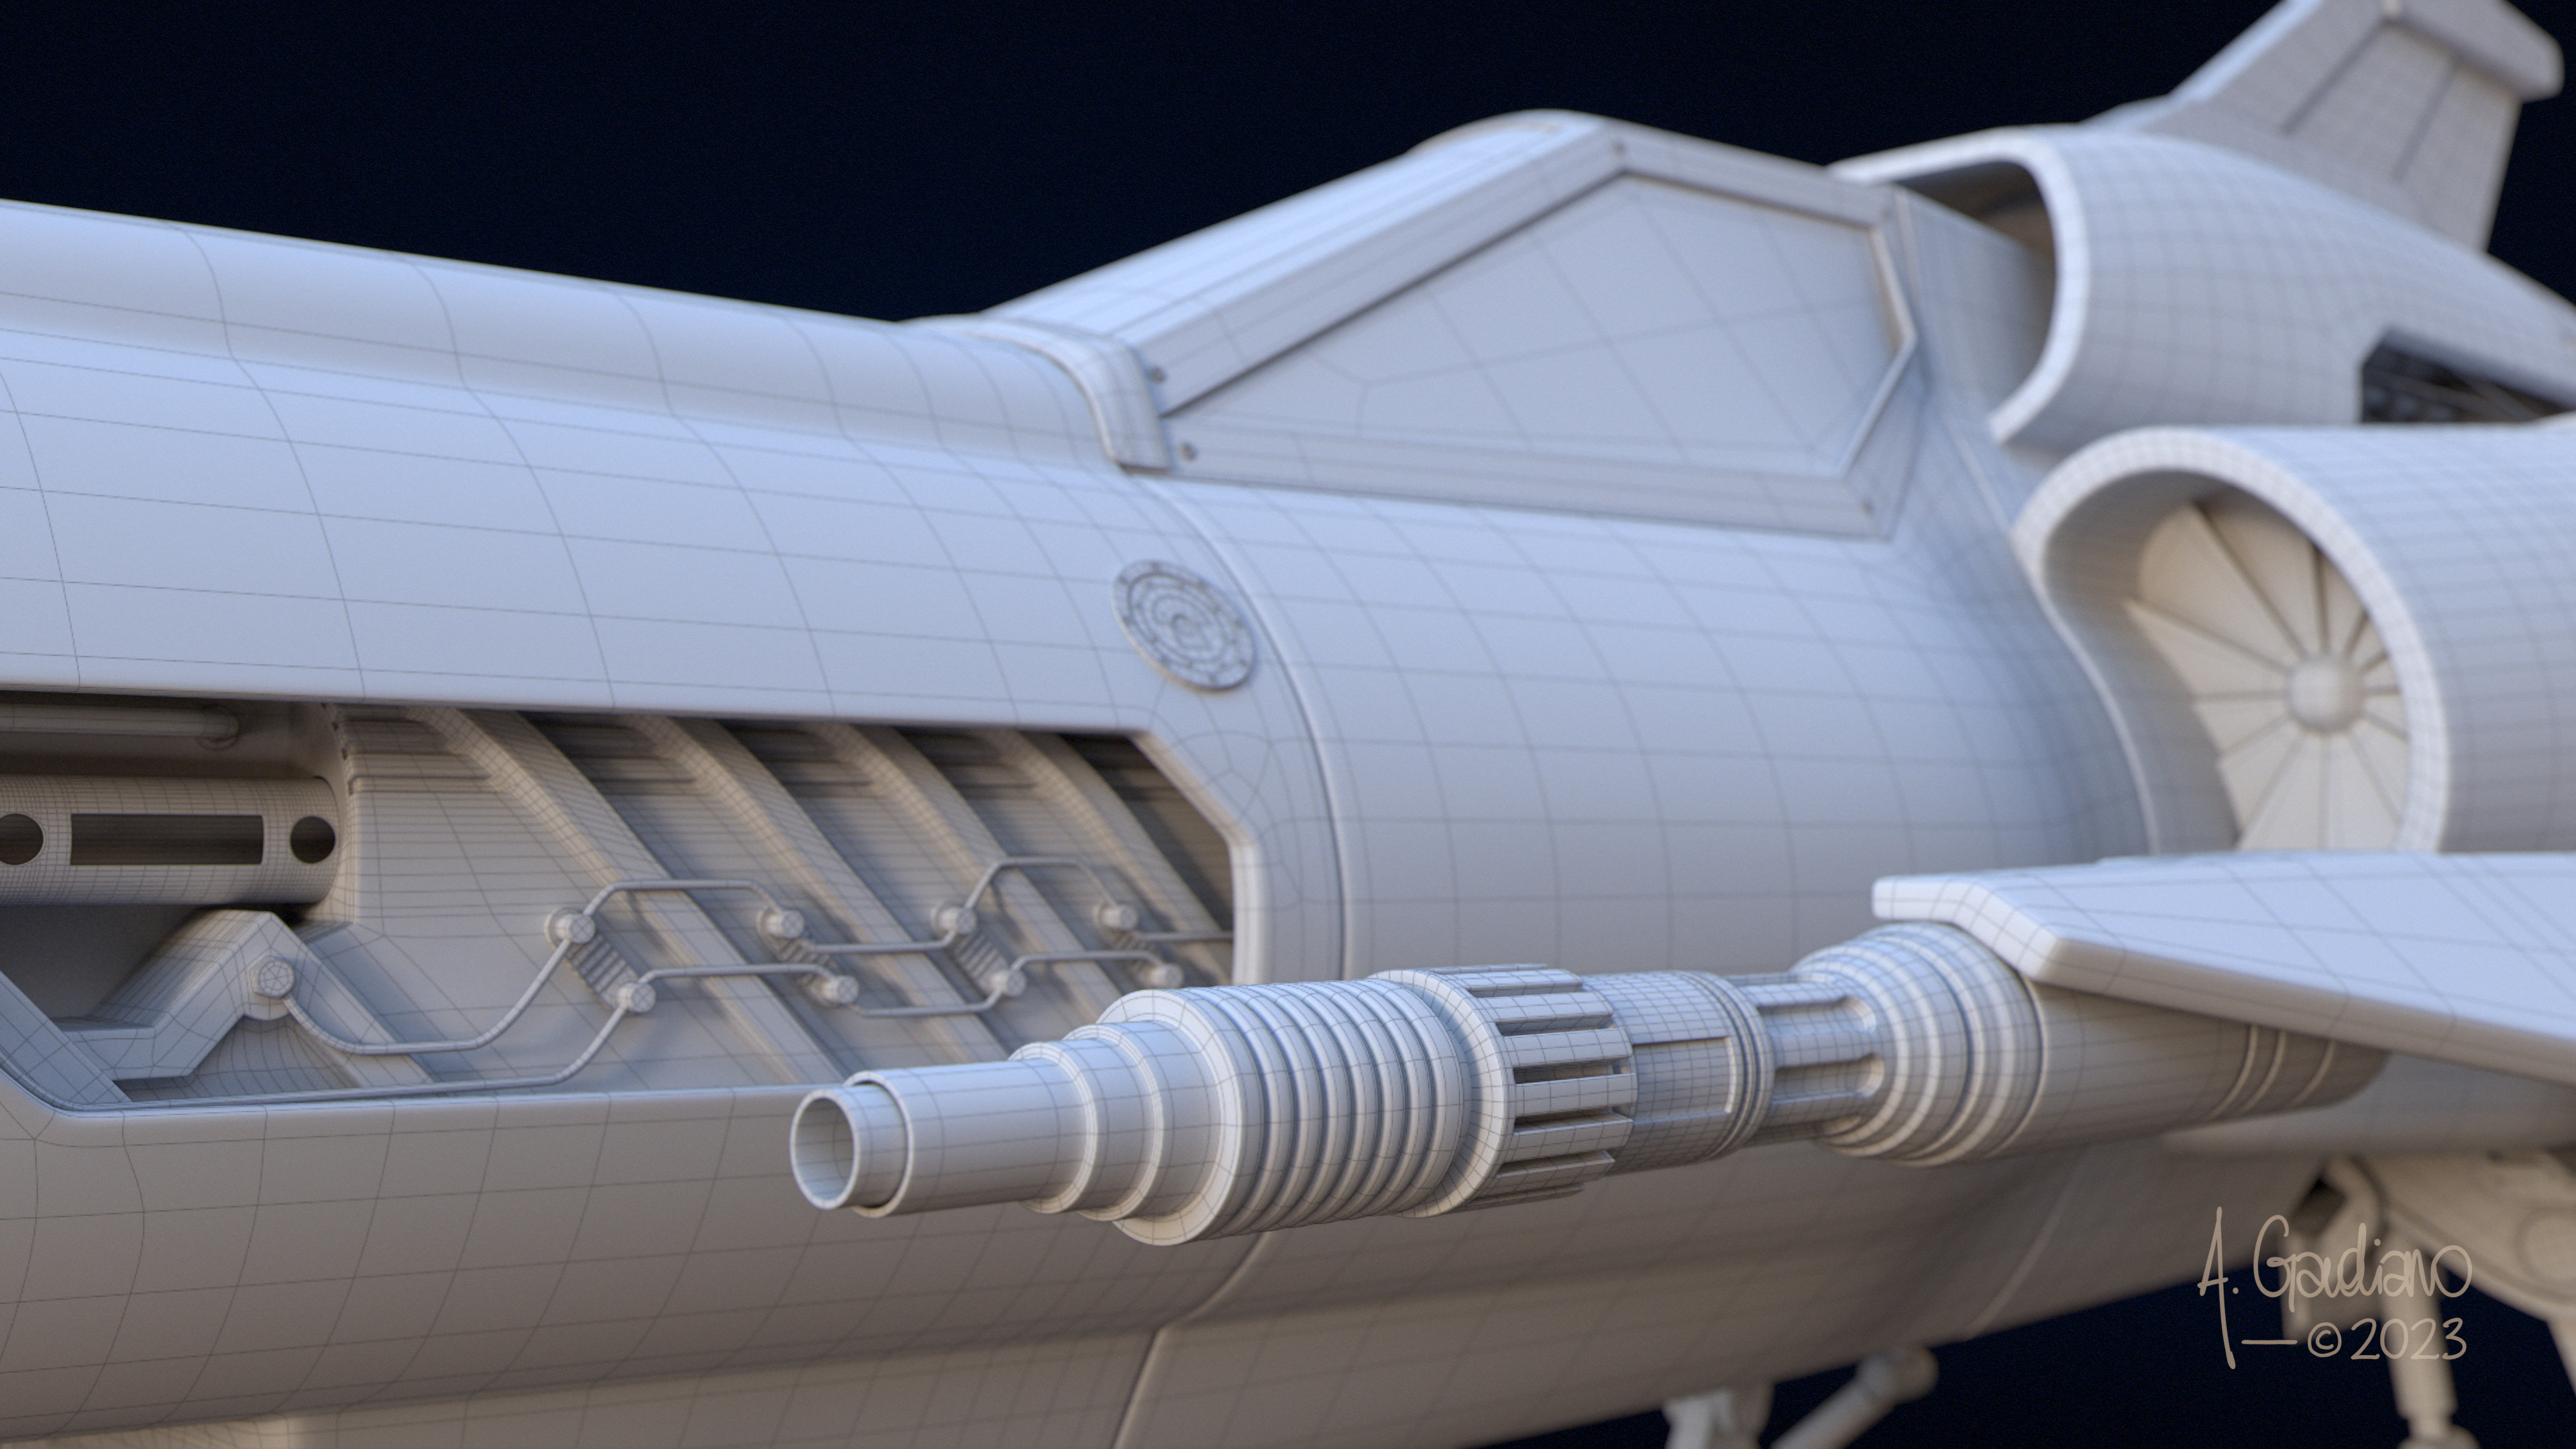
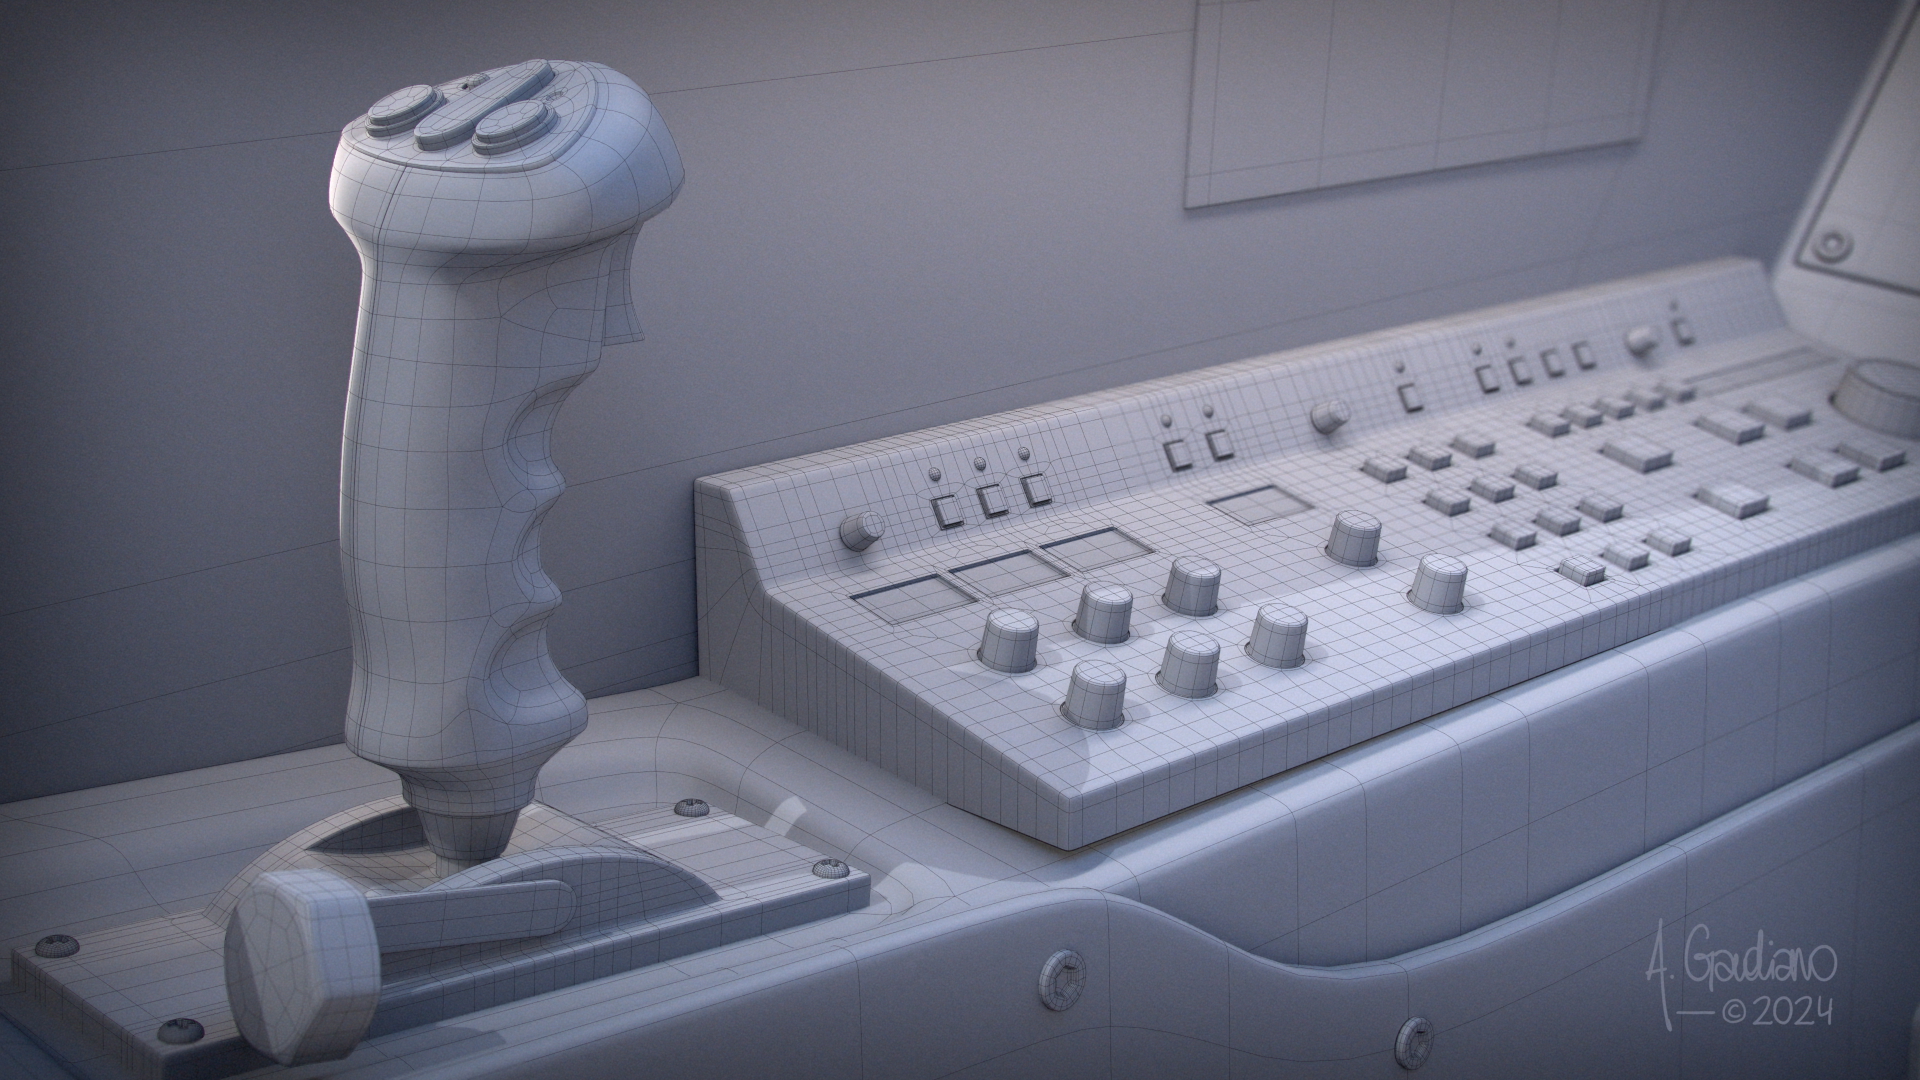
#1 [x] Modeling – Outside Body | Wireframes
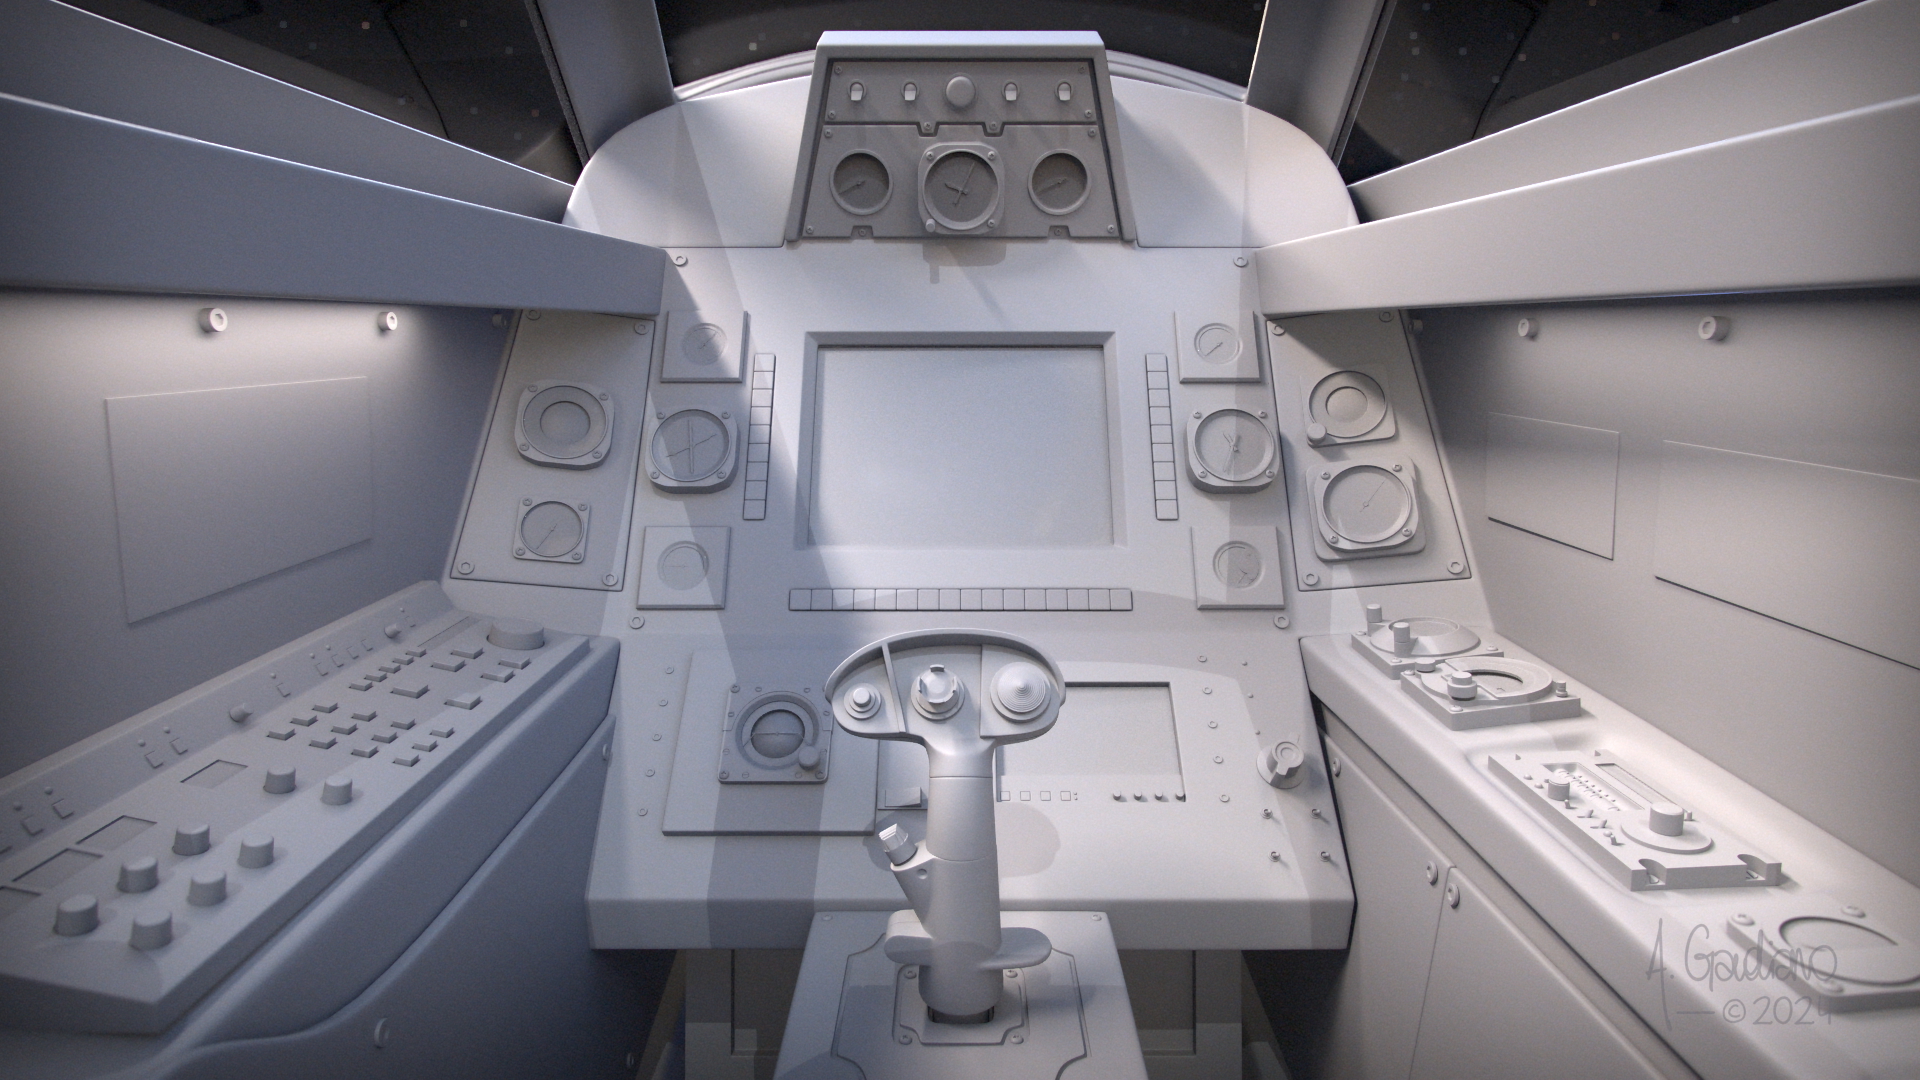
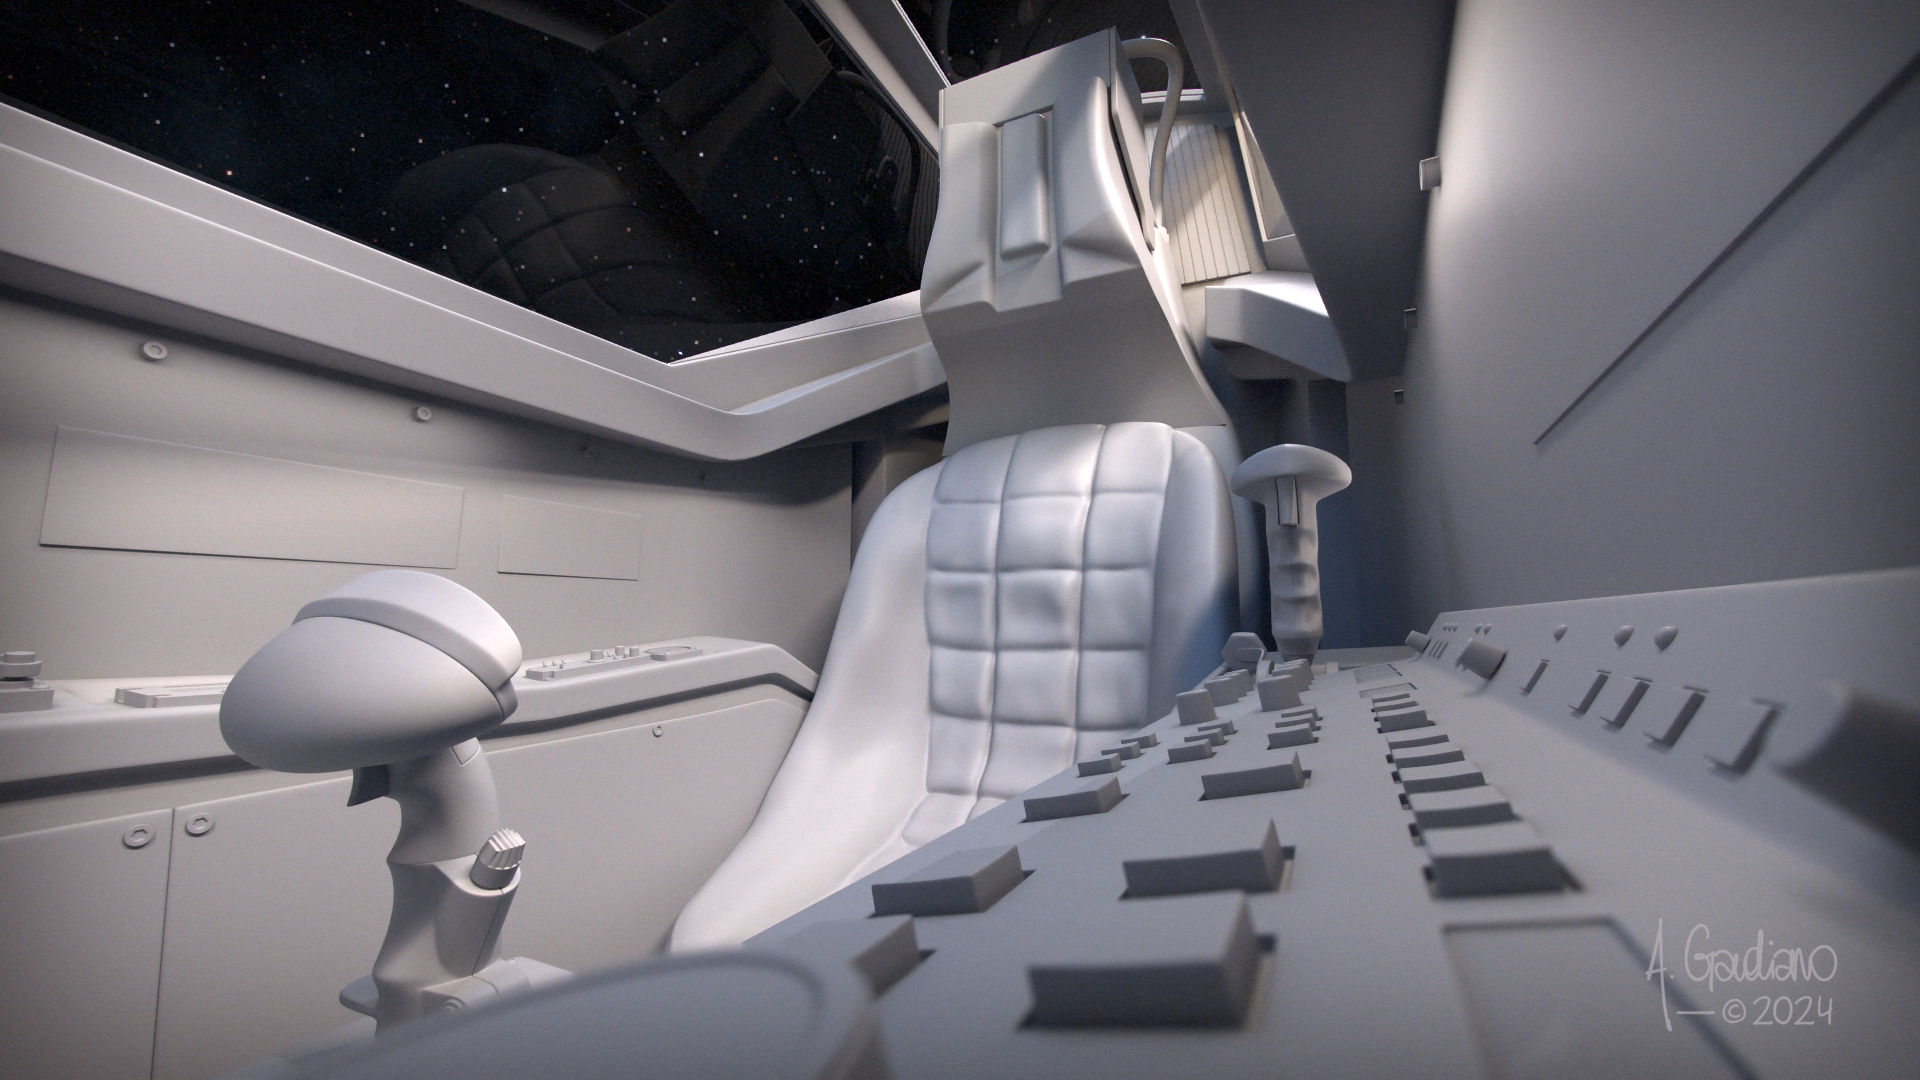
#2 [x] Modeling – Inside Cockpit | Wireframes
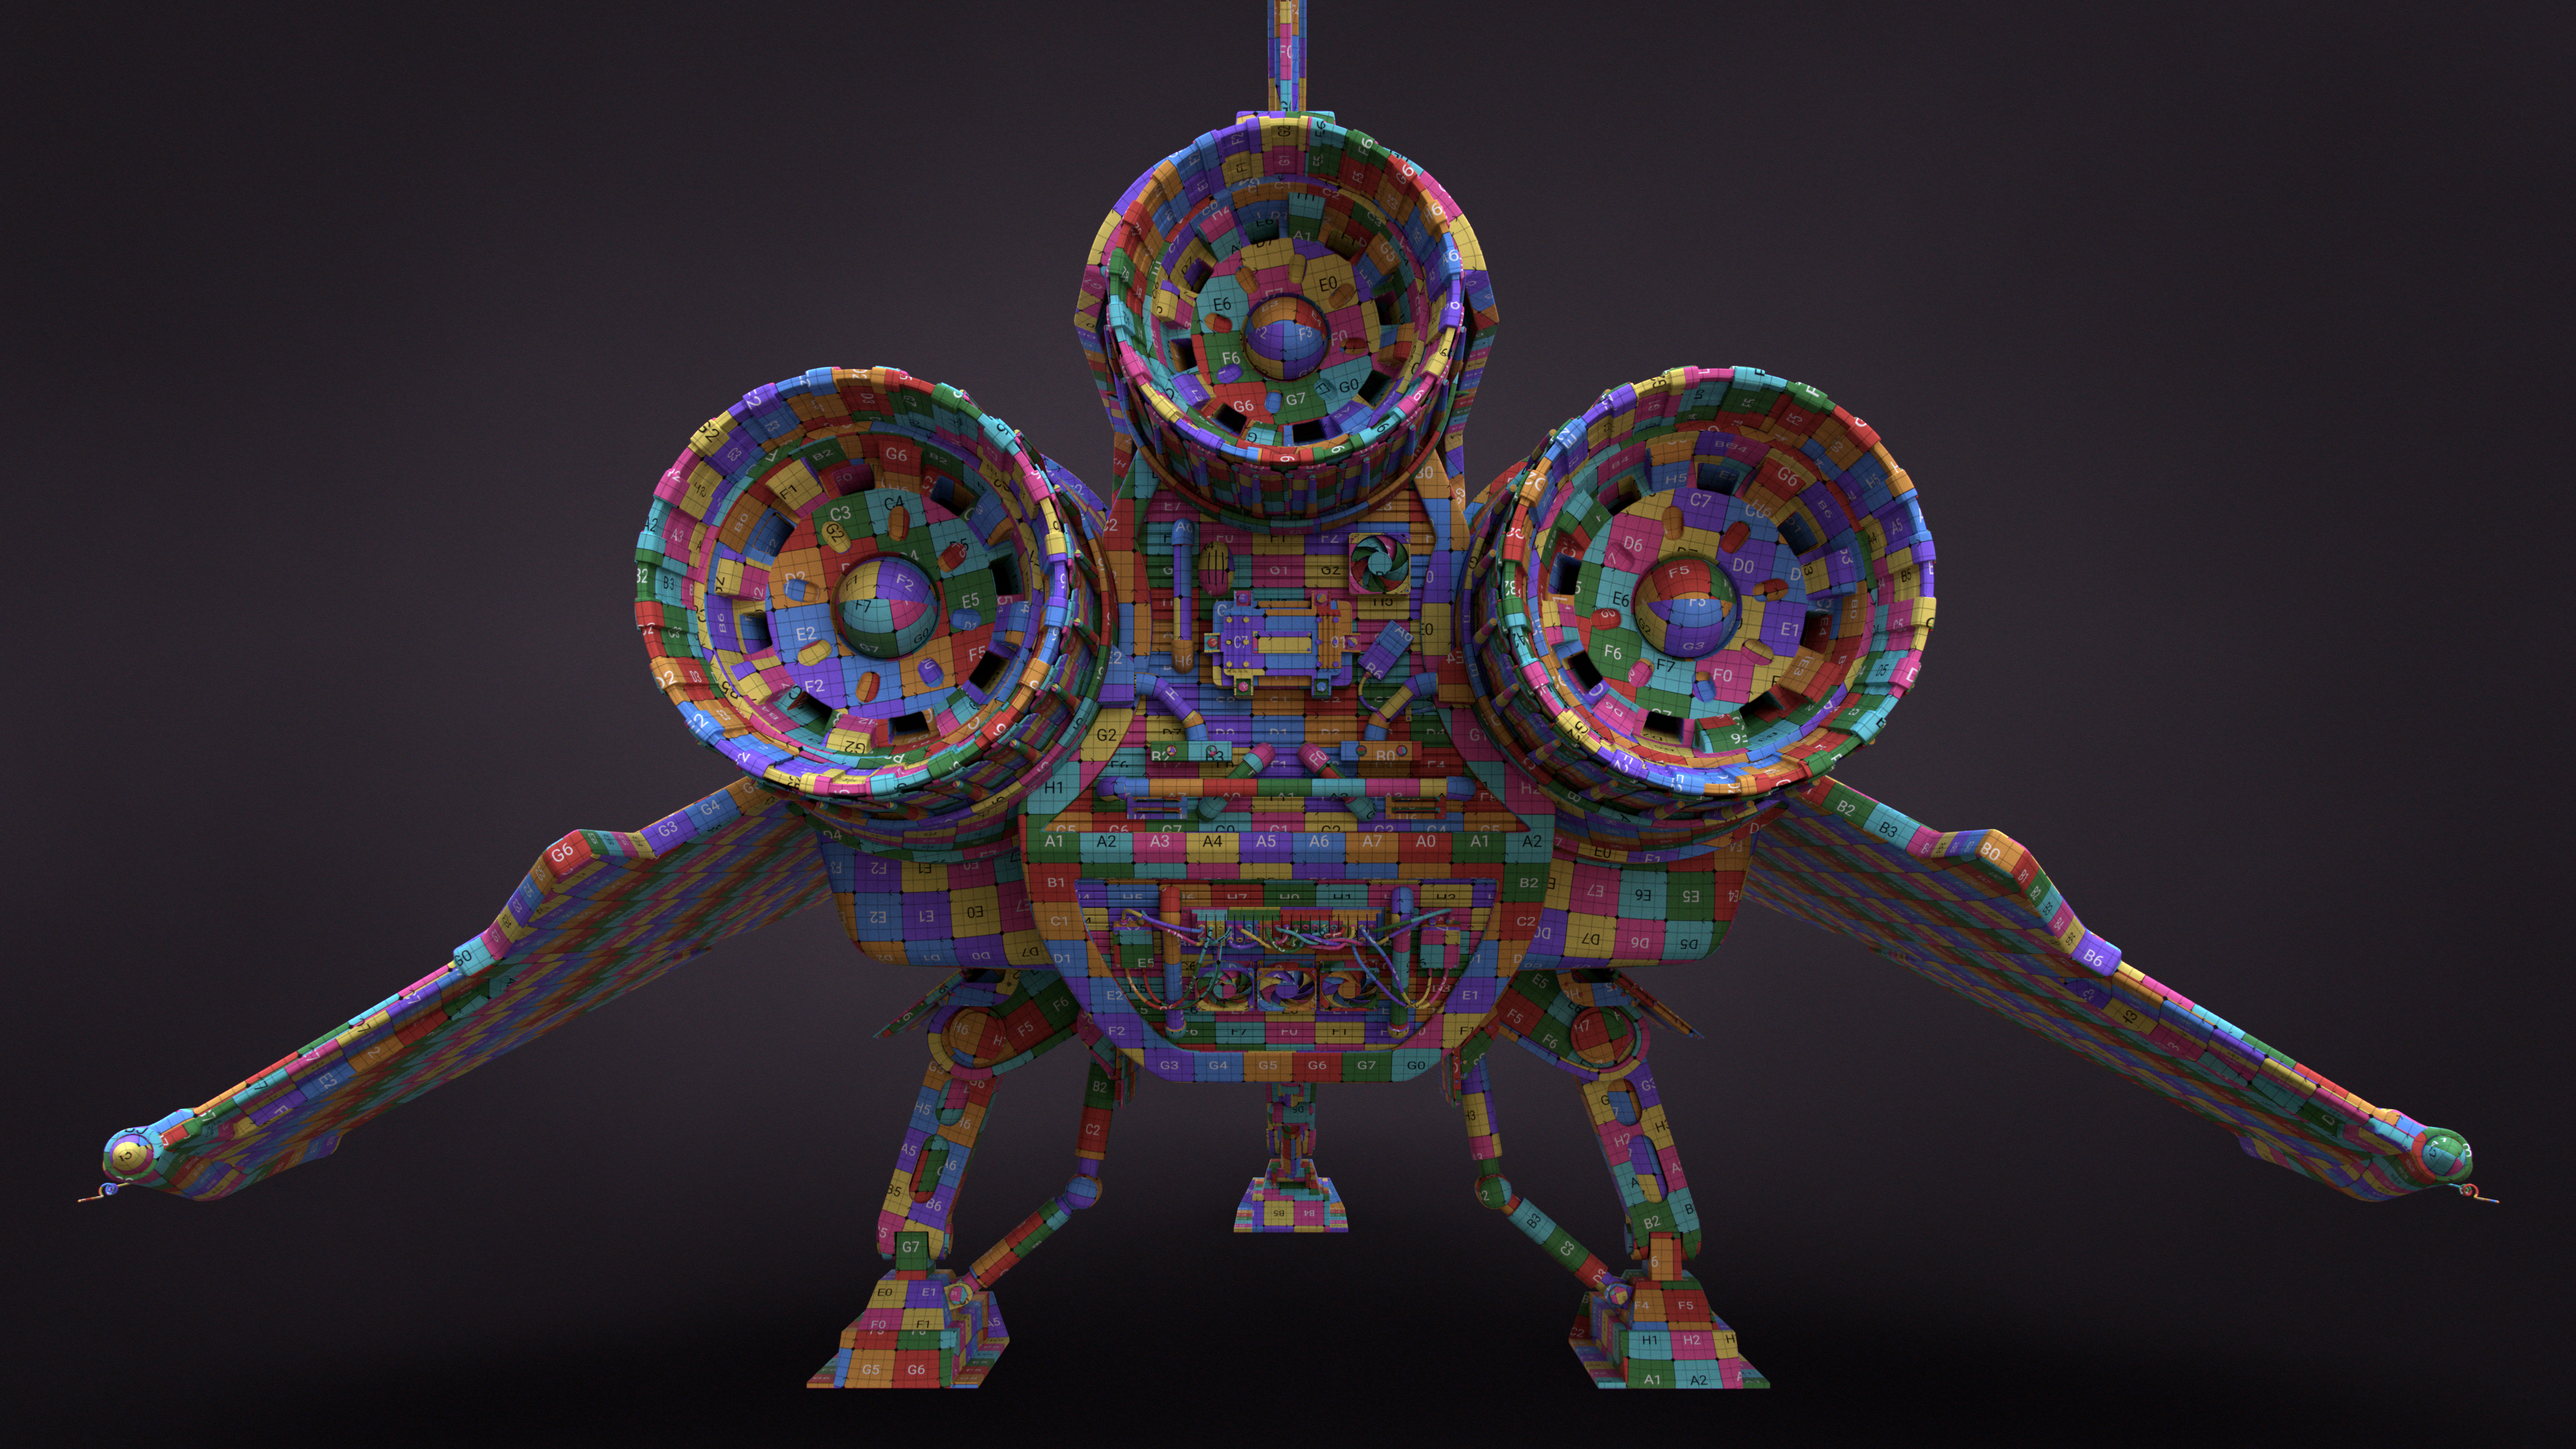
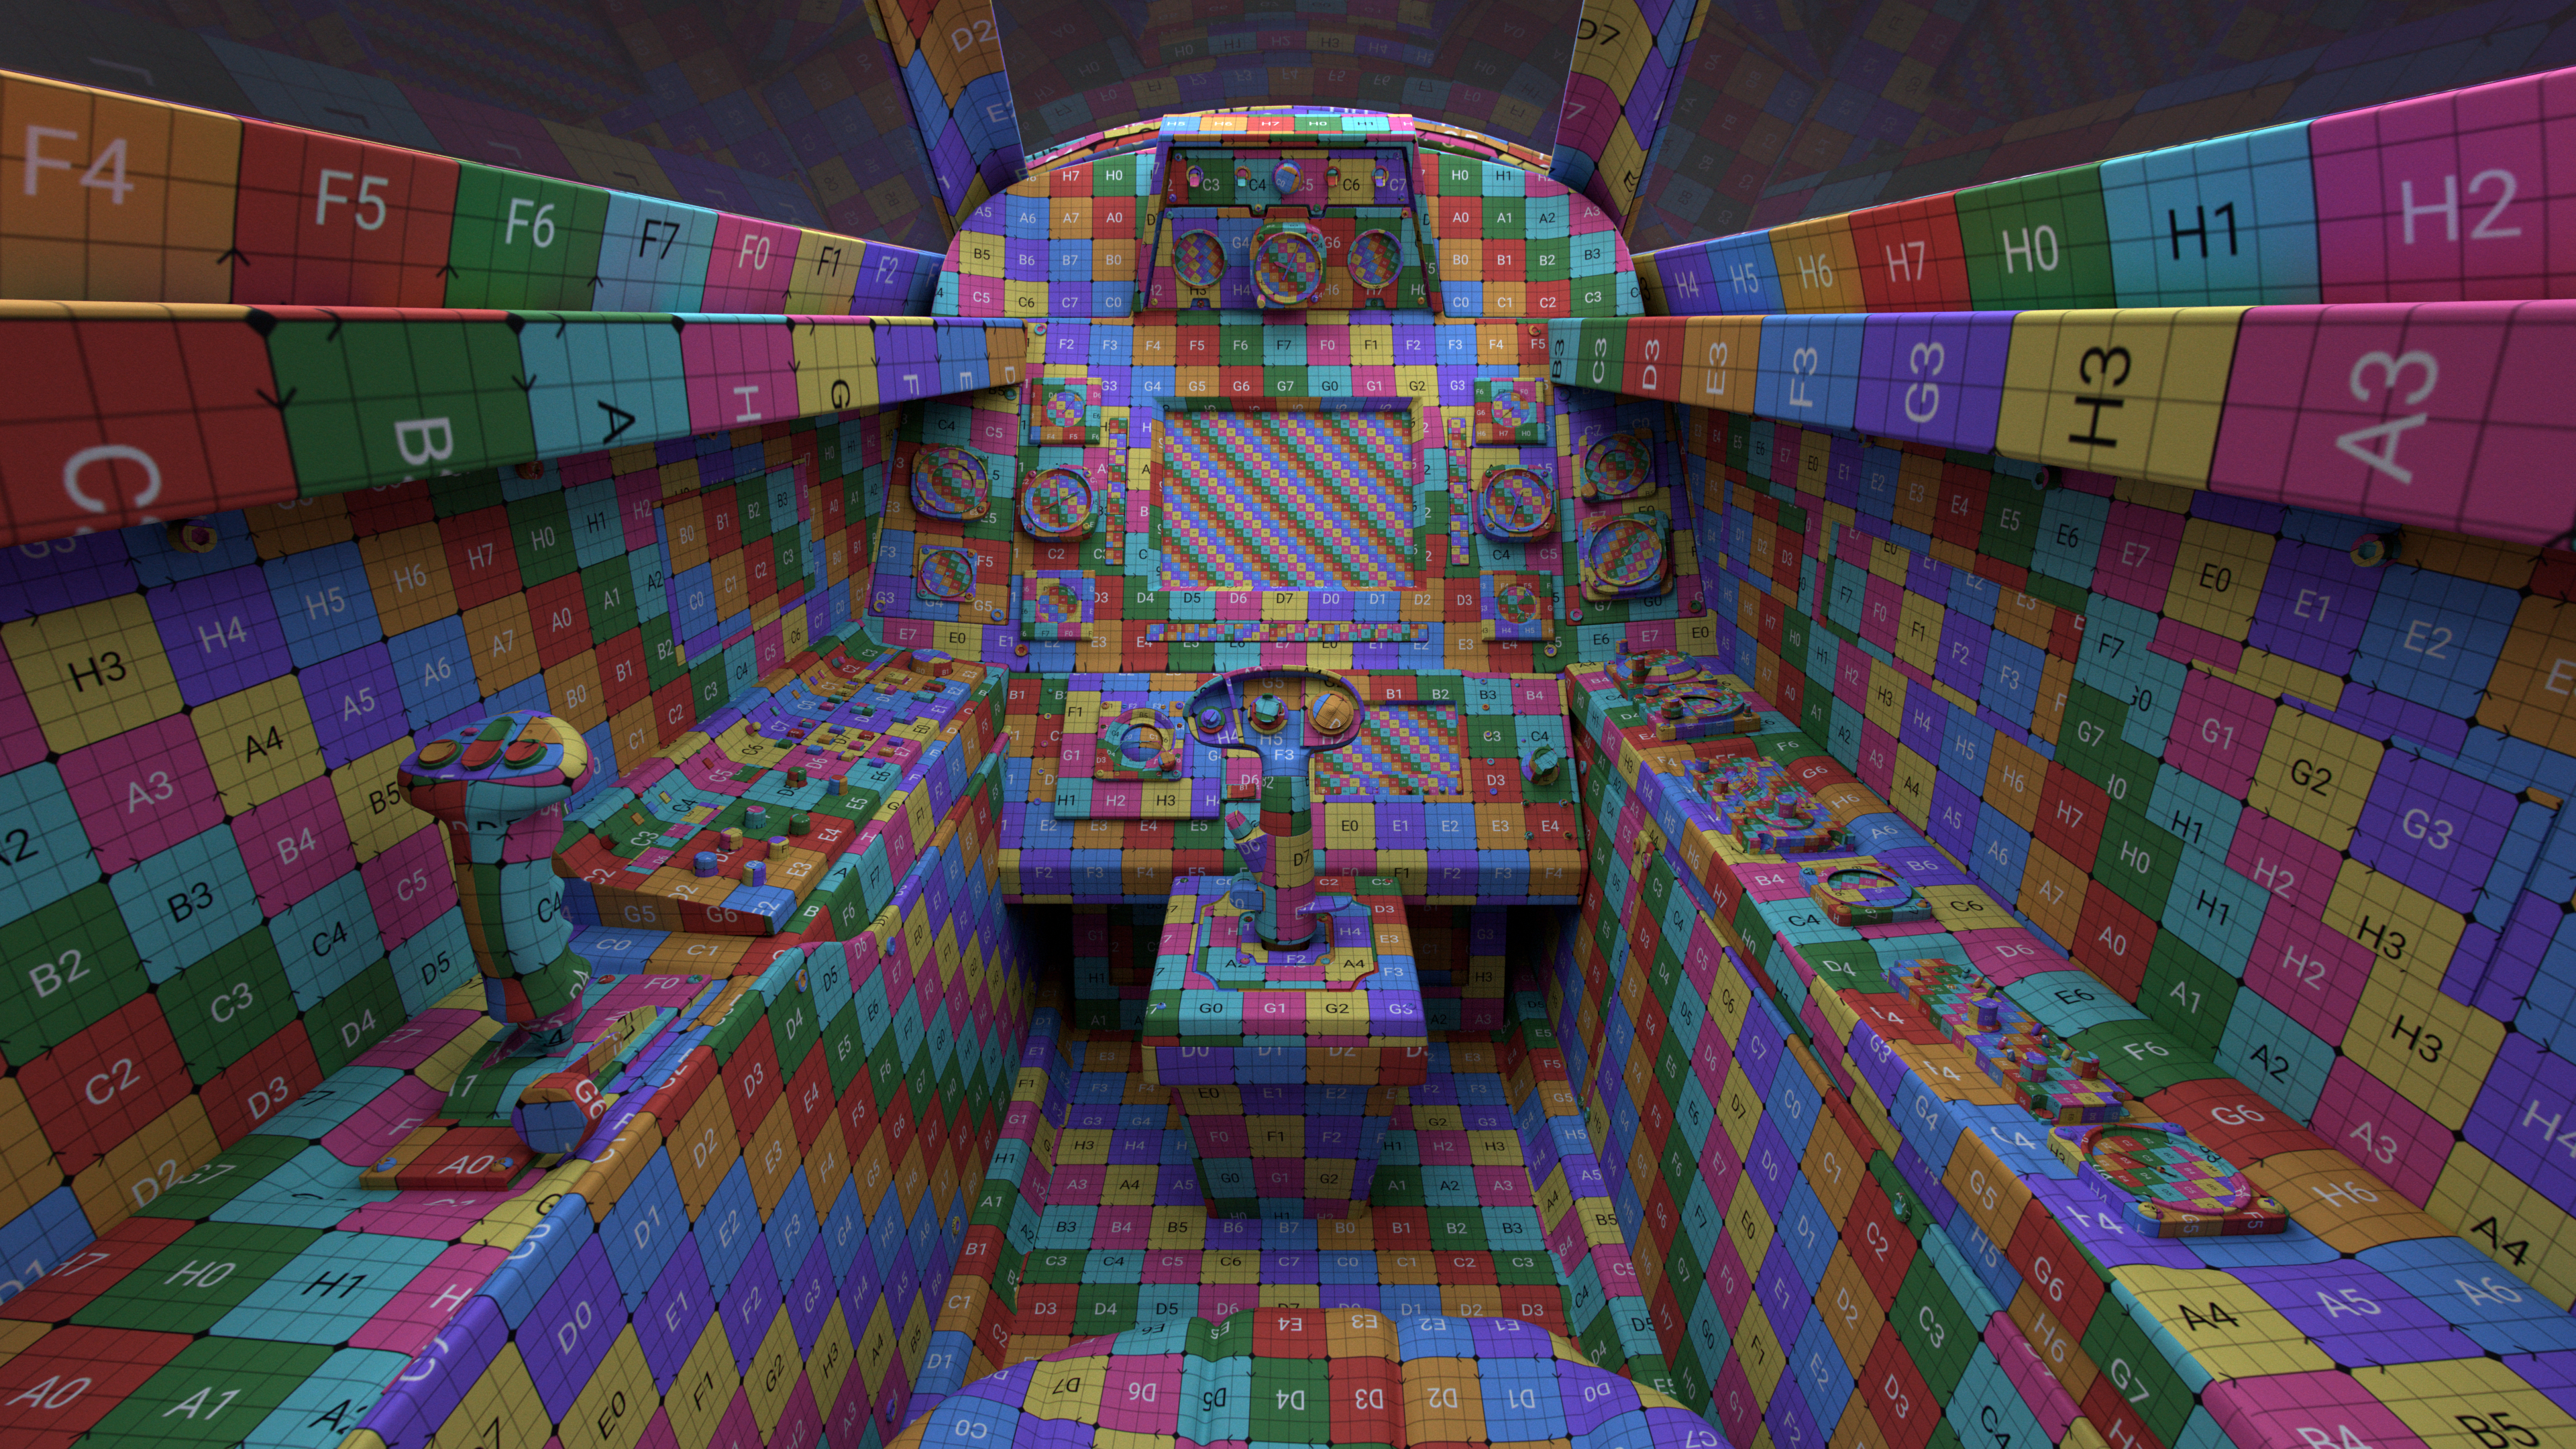
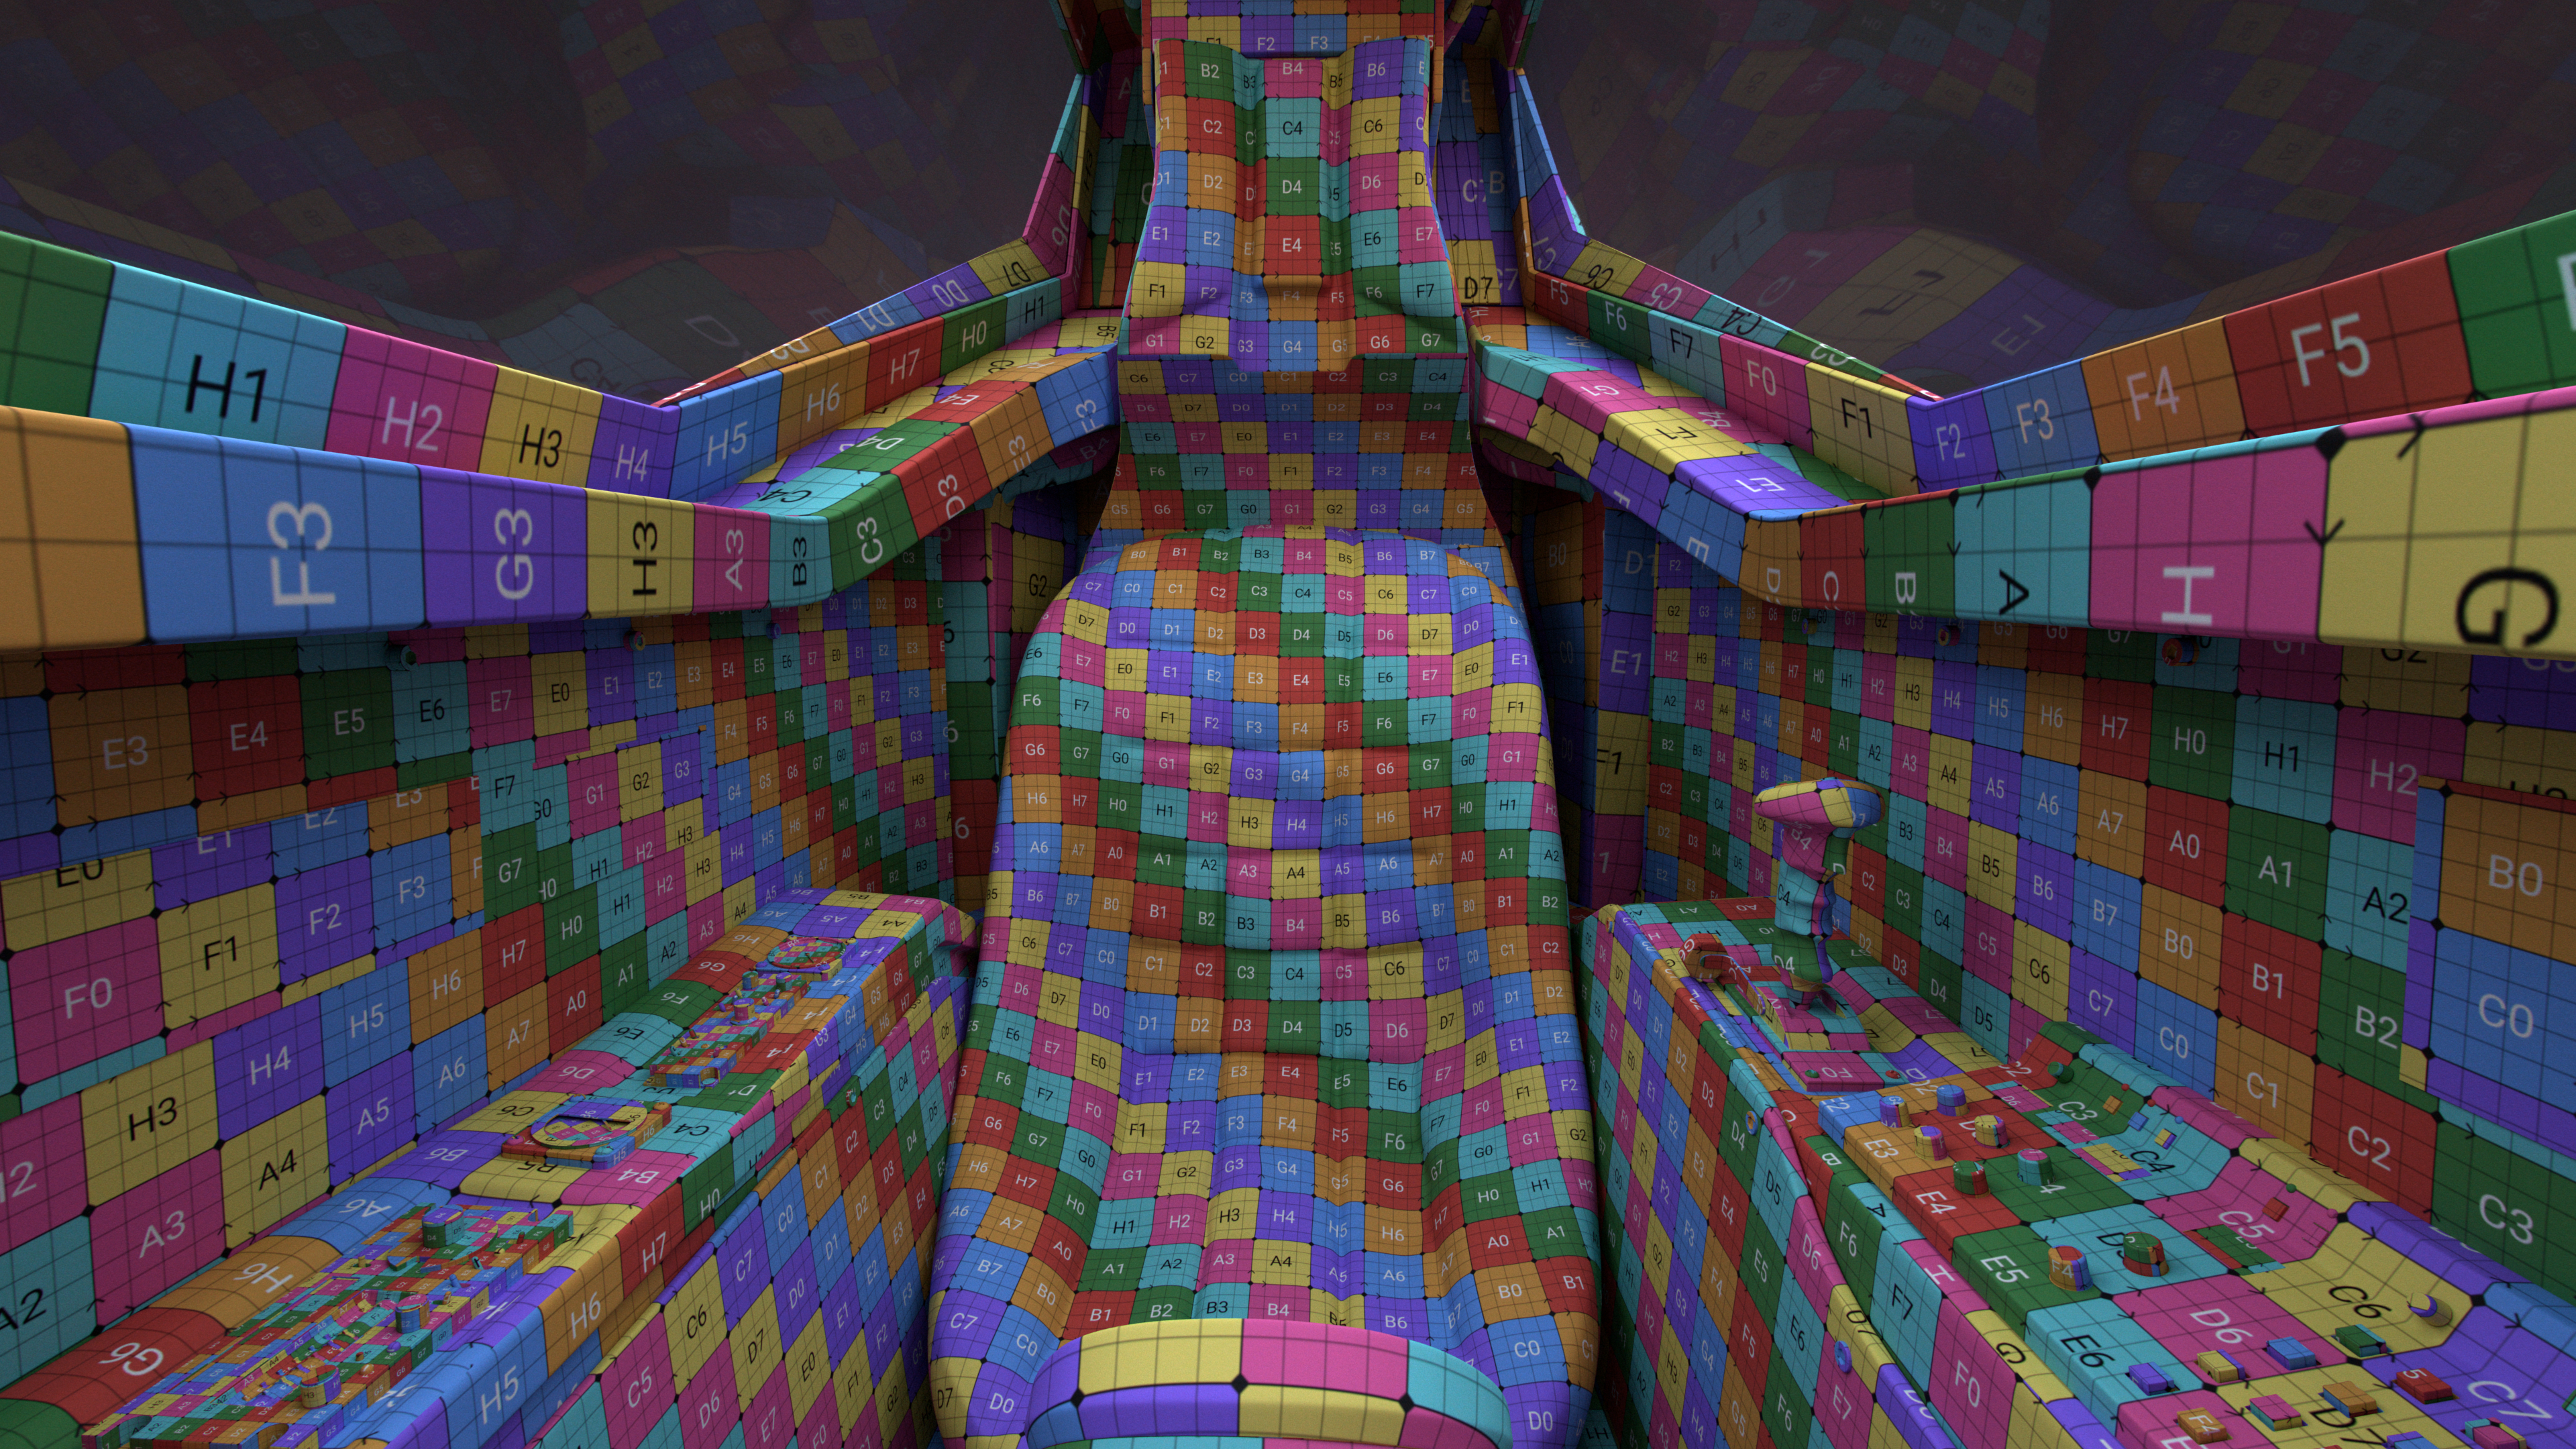
#3 [x] UVs
#4 [x] Texturing / Shading
#5 [] Lighting
#6 [] Rendering
#7 [] Compositing
#1 – 23.01.2023 (text from the Artstation’s post)
Here is the first WIP of this project I started a few months ago. Doing it during my spare time and having a little one, it’s pretty hard to find some, but I try my best… even if it goes a bit slower than I would like.
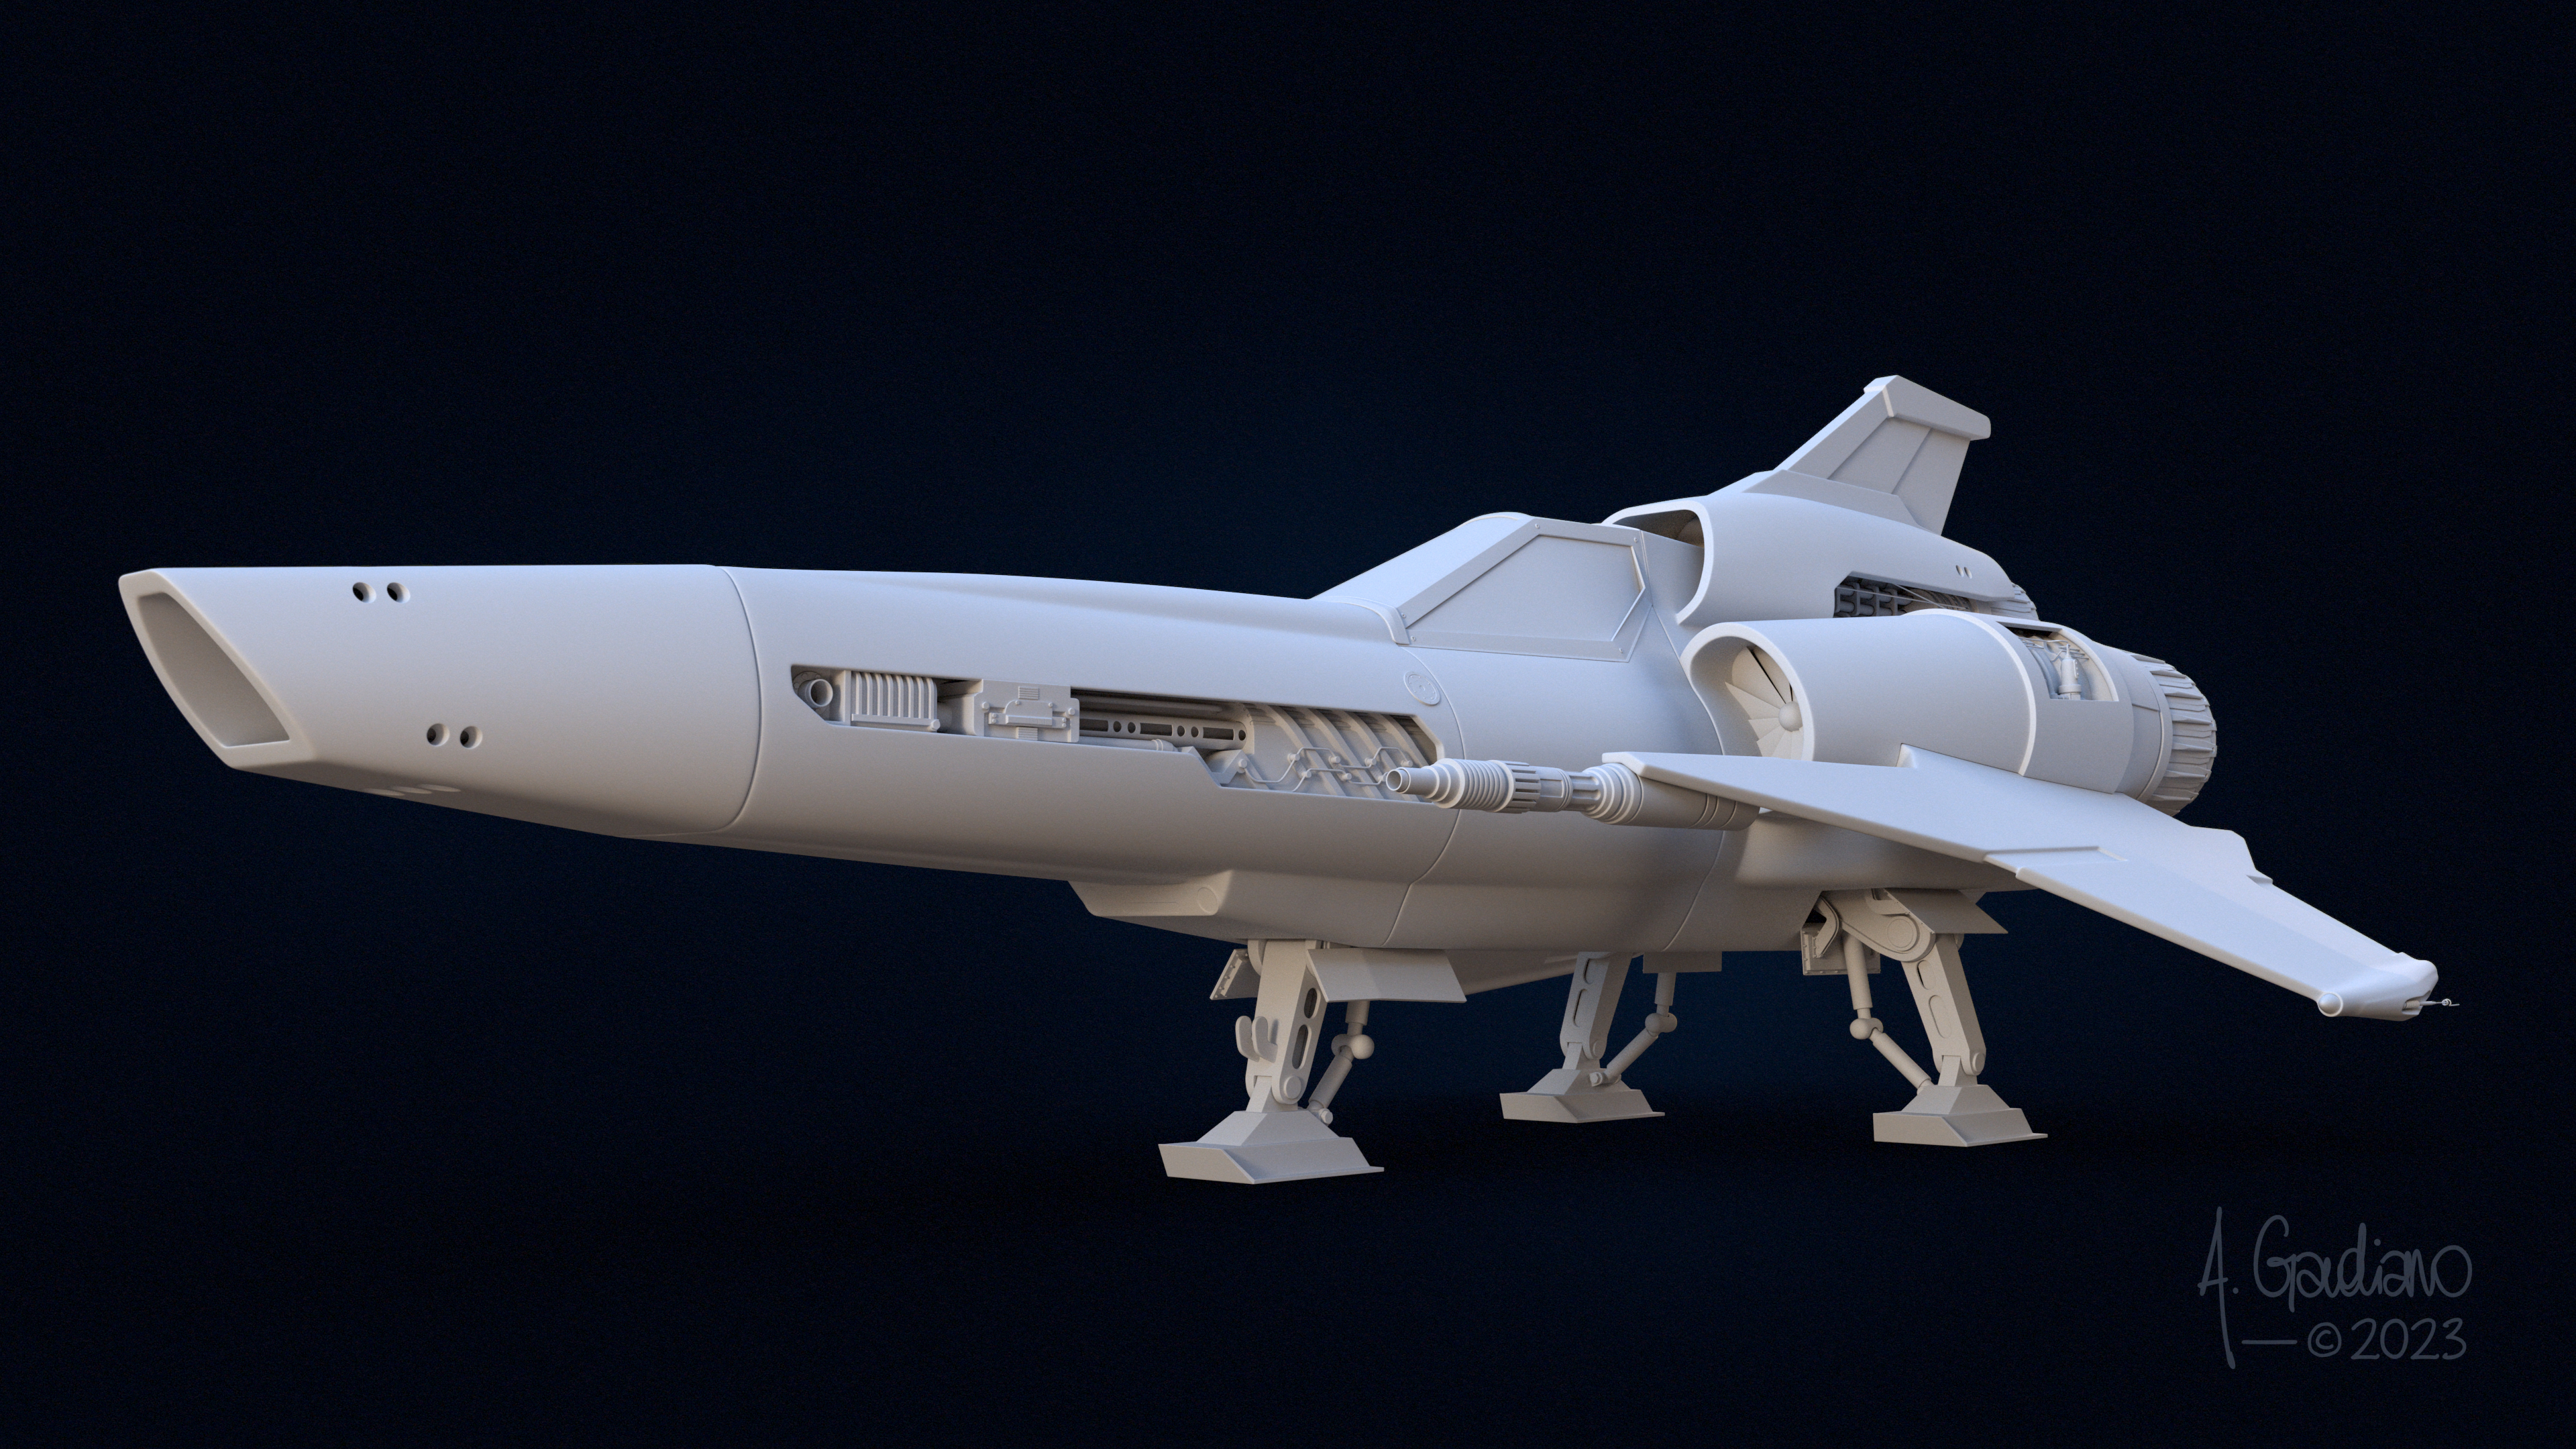
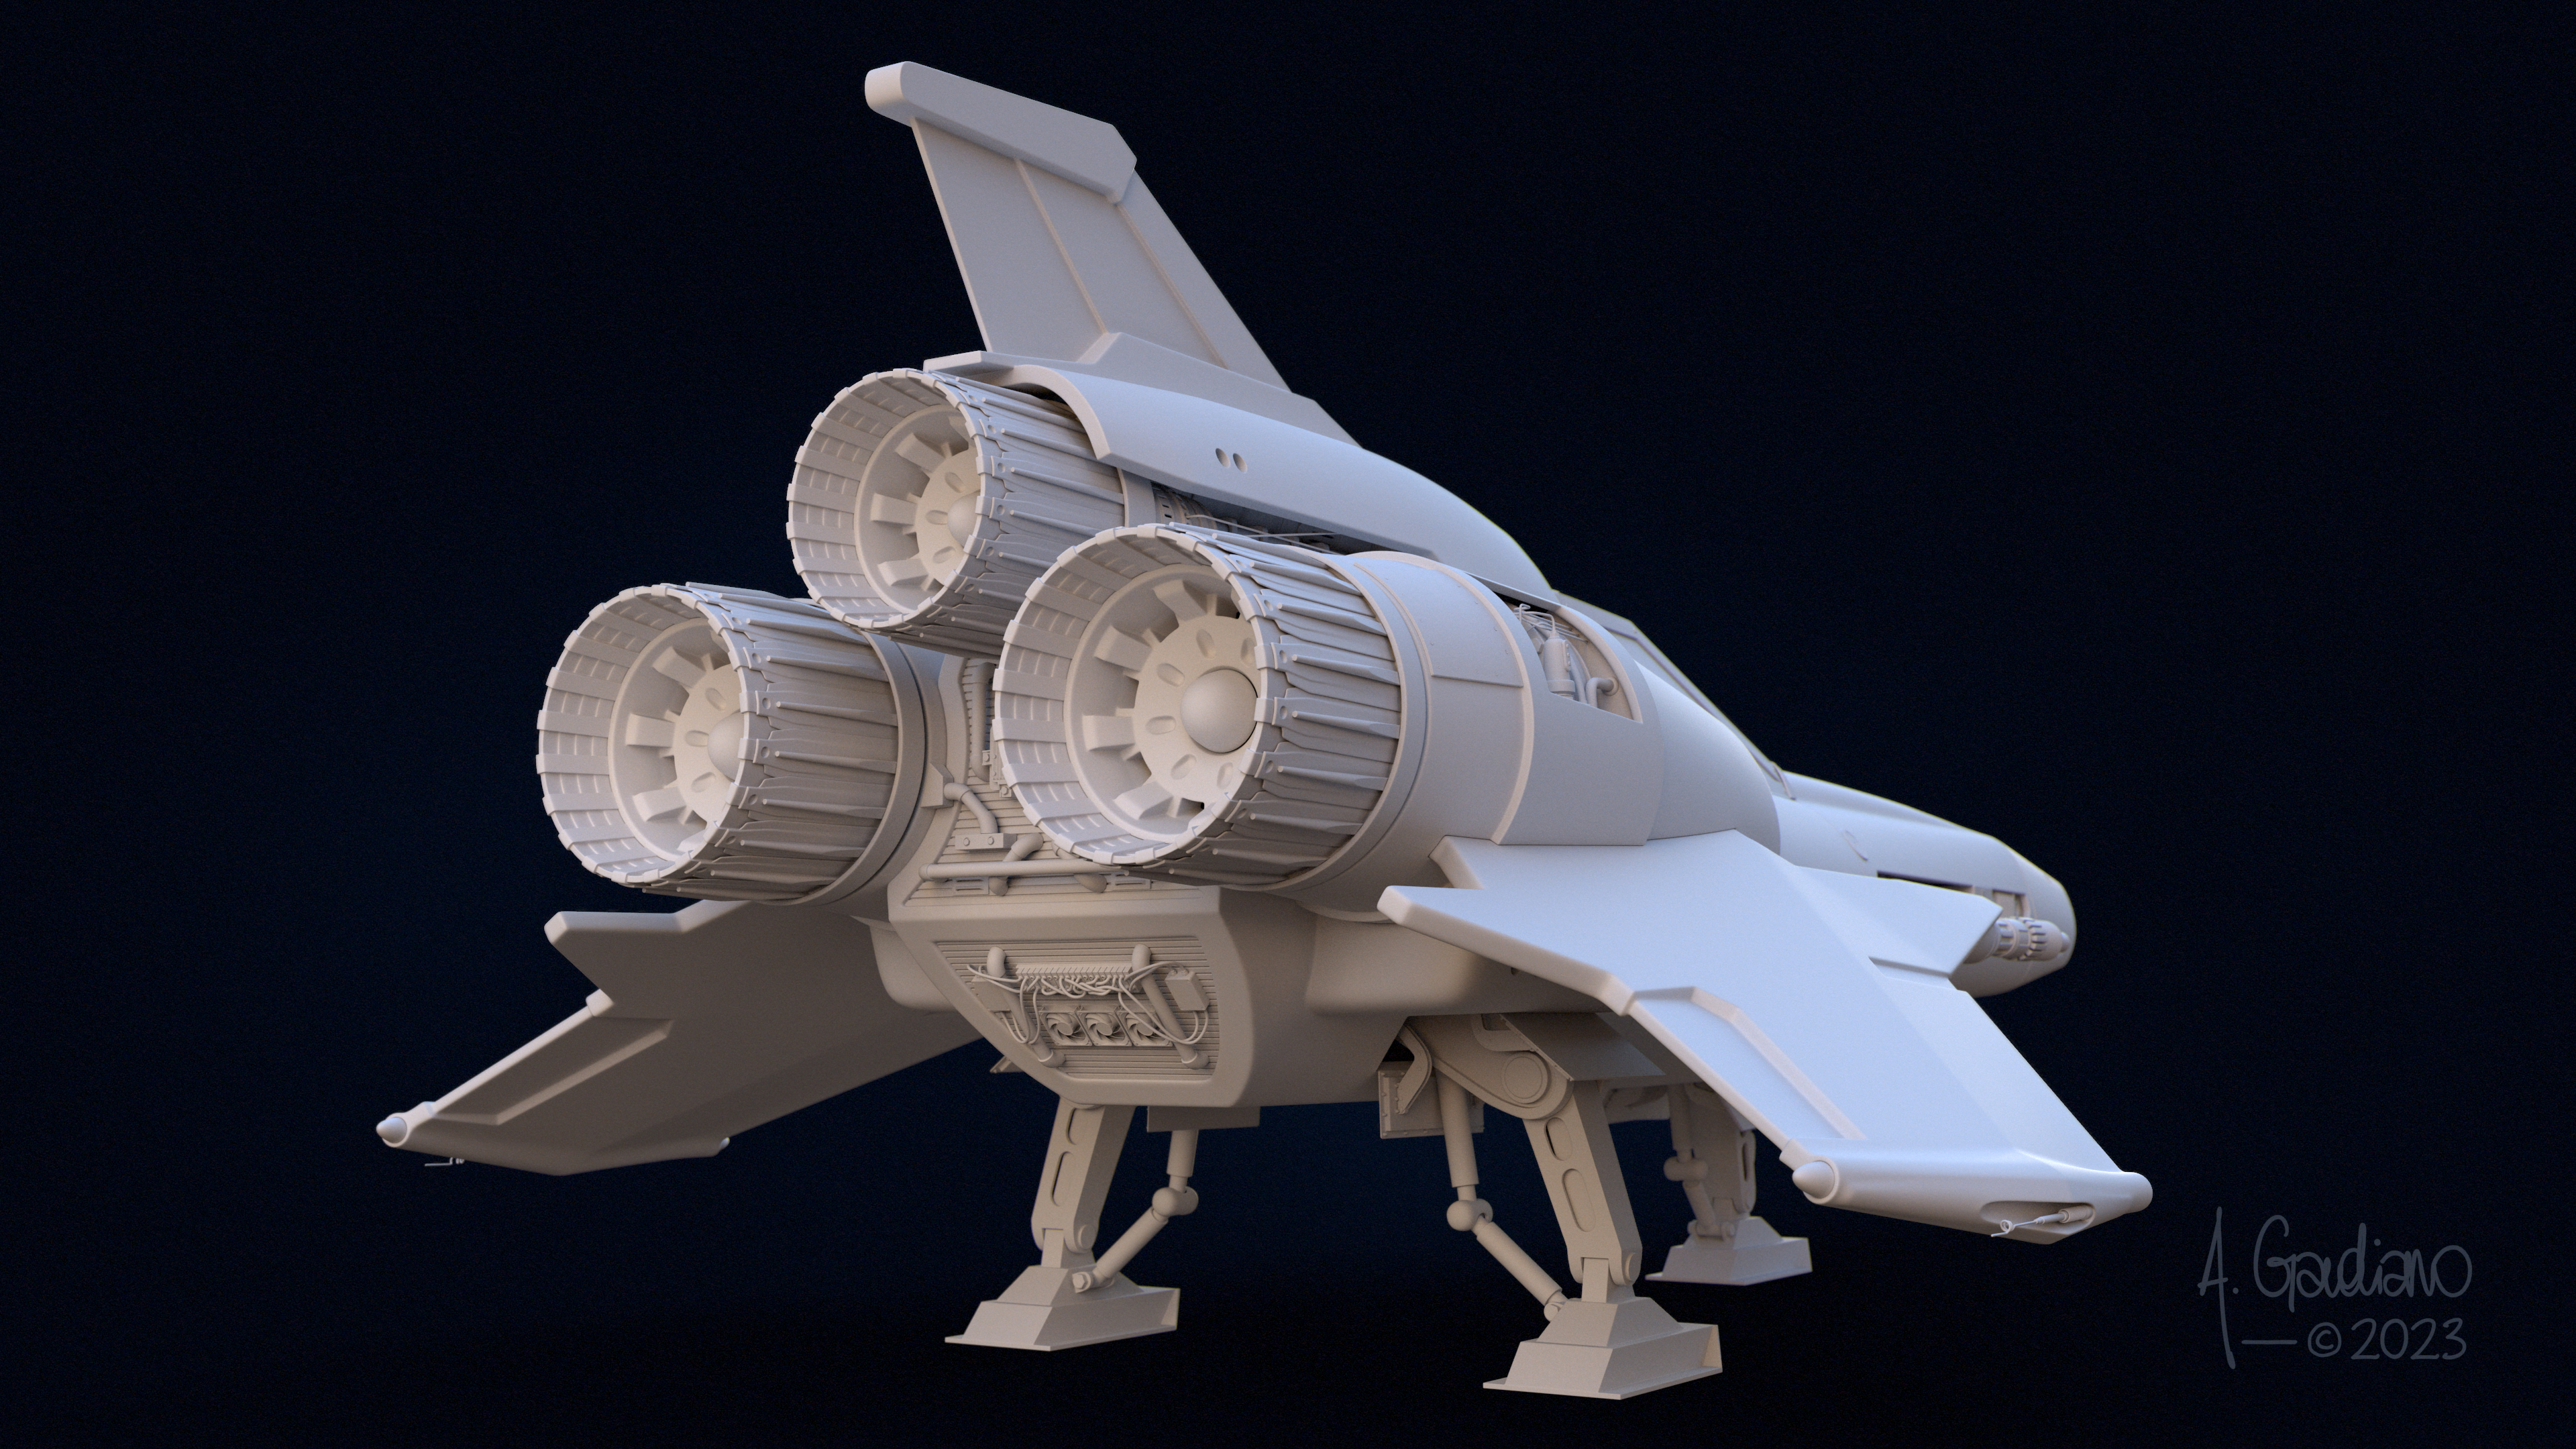
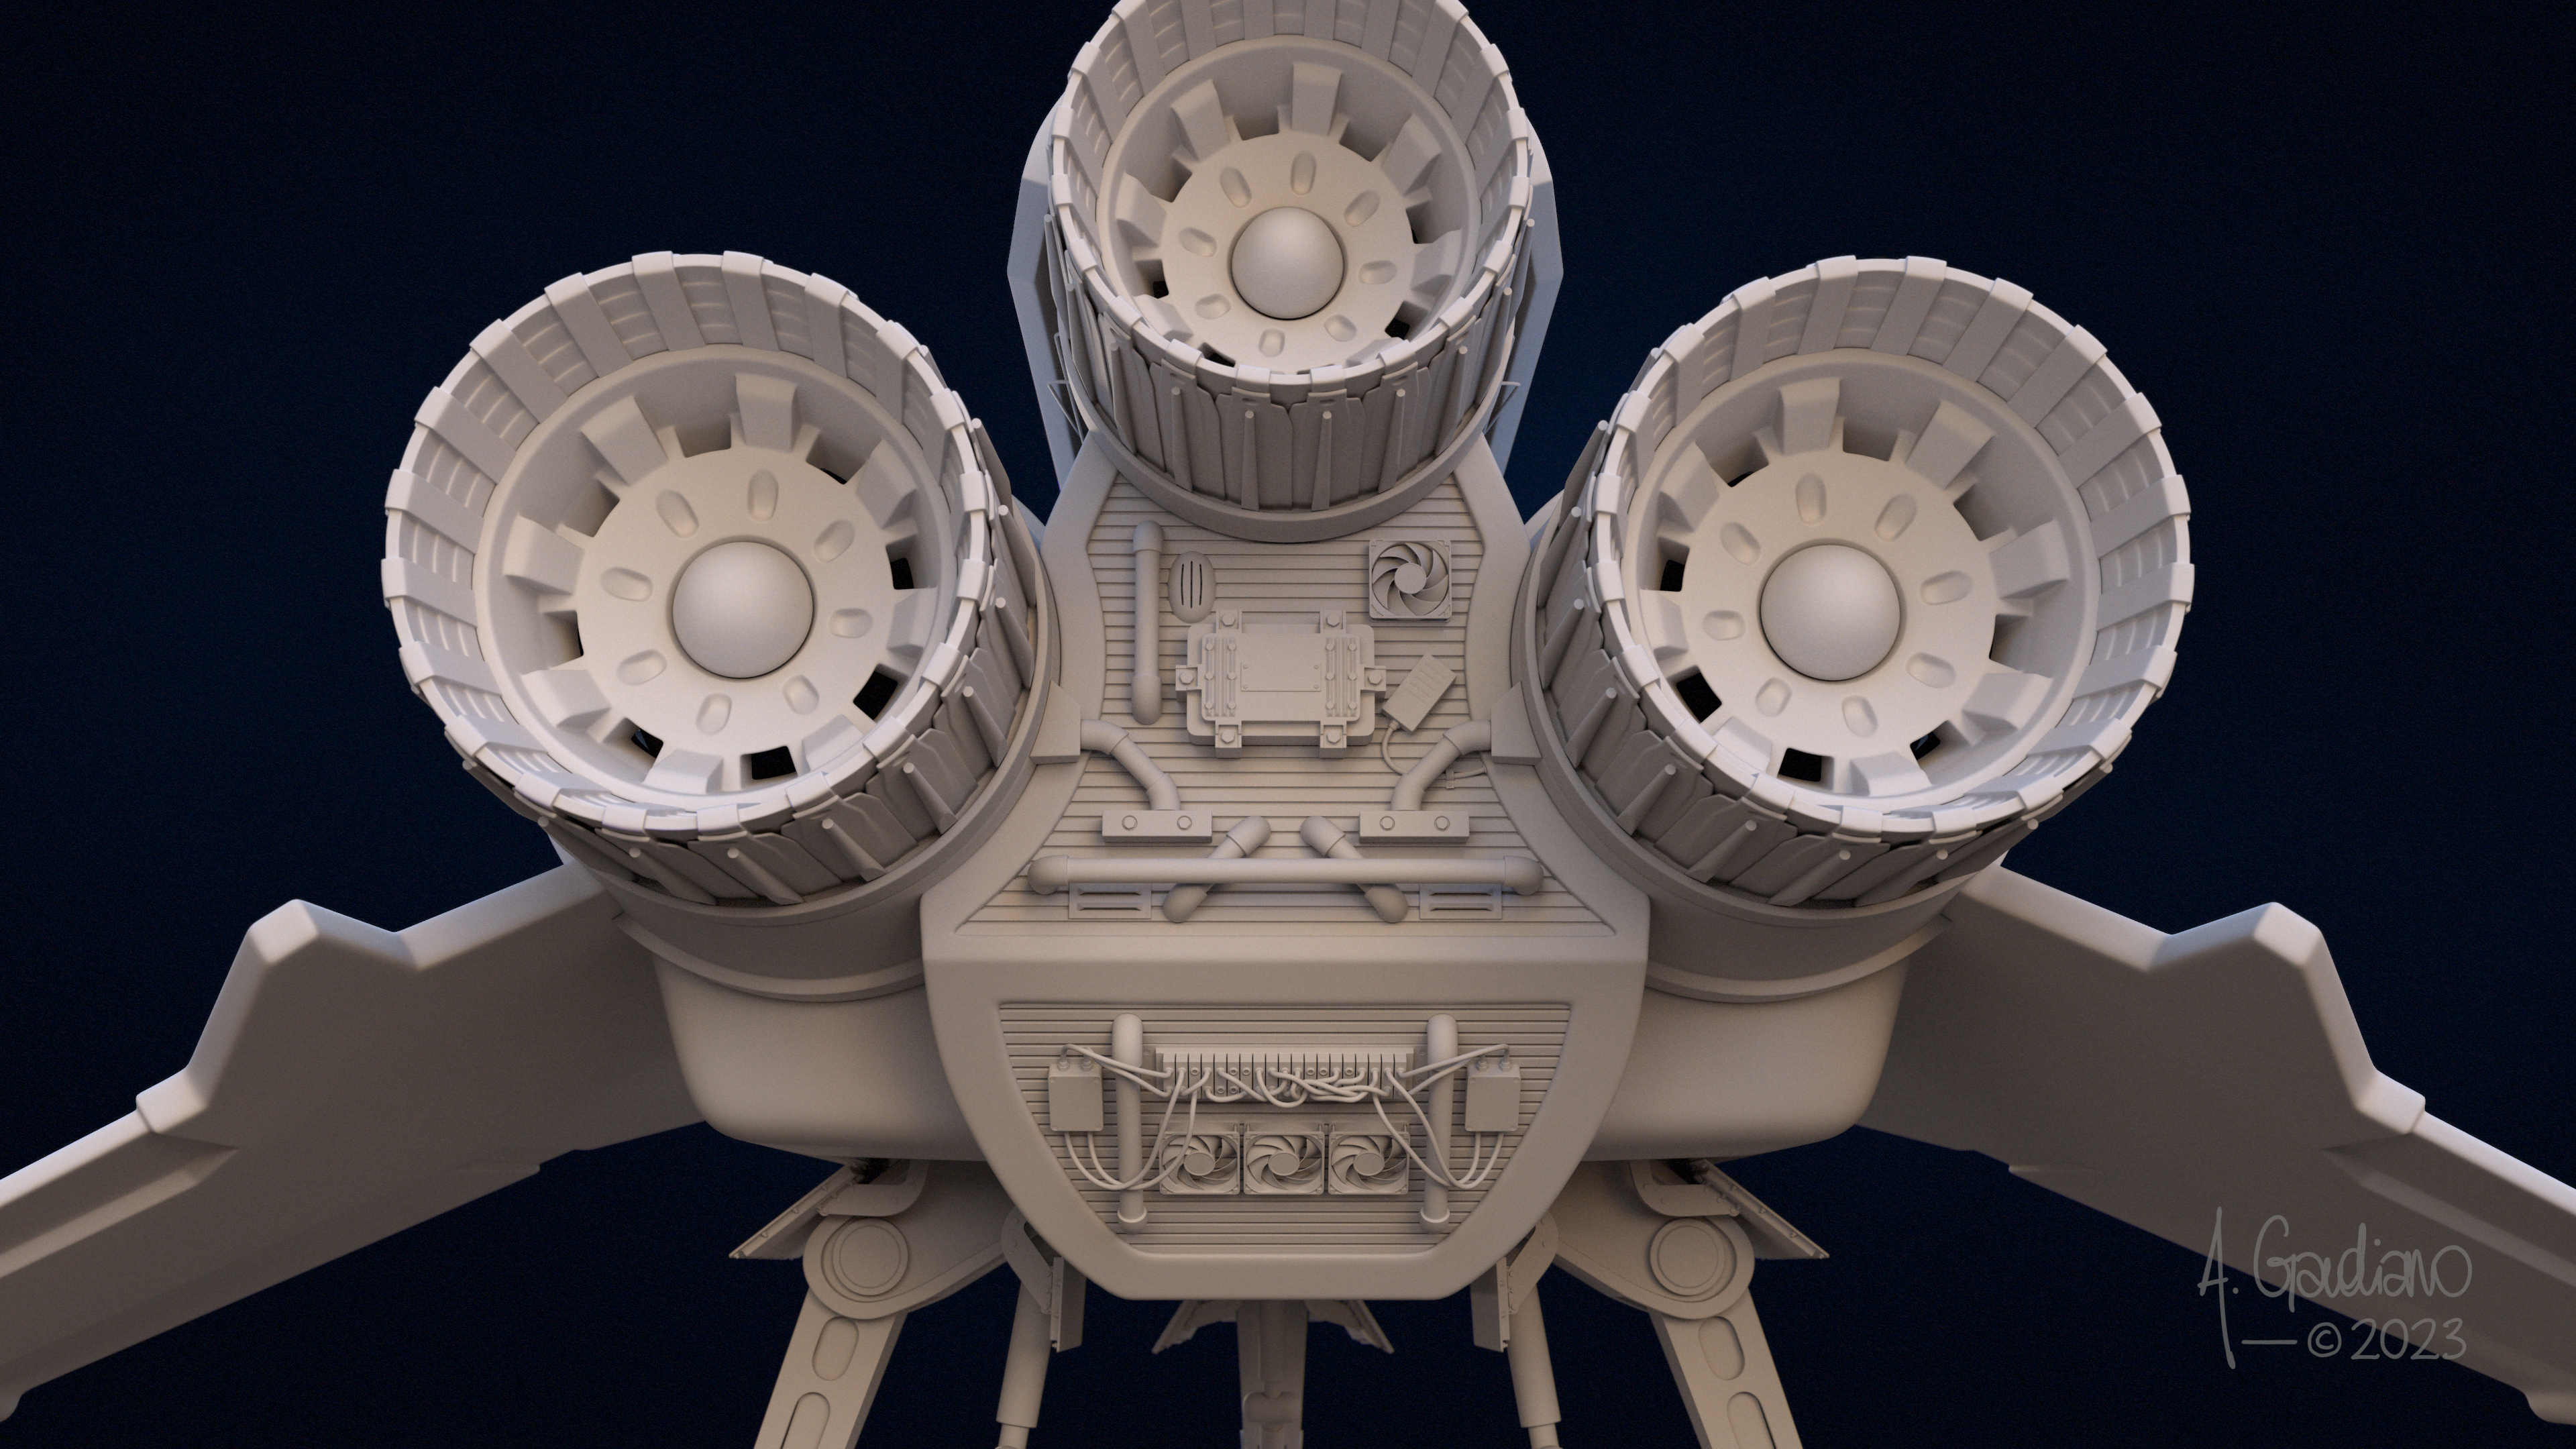
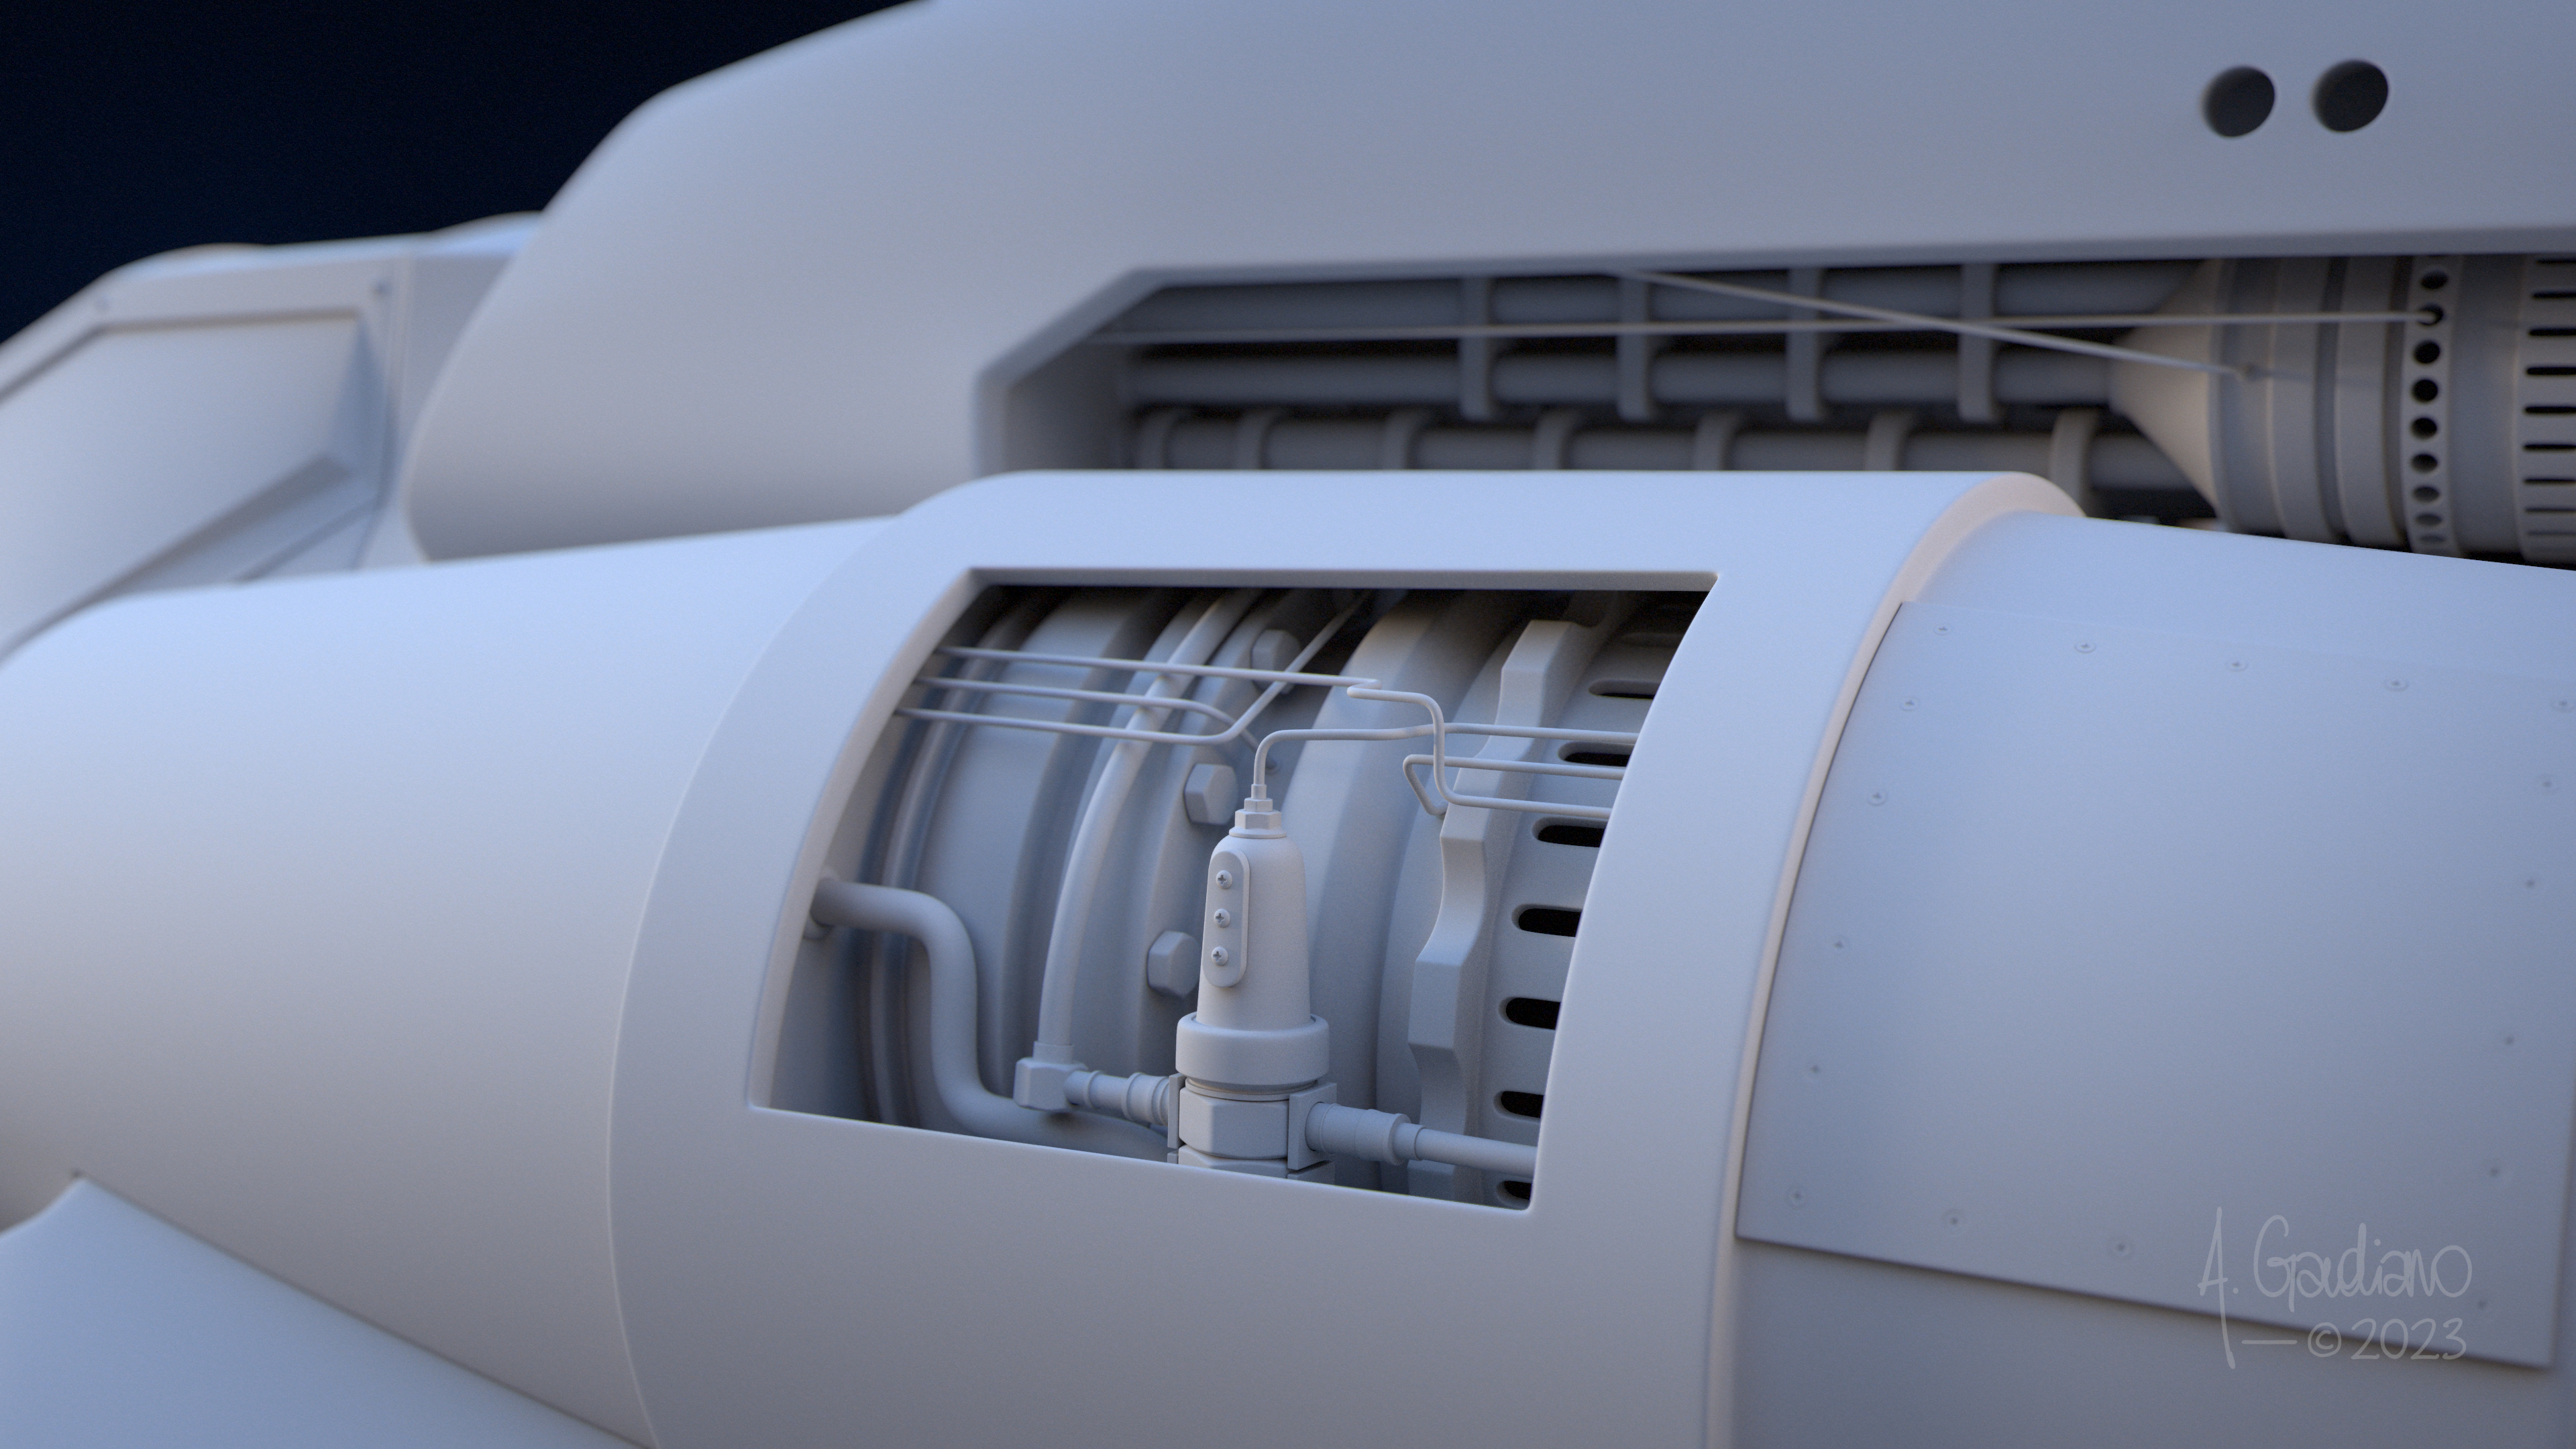
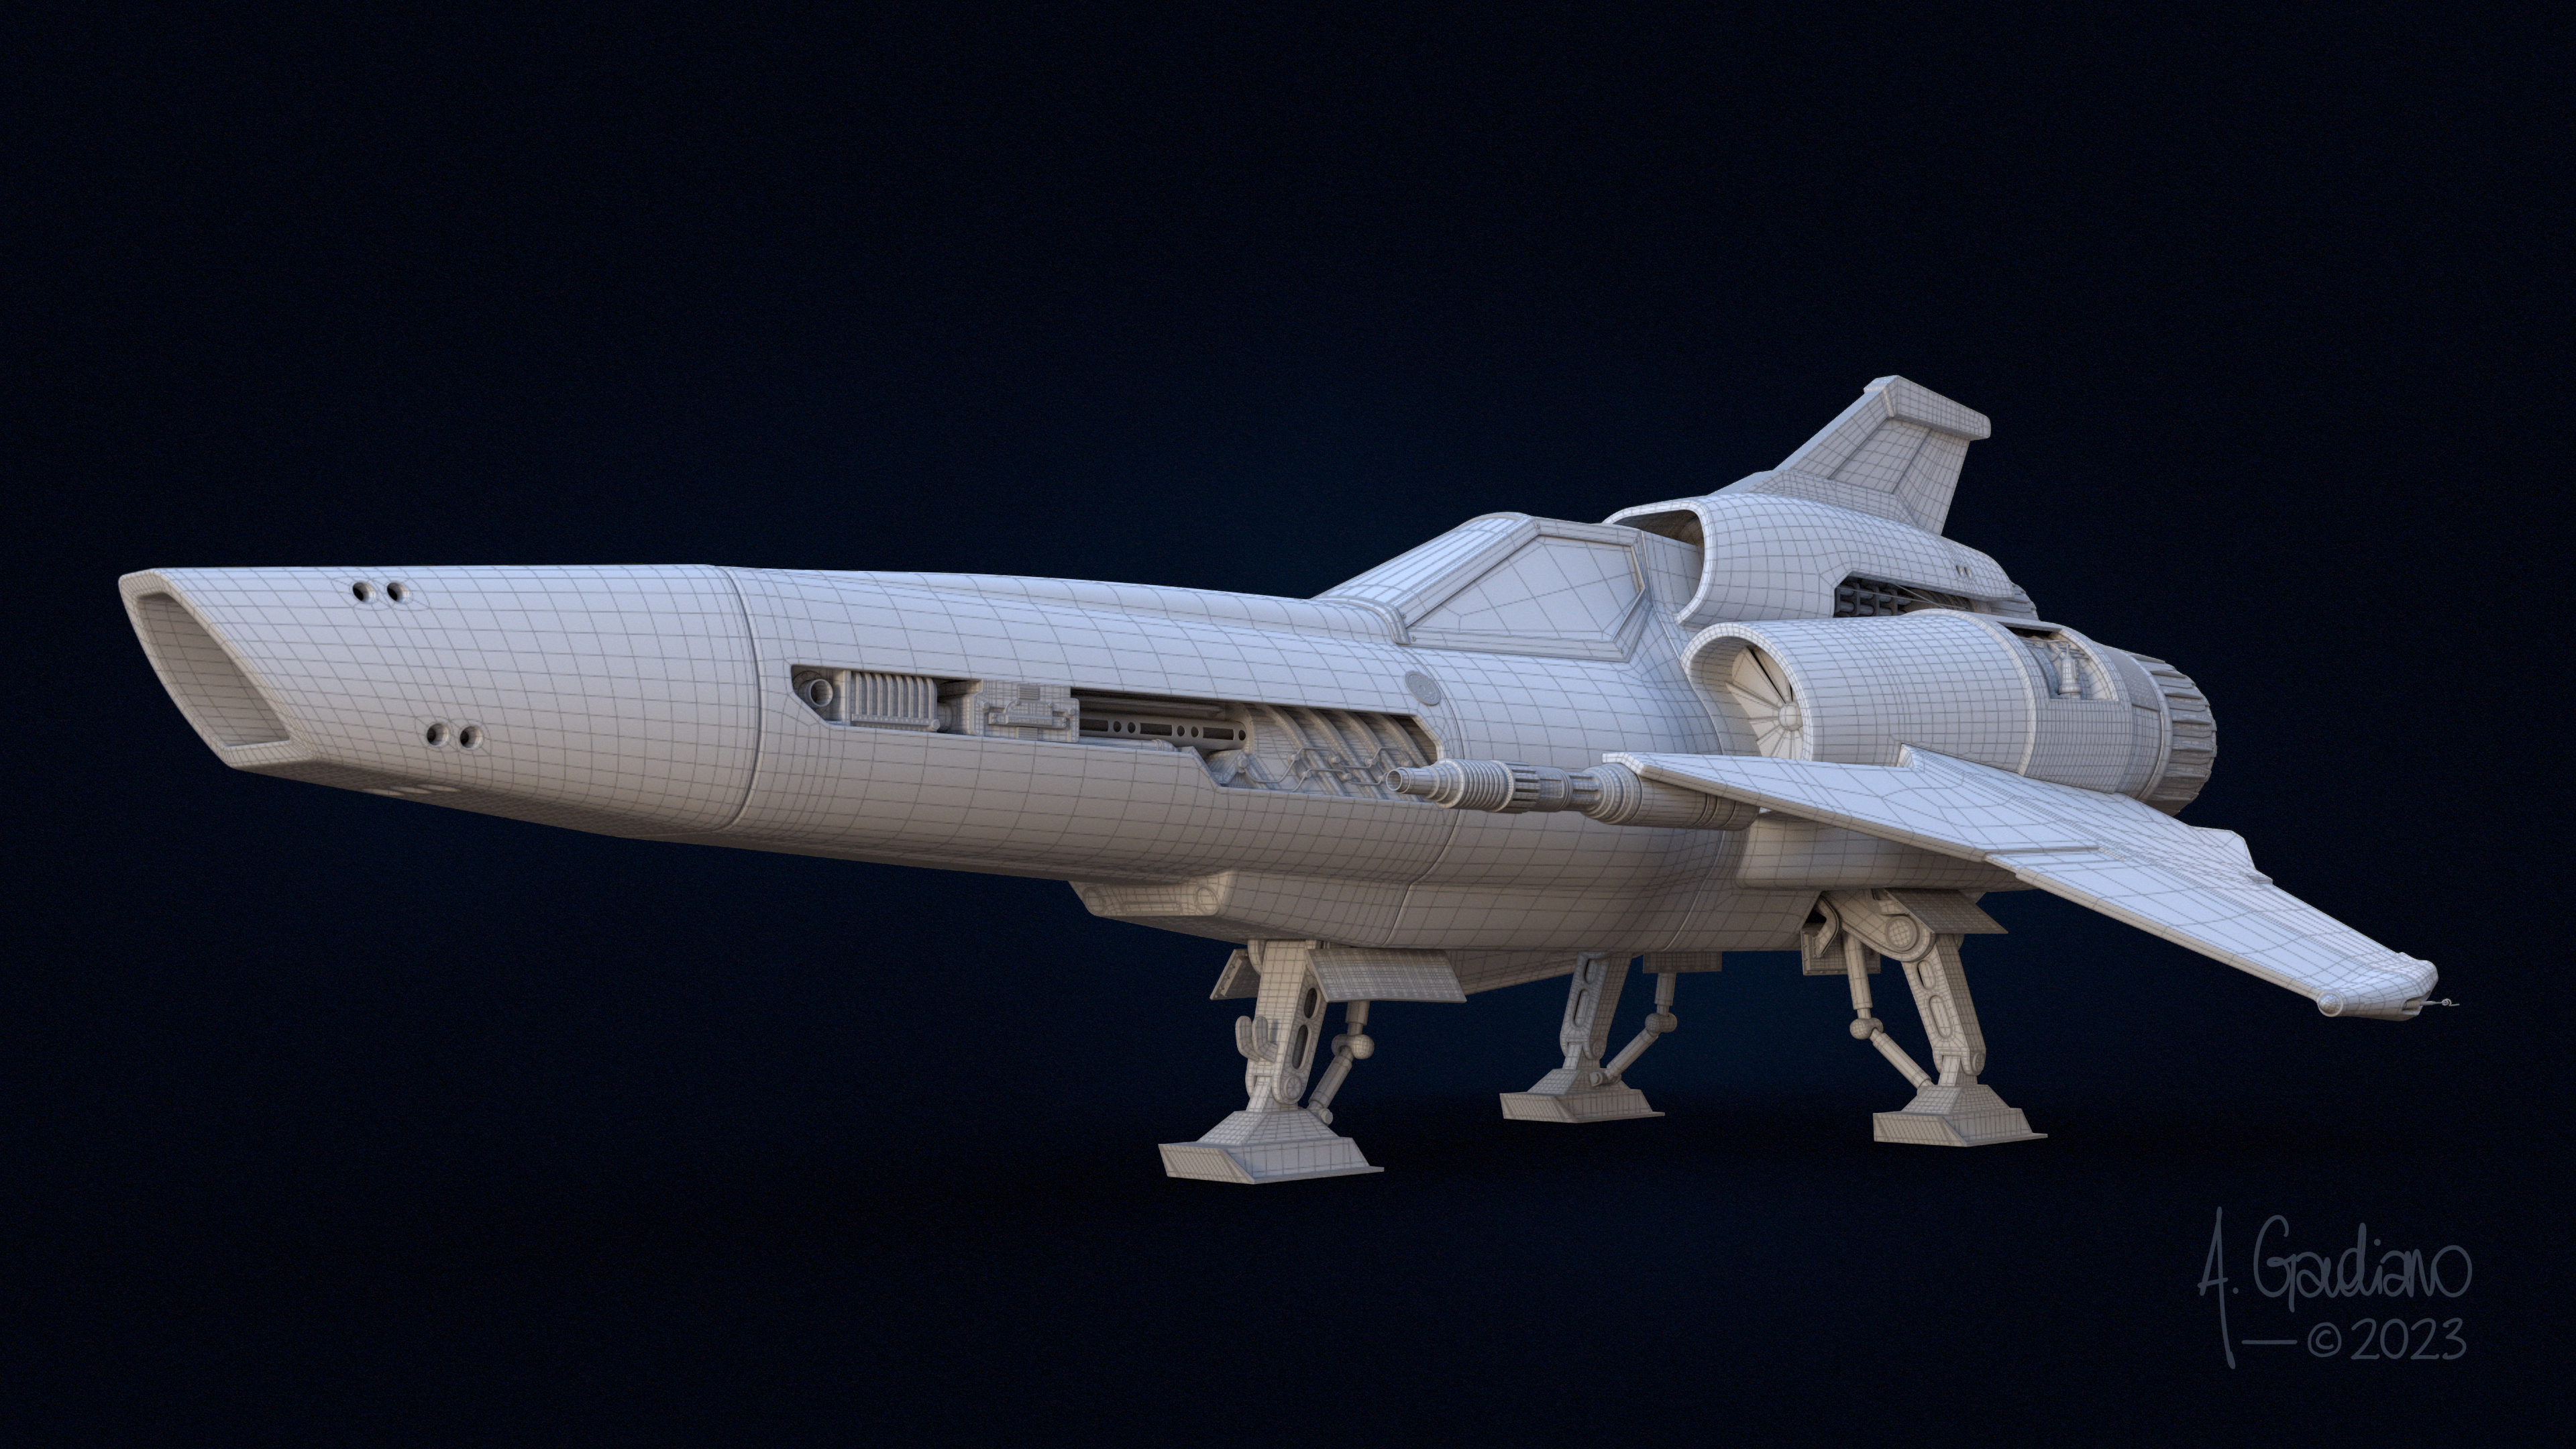
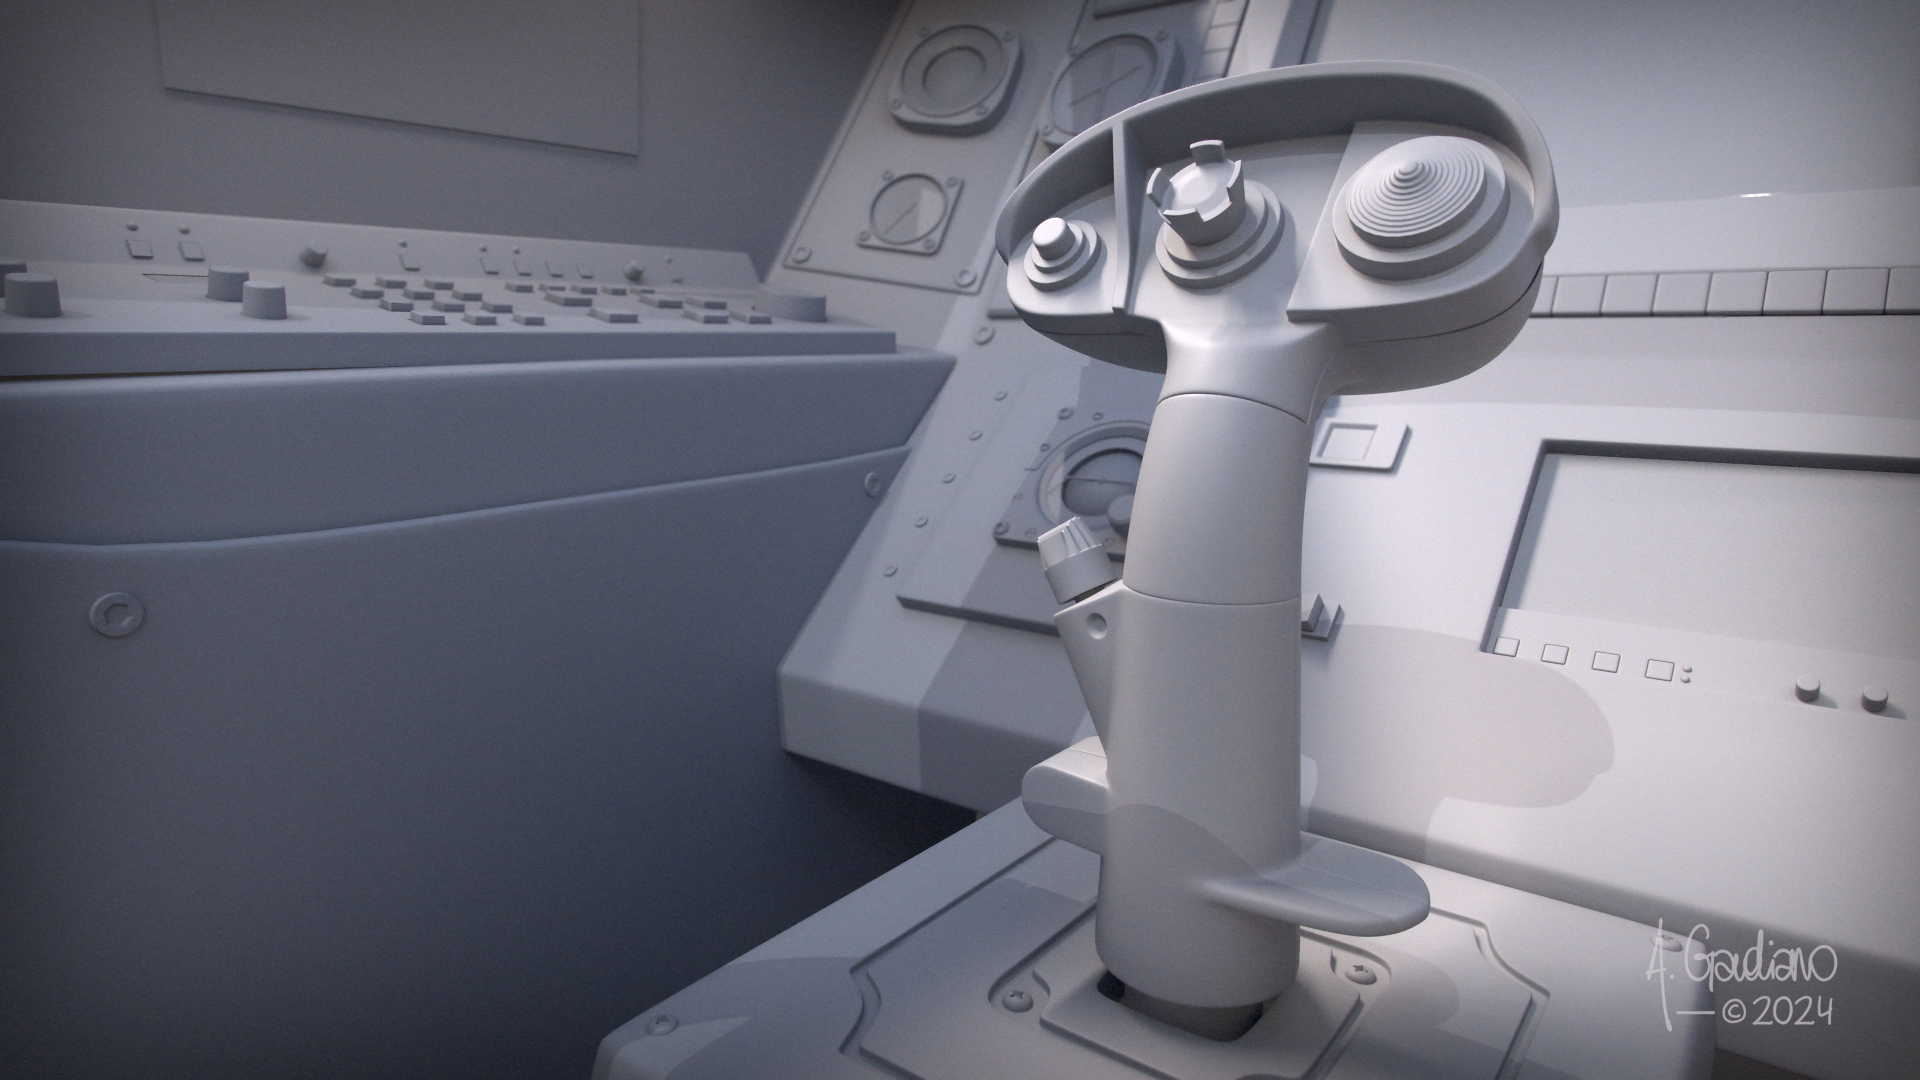
Anyway, I just finished the modeling of the outside body of the Viper Mark 2 from Battlestar Galactica. My final goal is to model every parts and details from the outside and the inside, and then texture, shade, light and render it for an epic final image.
I tried to stick as close as possible to the reference I had, even if I took some little liberties on some little pieces.
#2 – 26.06.2024 (text from the Artstation’s post)
Here is the second WIP of this project I started a few years ago. Doing it during my spare time and having a little one, it’s pretty hard to find some time, but I try my best… even if it goes a bit slower than I would like.
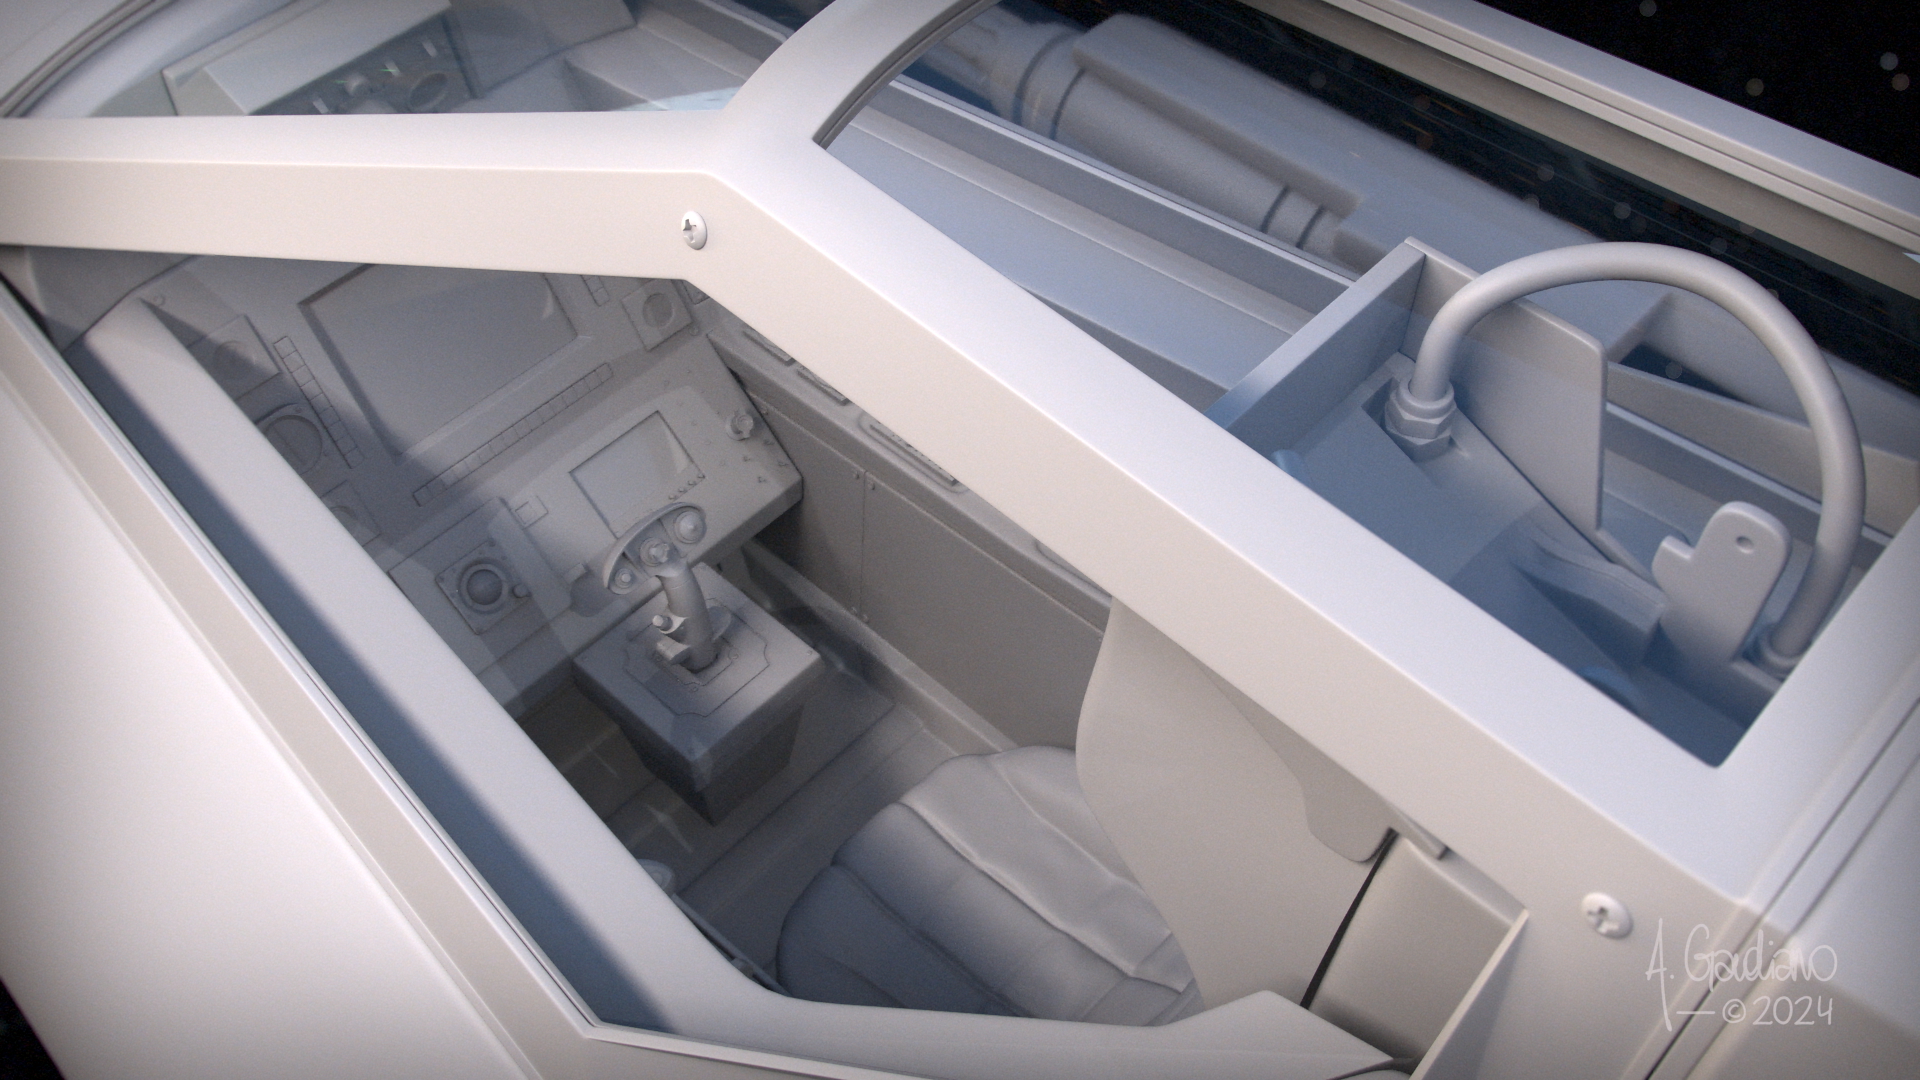
Anyway, I just finished the modeling of the inside body of the Viper Mark 2 from Battlestar Galactica. My final goal is to model every parts and details from the outside and the inside, and then texture, shade, light and render it for an epic final image.
I tried to stick as close as possible to the reference I had, even if I took some little liberties on some little pieces.
#3 – 11.02.2025 (text from the Artstation’s post)
This time, I finished the UVs. It’s not the most exciting thing to do and show but it’s a crucial step if we want to texture our model. Since my last project, I have been able to overcome some errors I did (especially about taking care of the proper orientation of the UV), but I made a new one. For the next project, I’ll be sure to unwrap the UVs on the fly as soon as a piece is modeled, instead of waiting to the end of the modeling and then unwrap everyting.
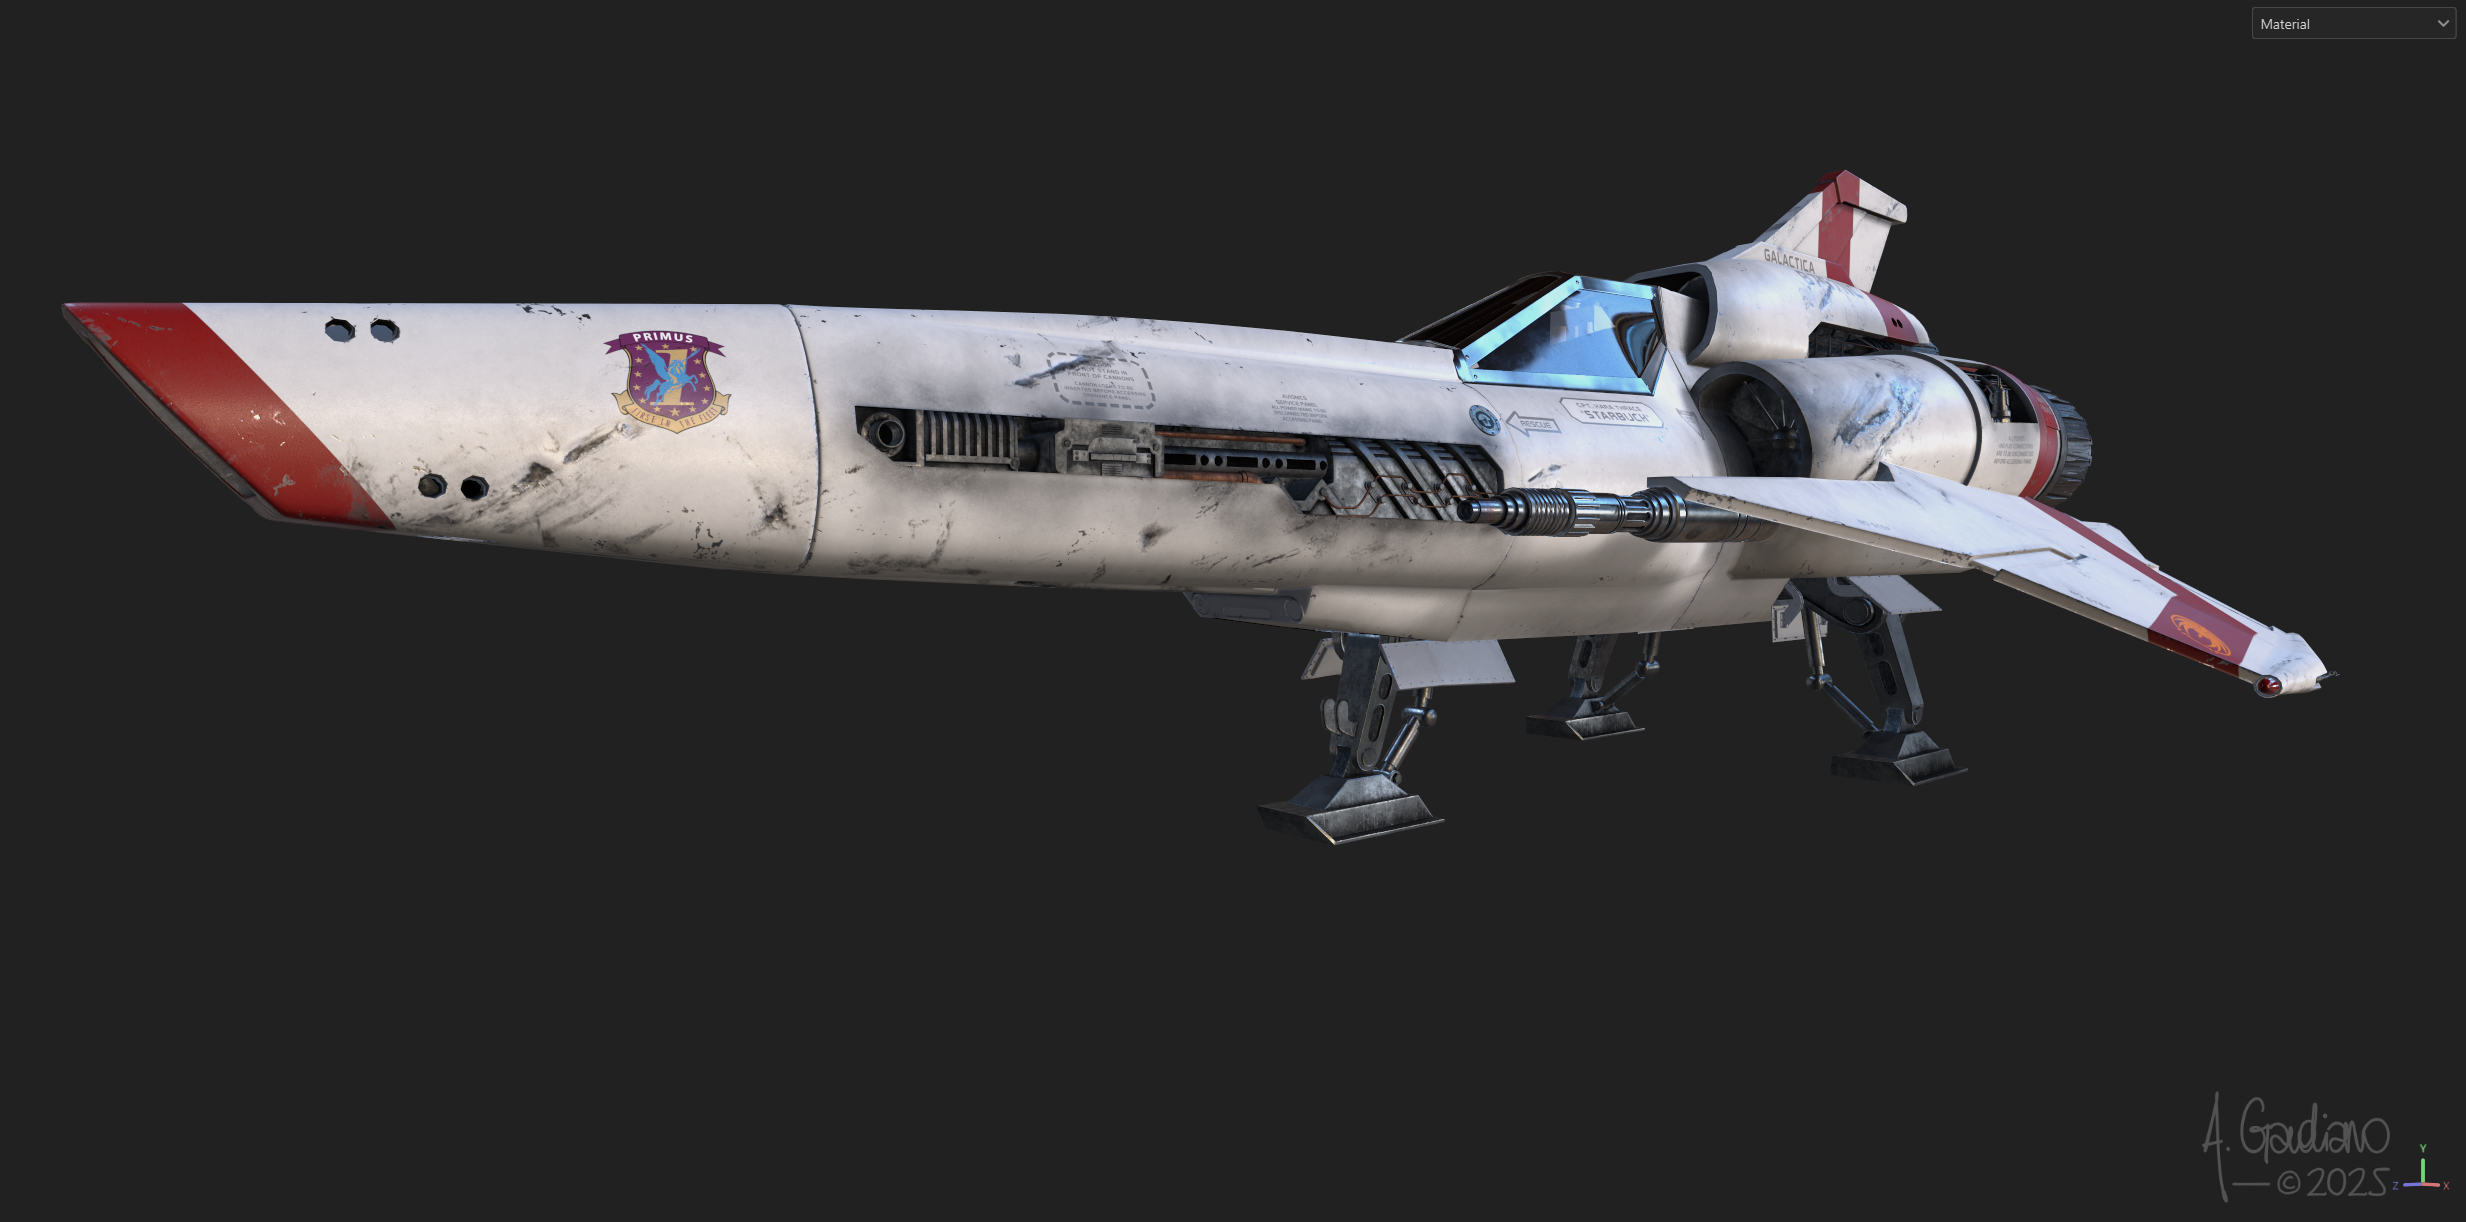
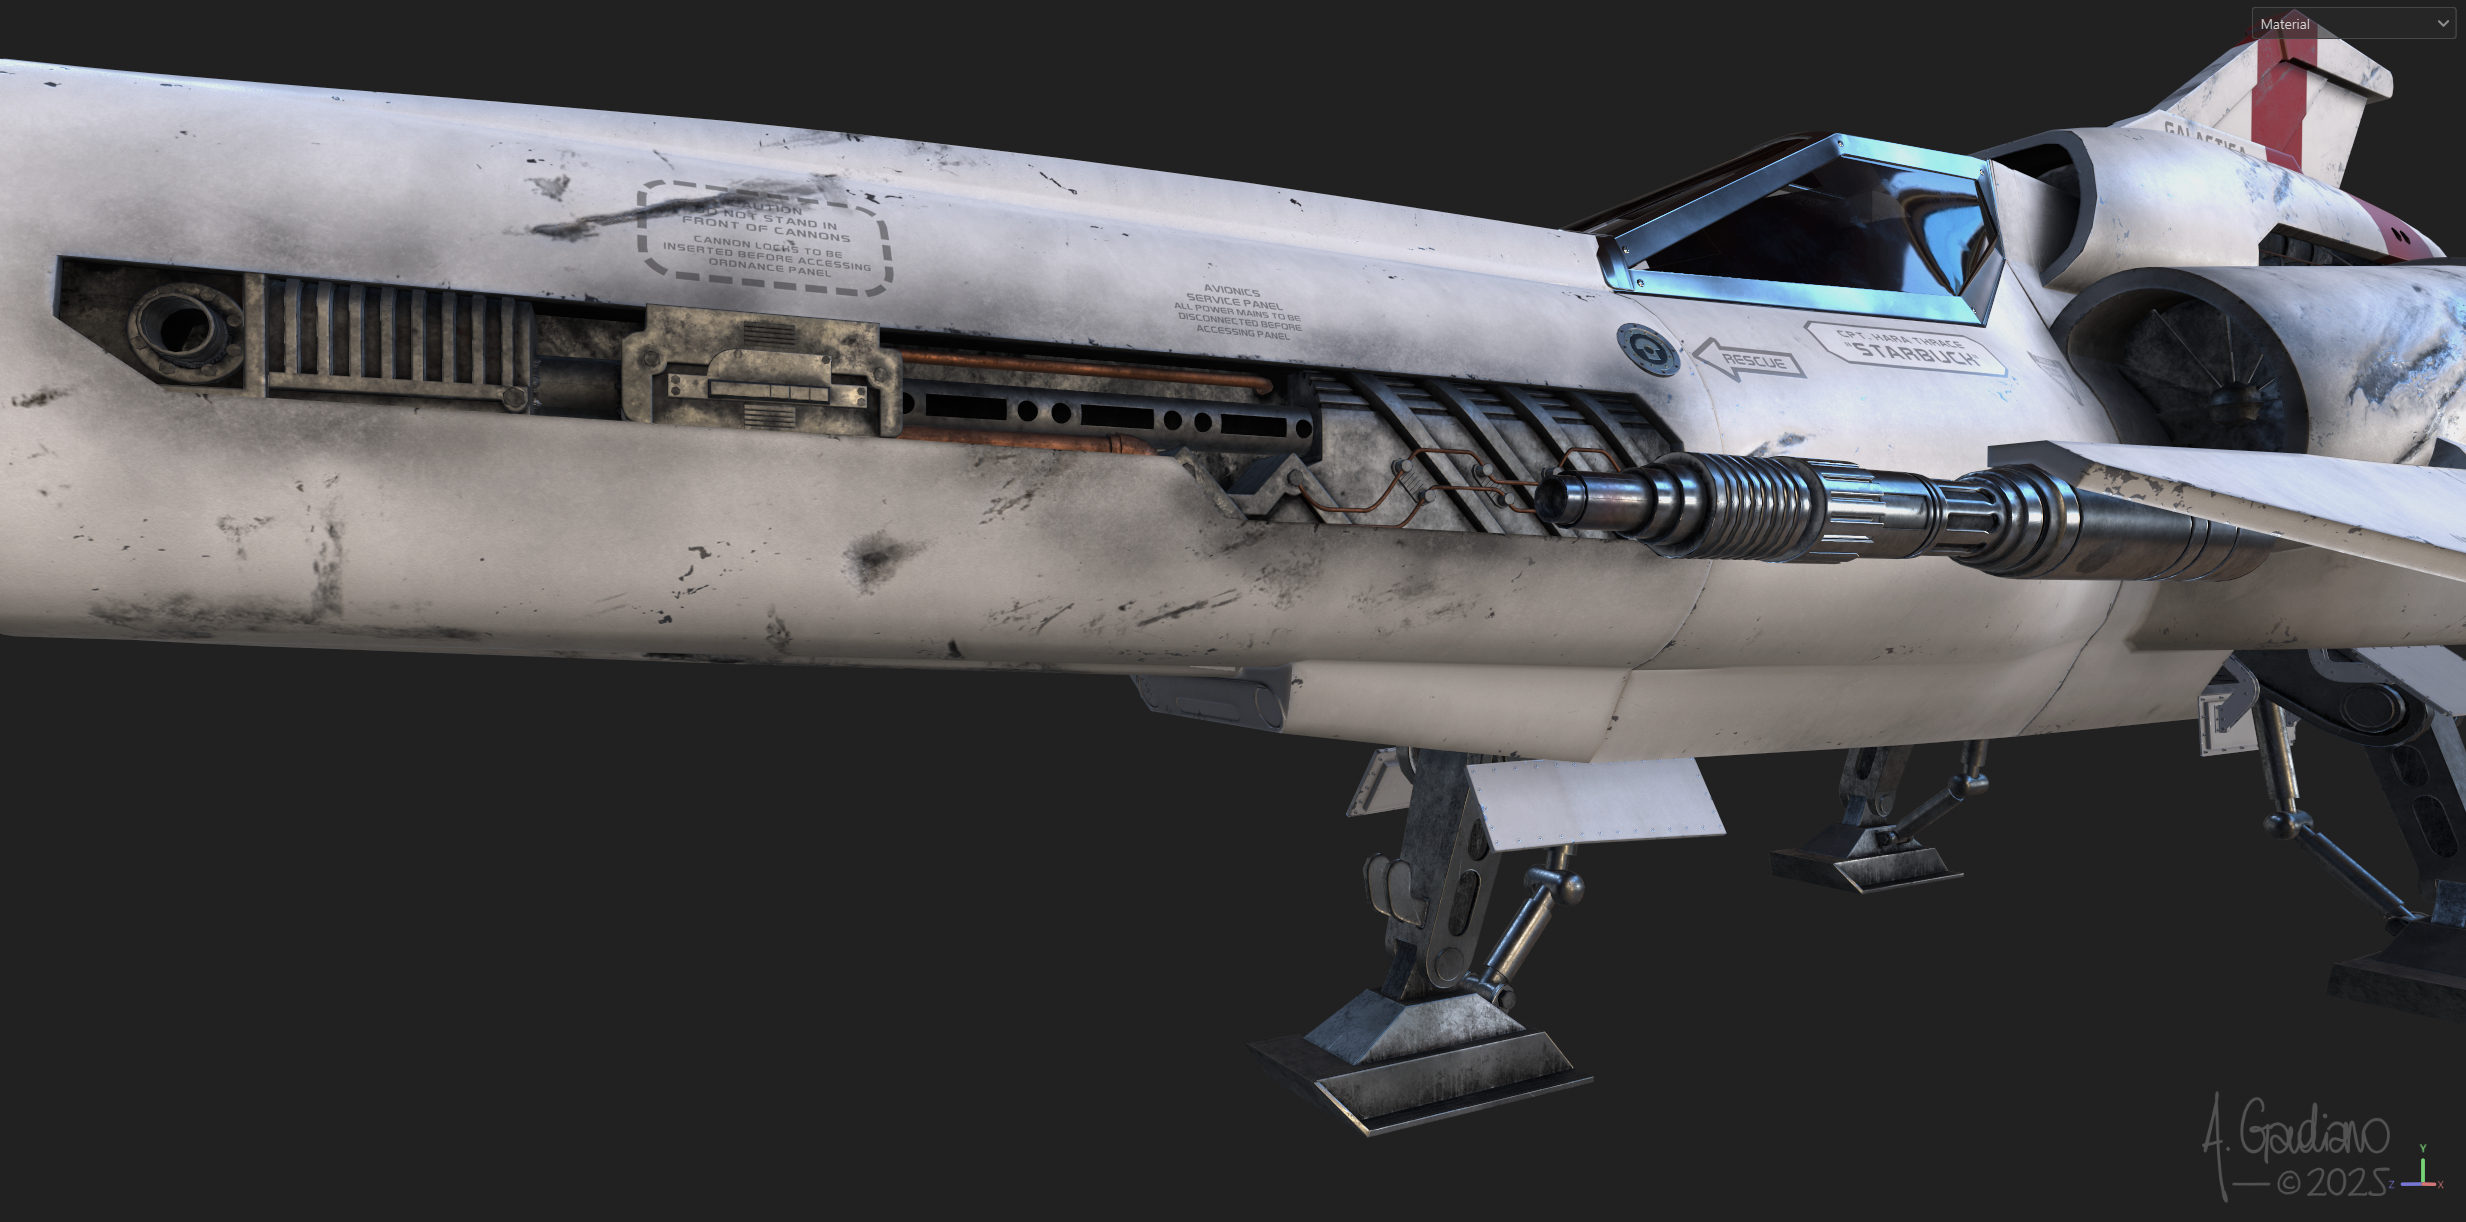
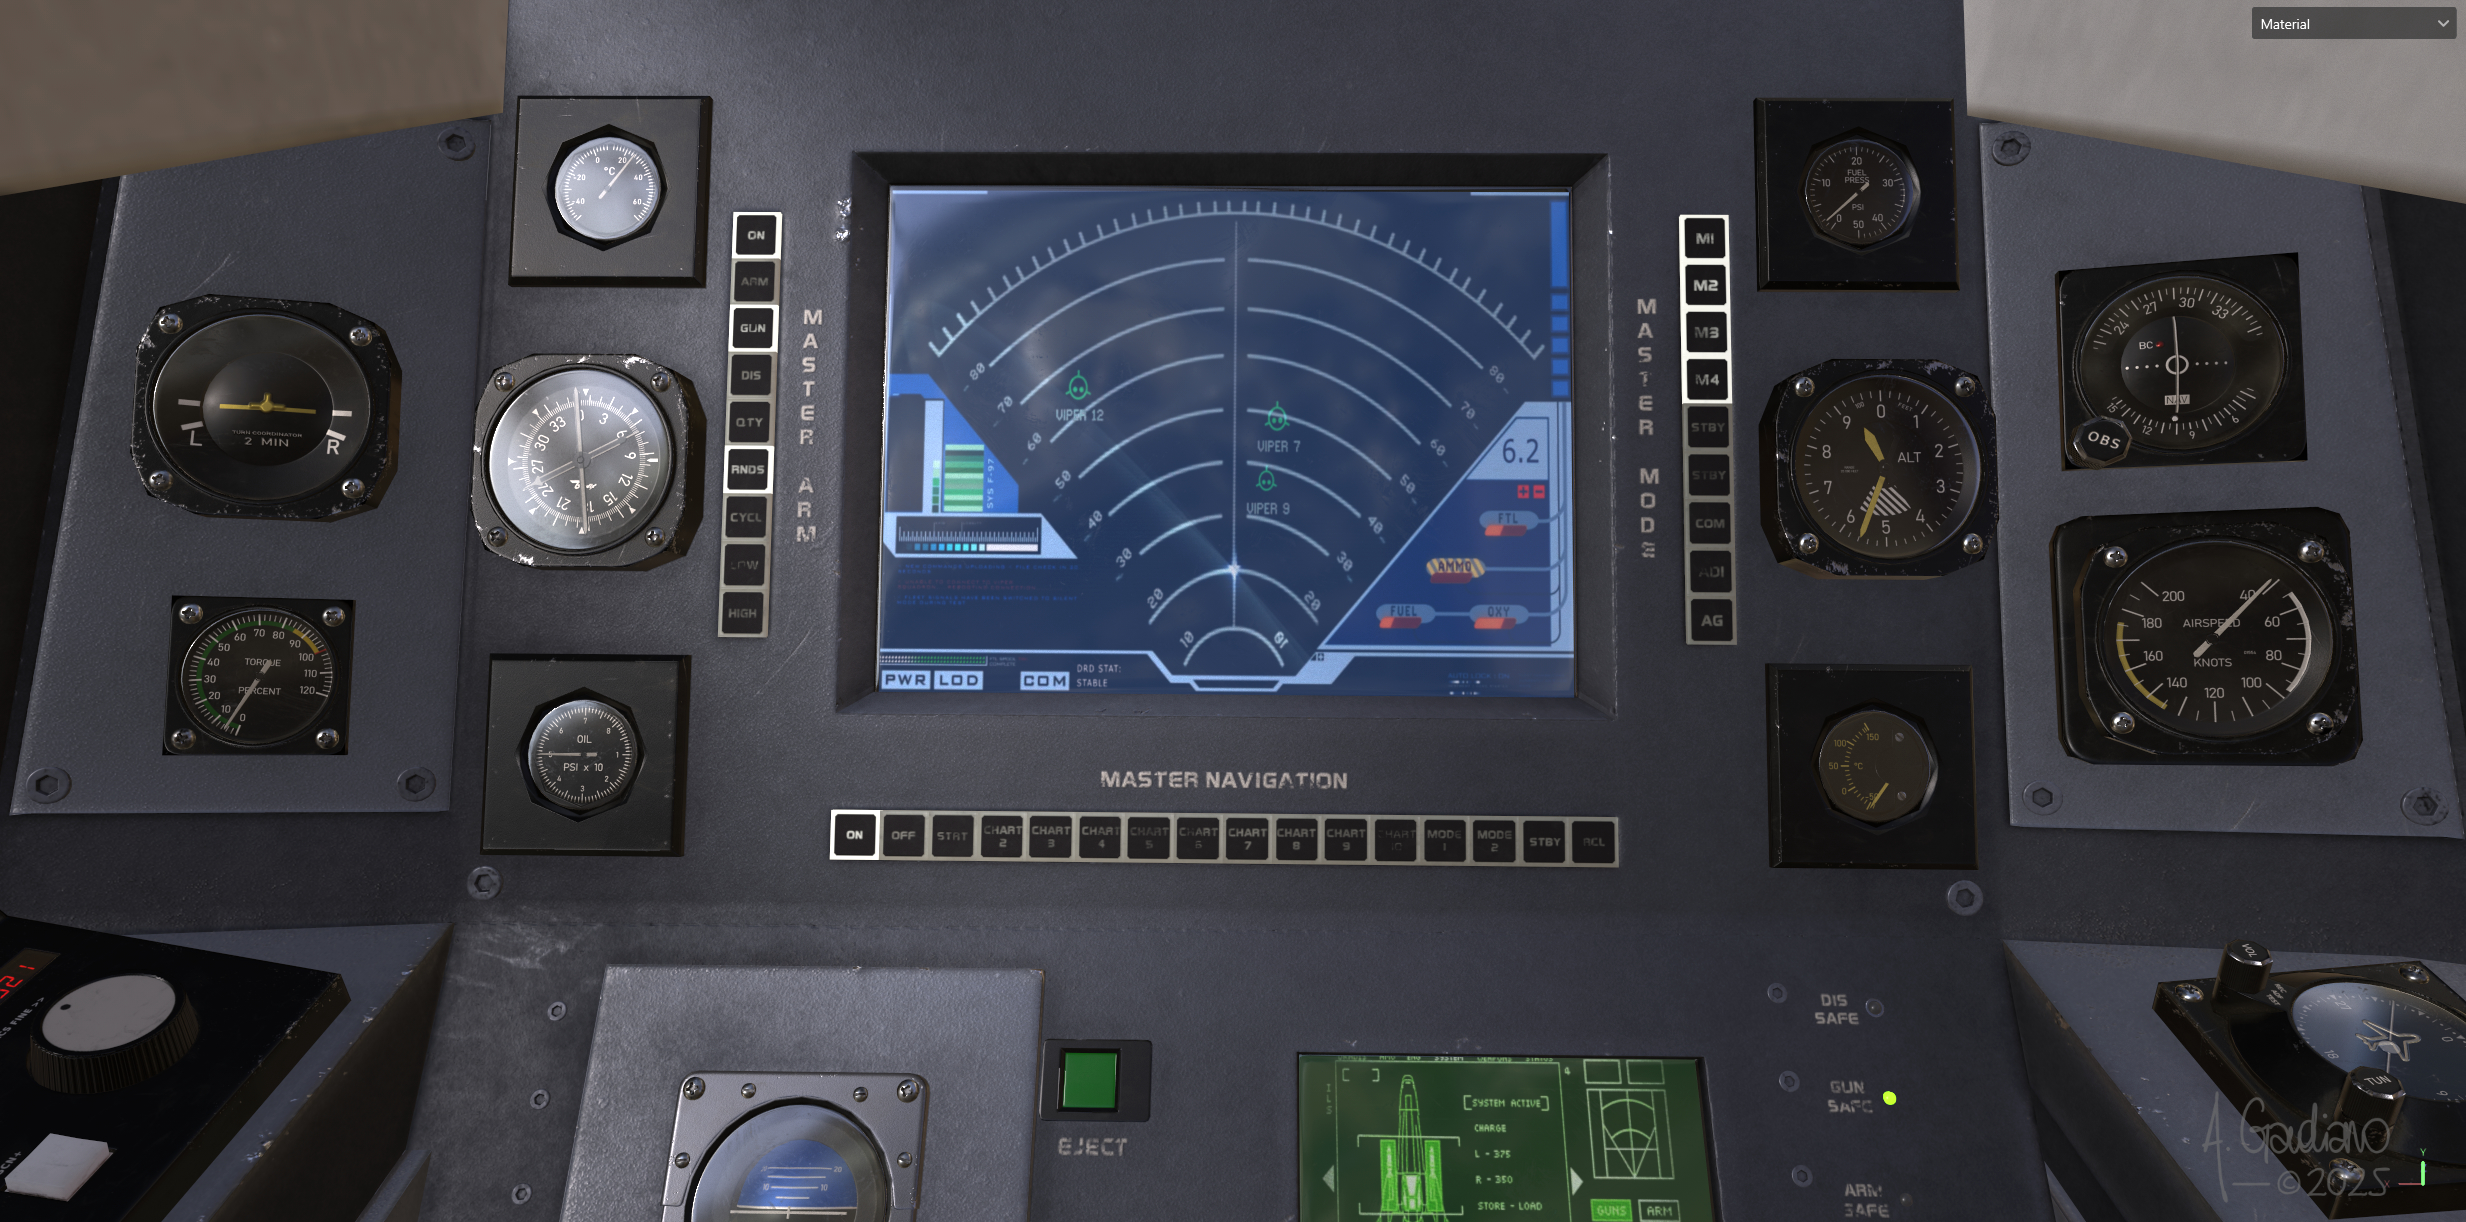
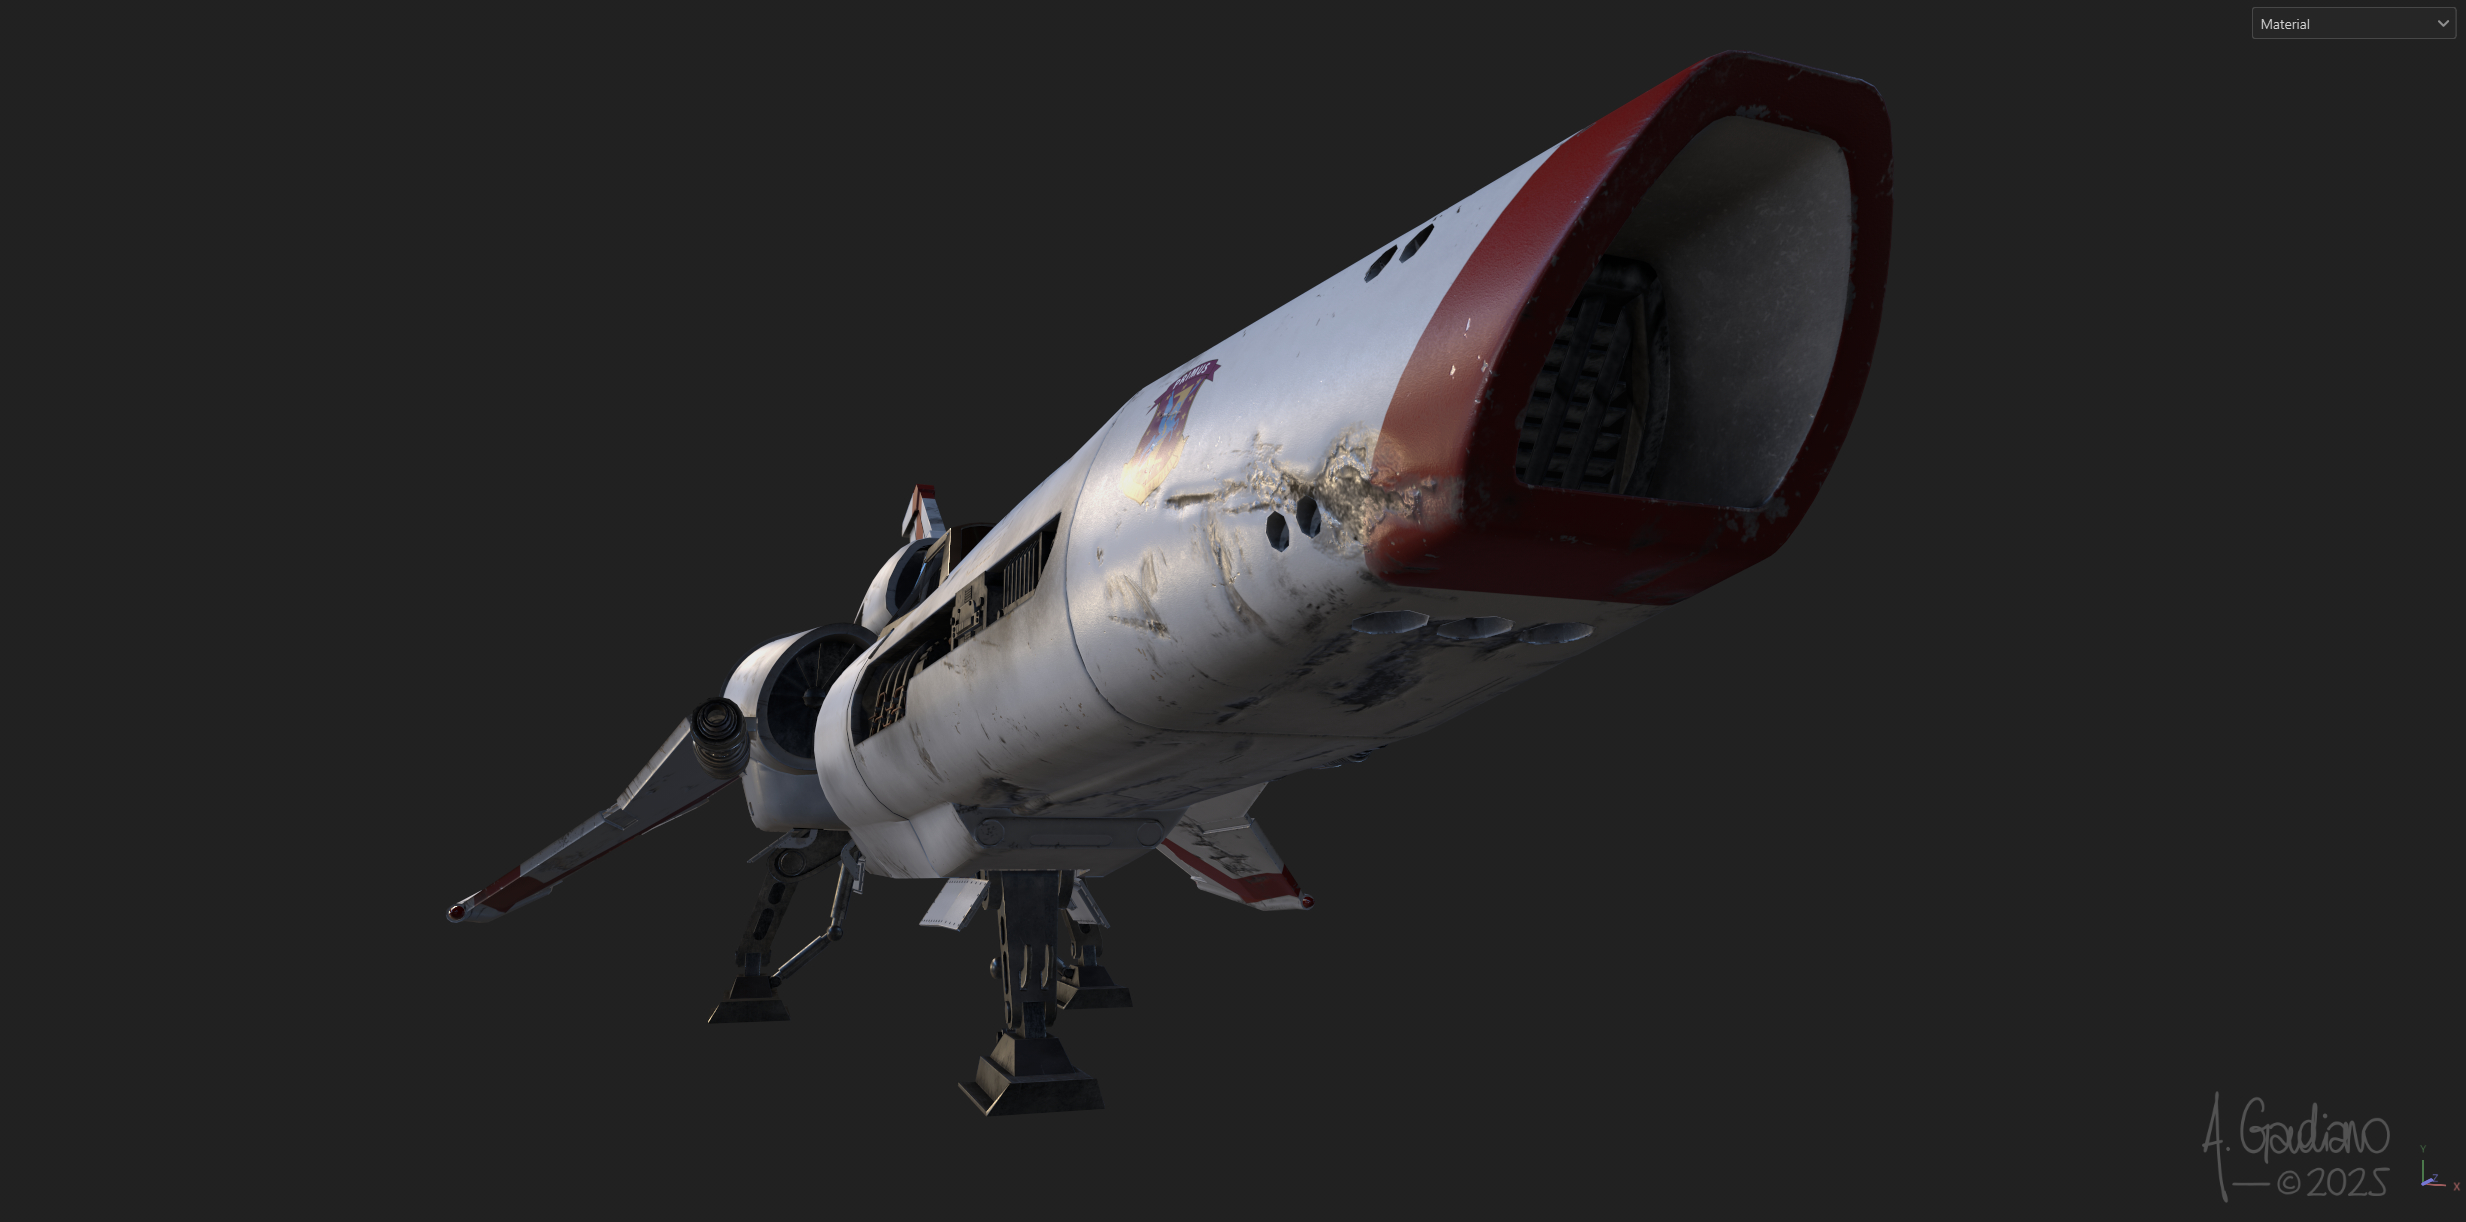
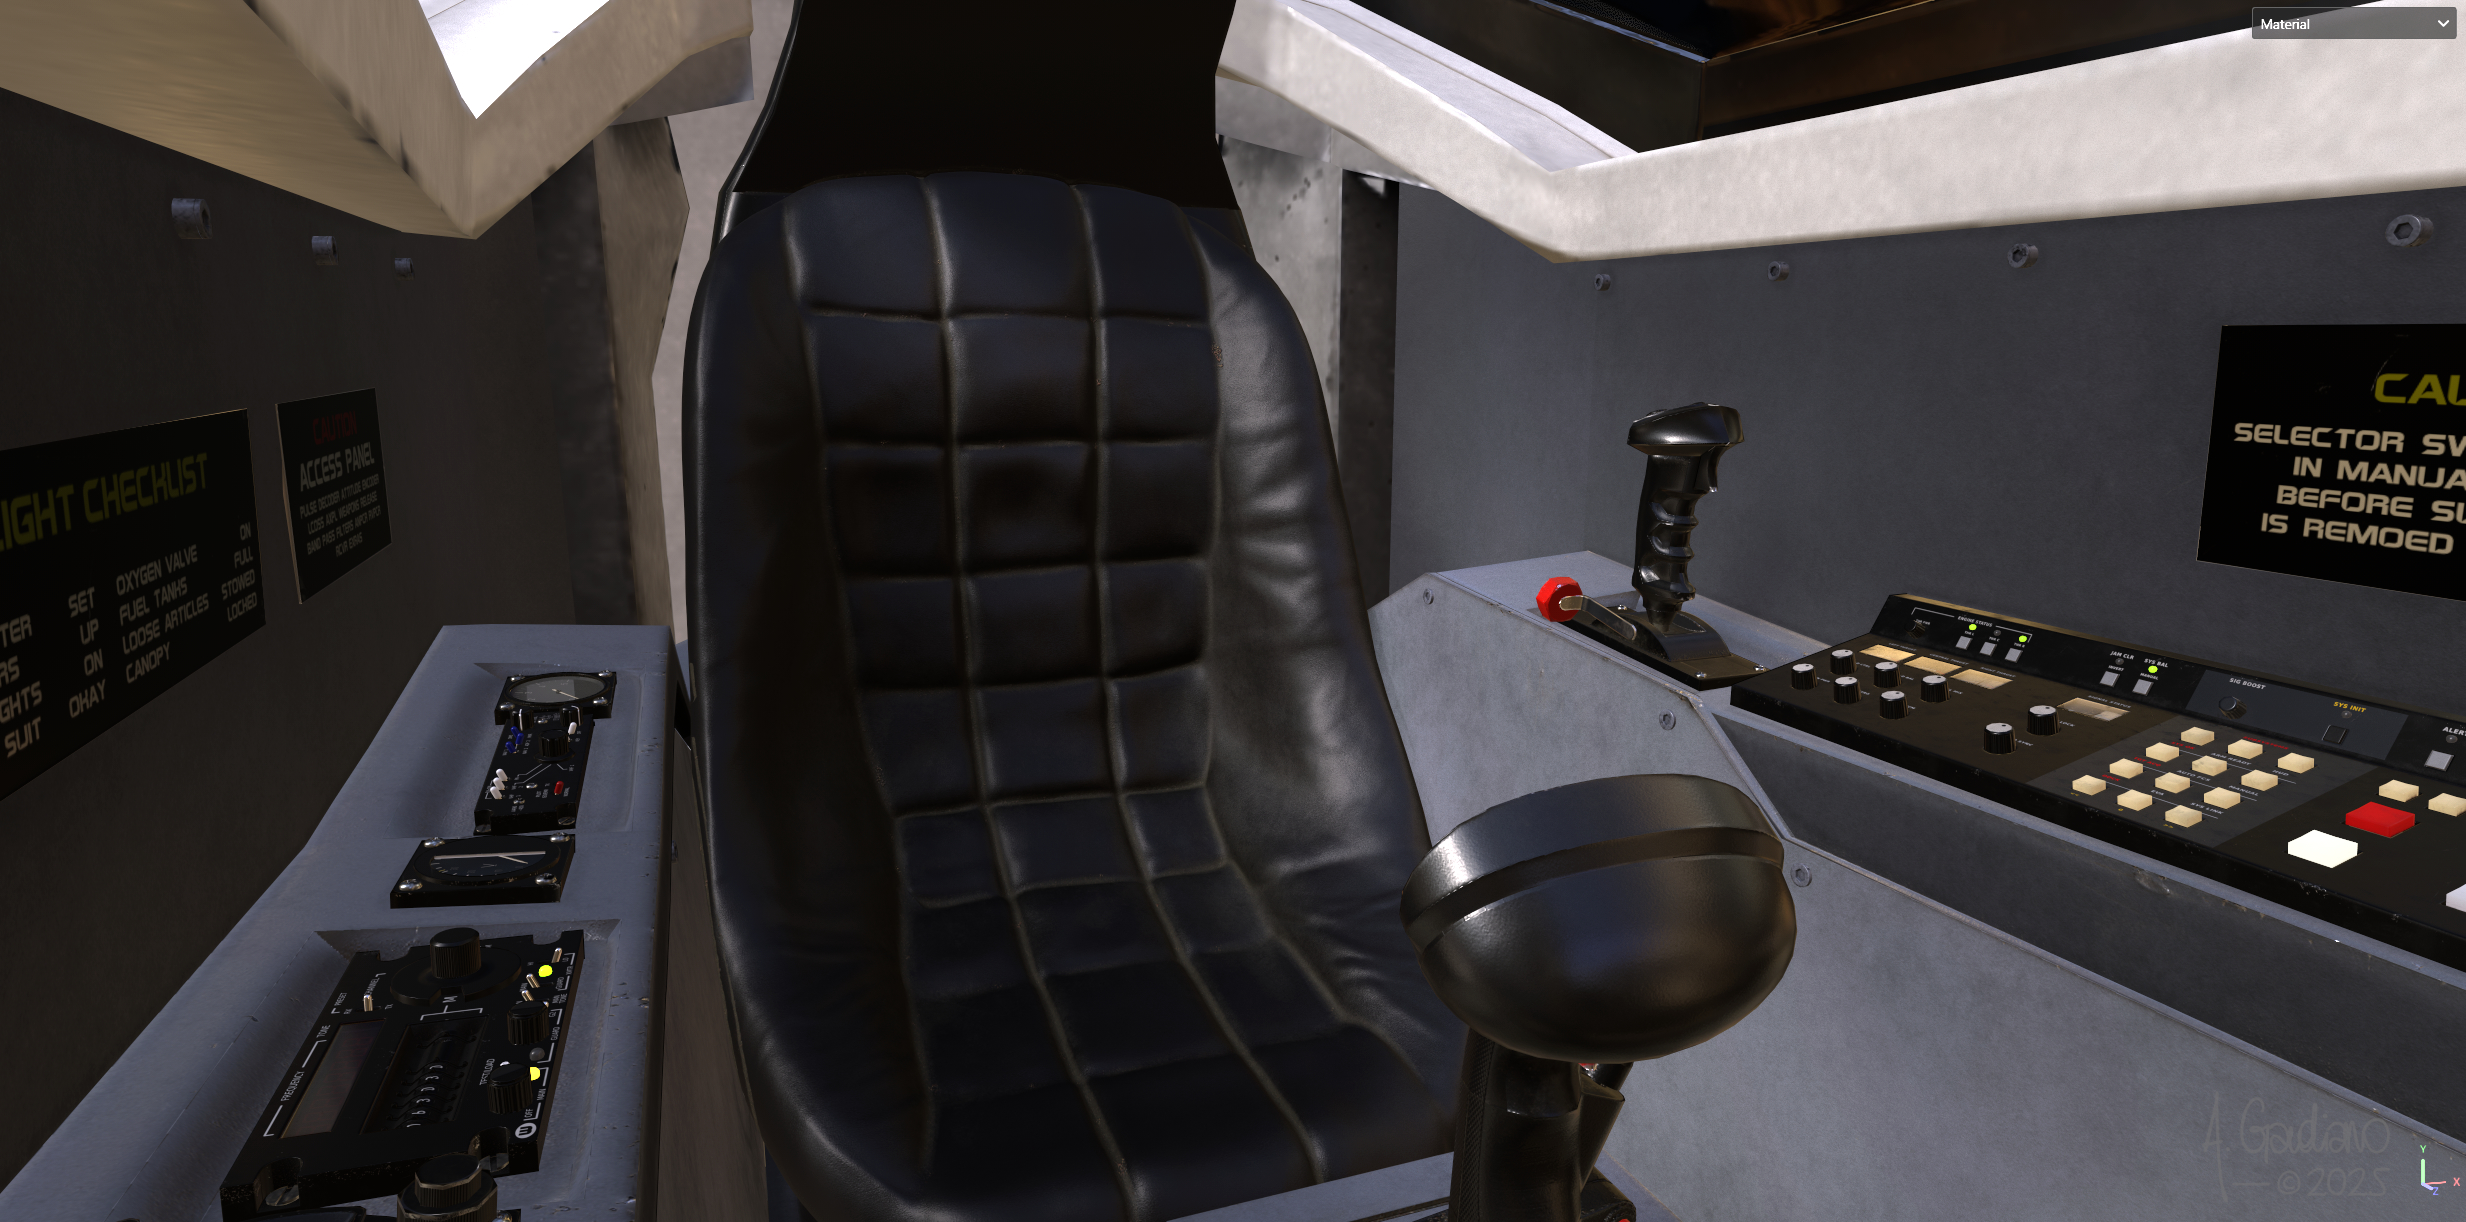
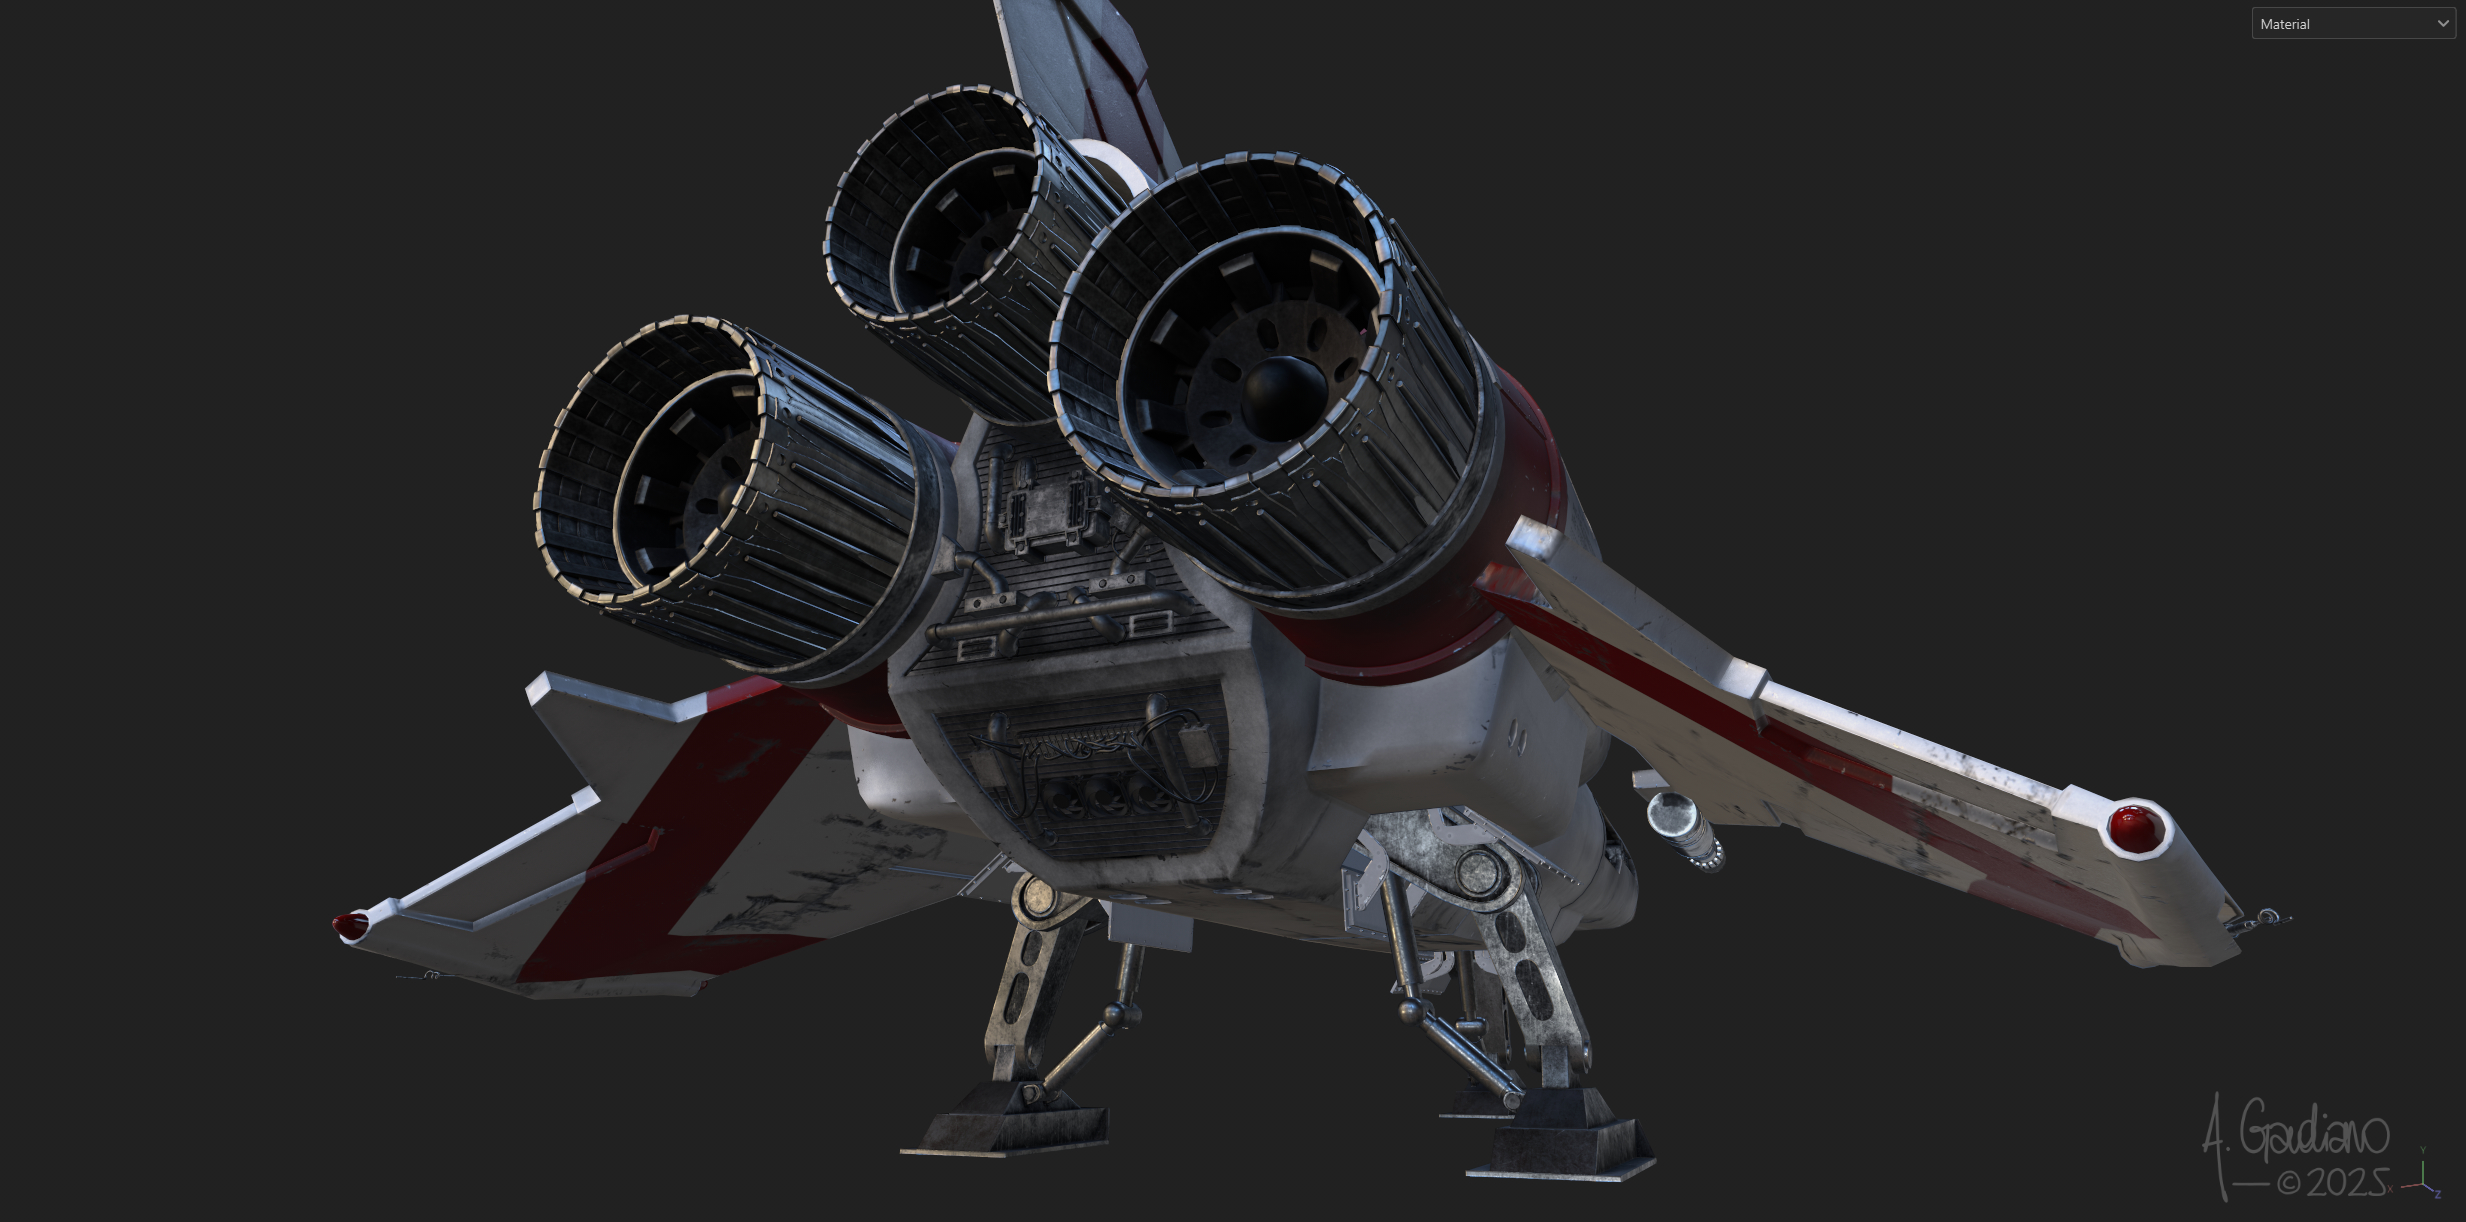
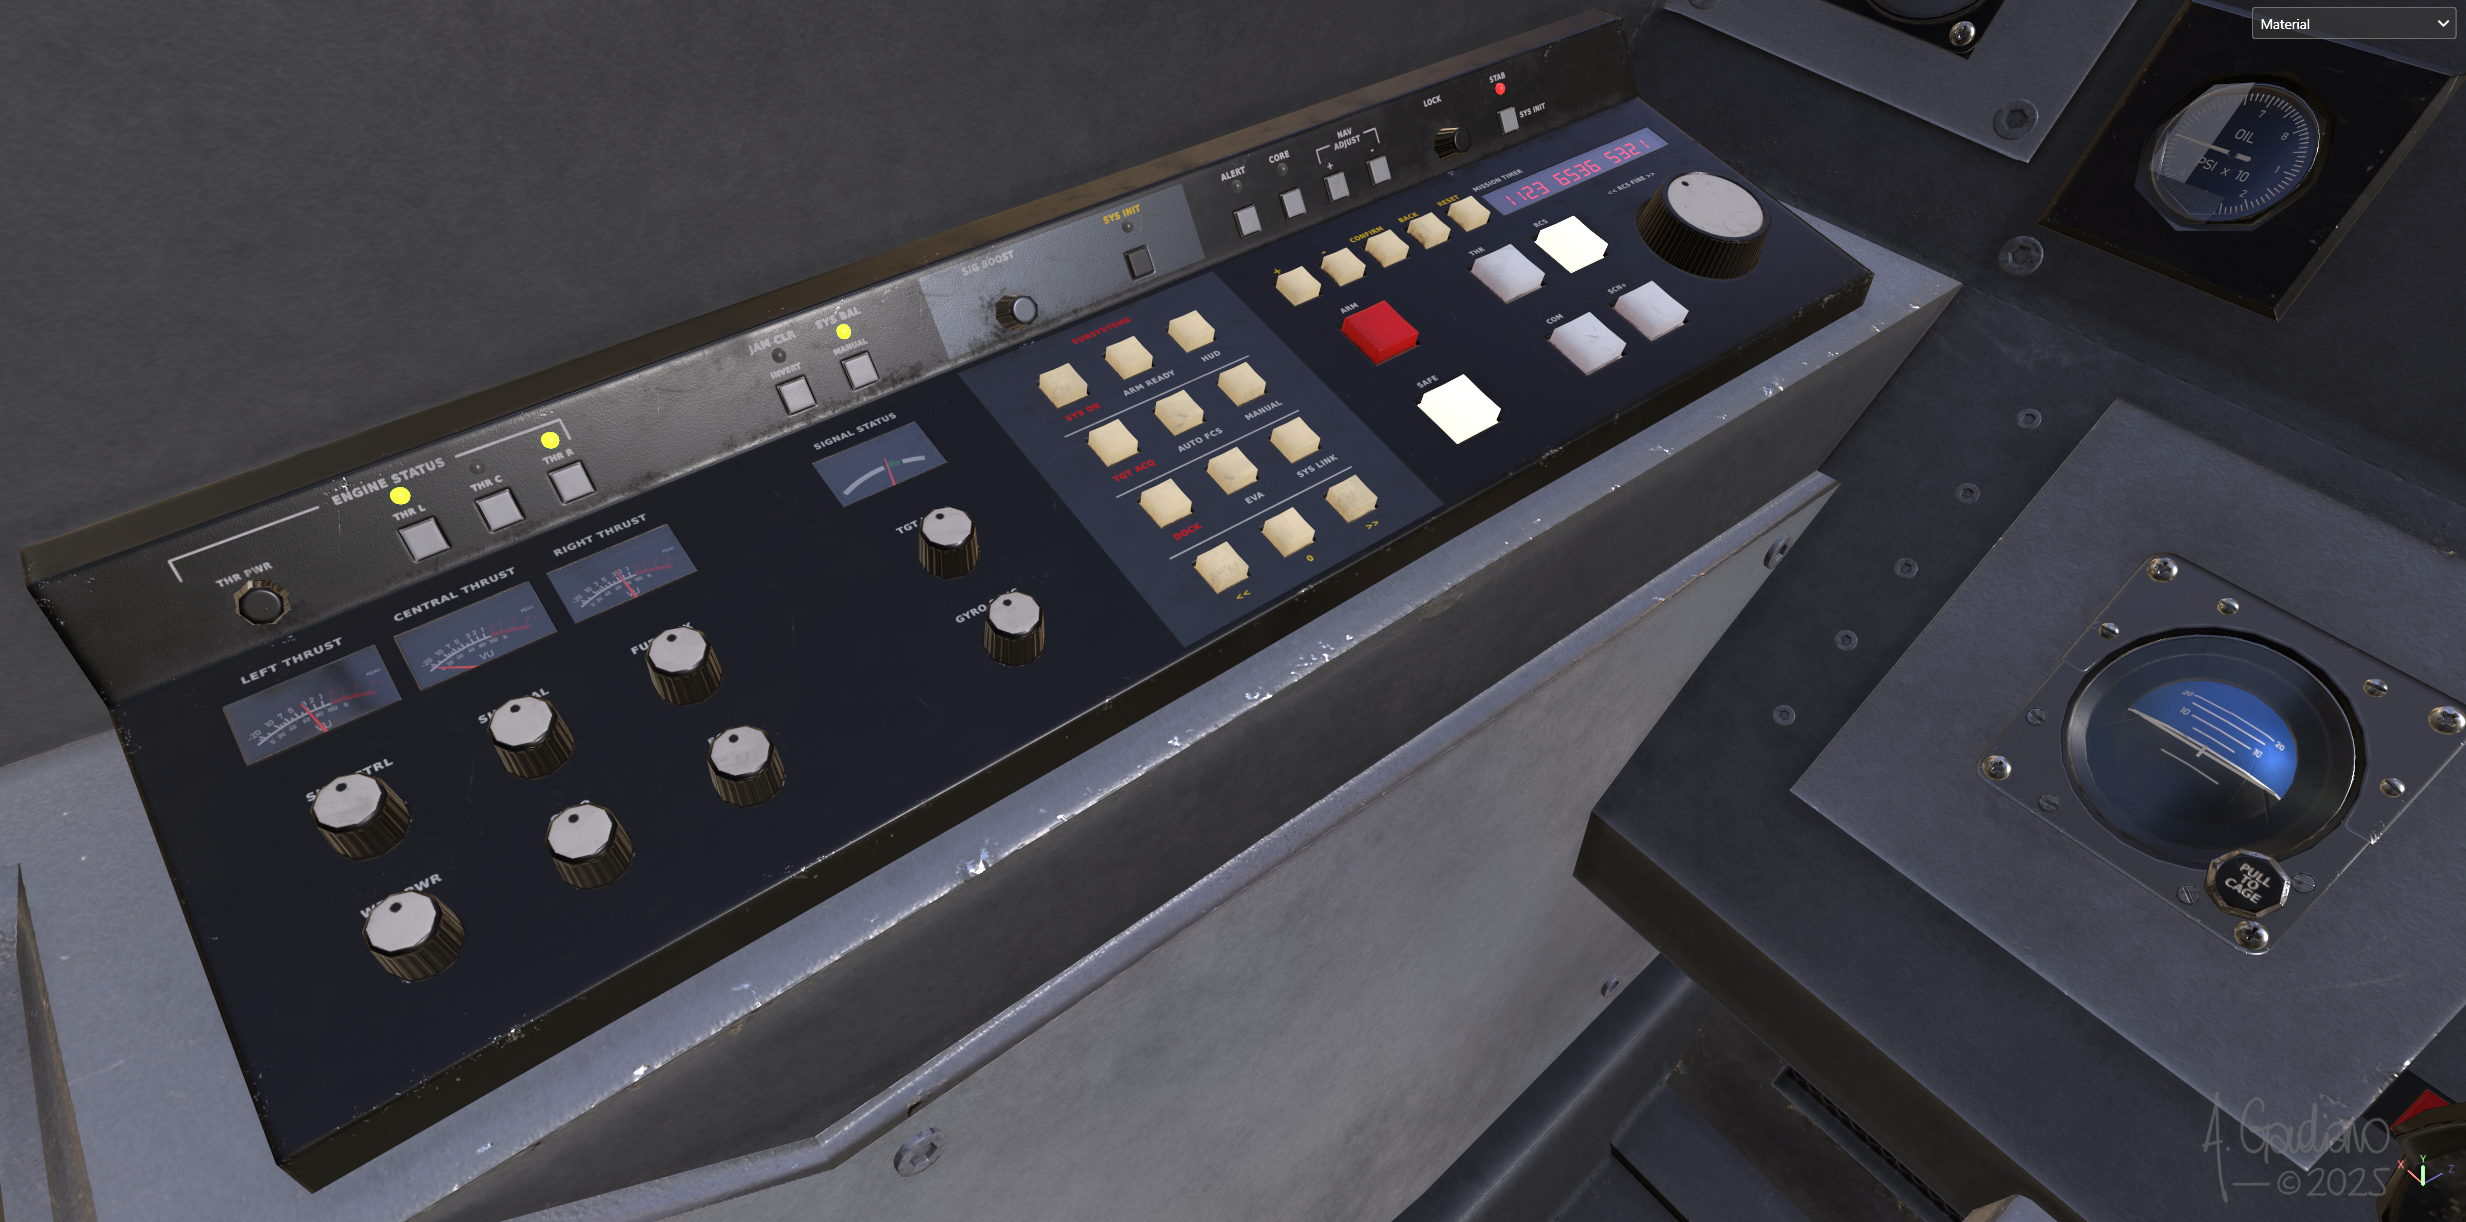
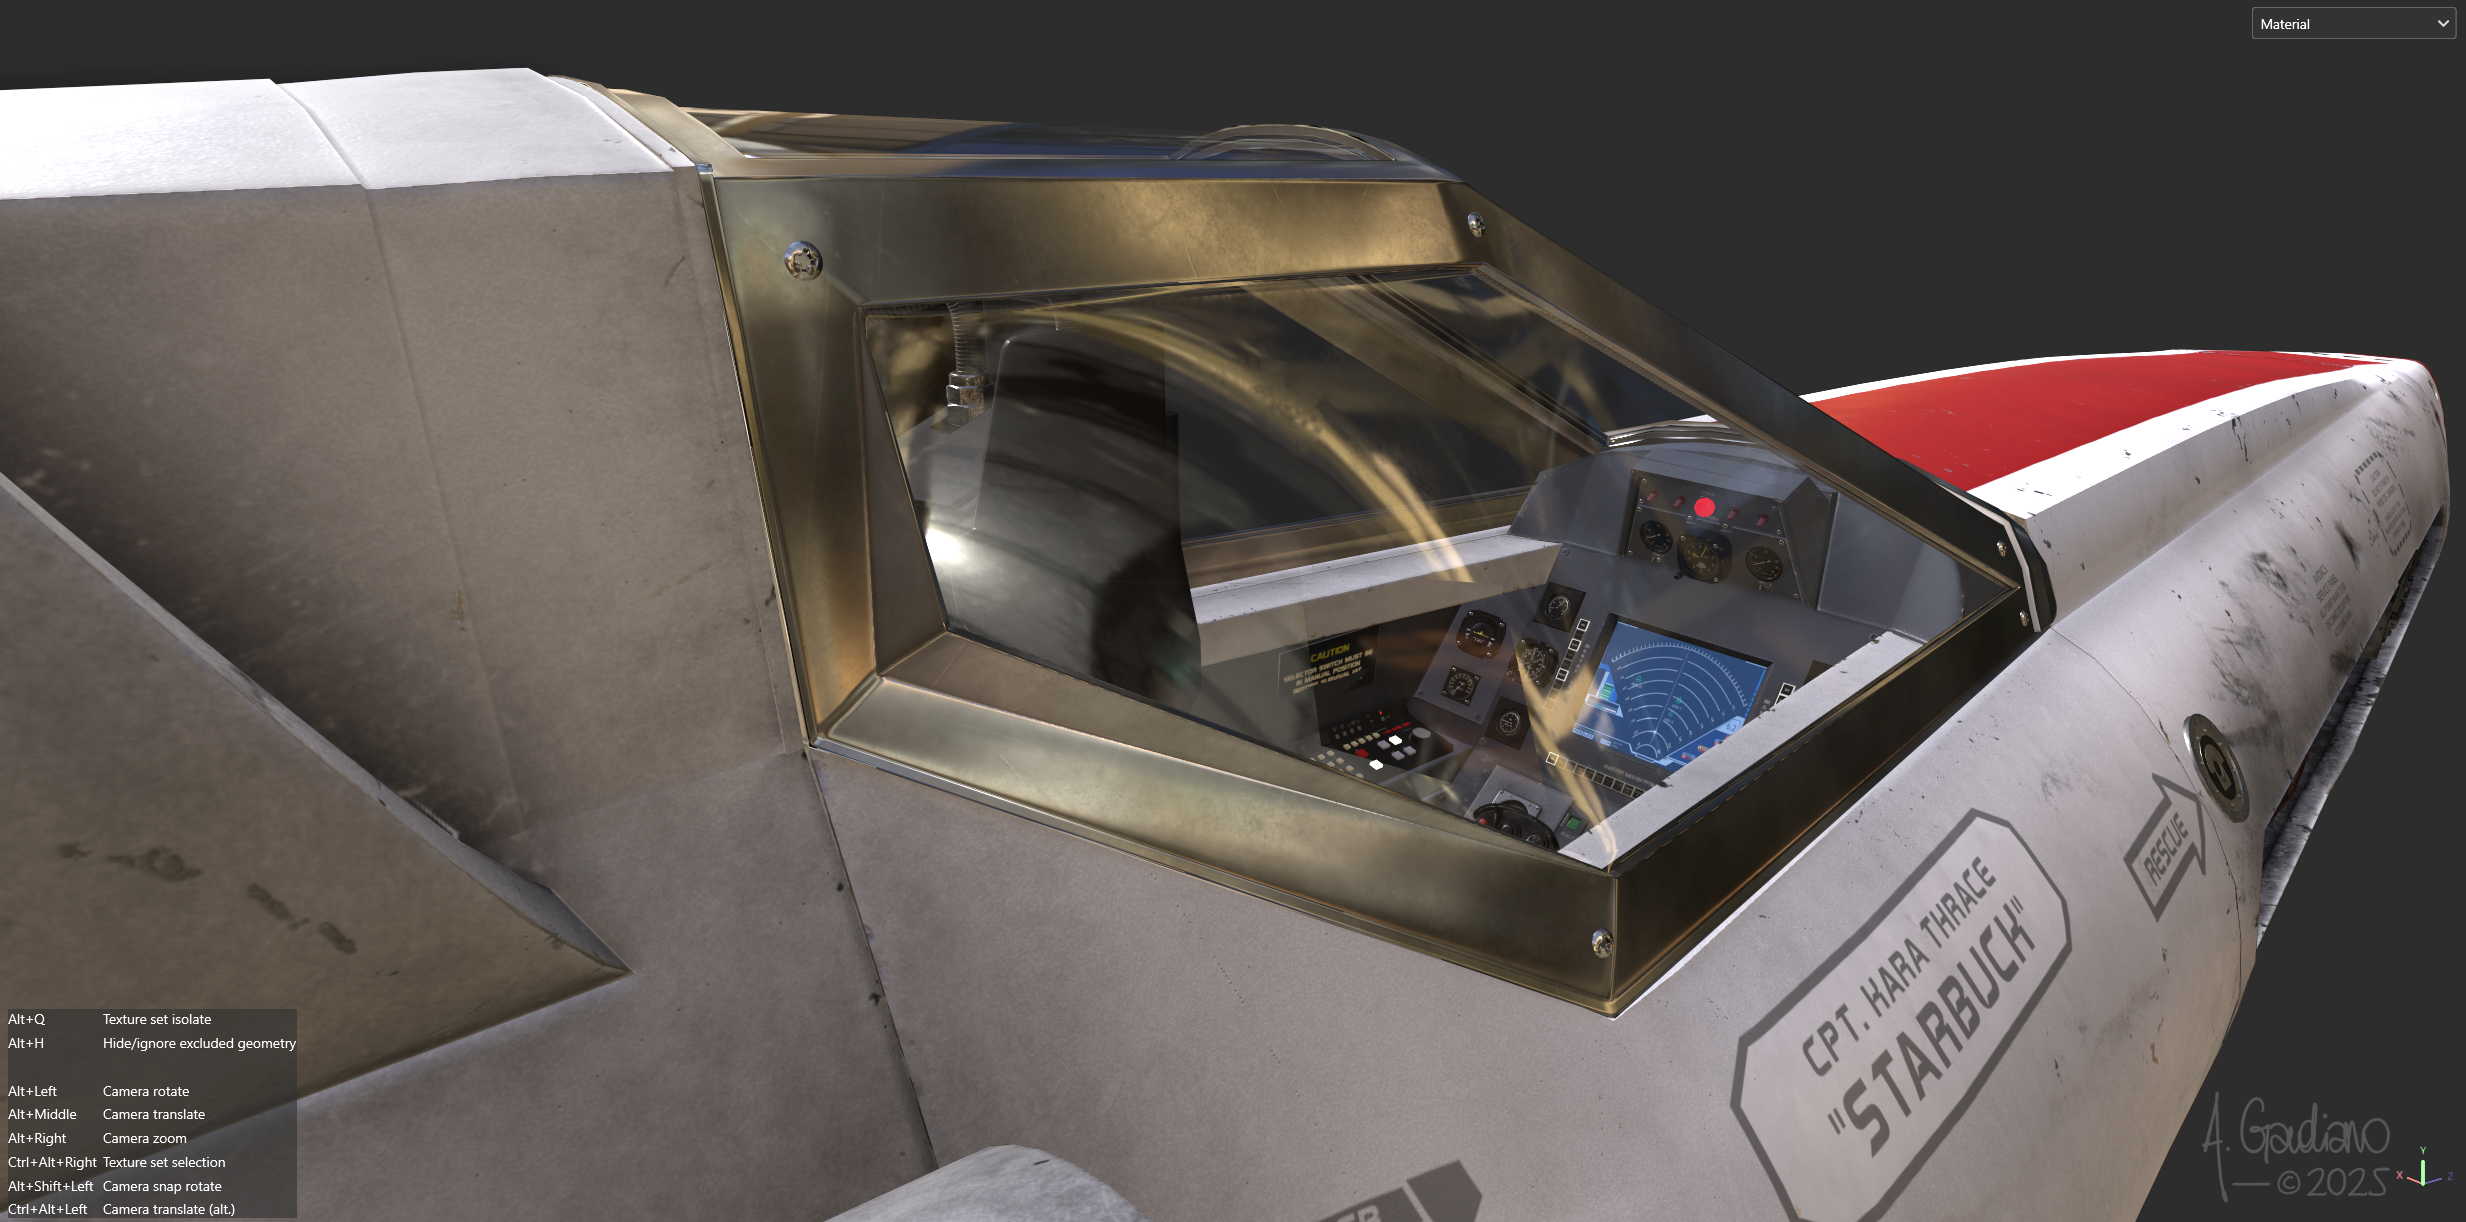
#4 – 08.04.2025 (text from the Artstation’s post)
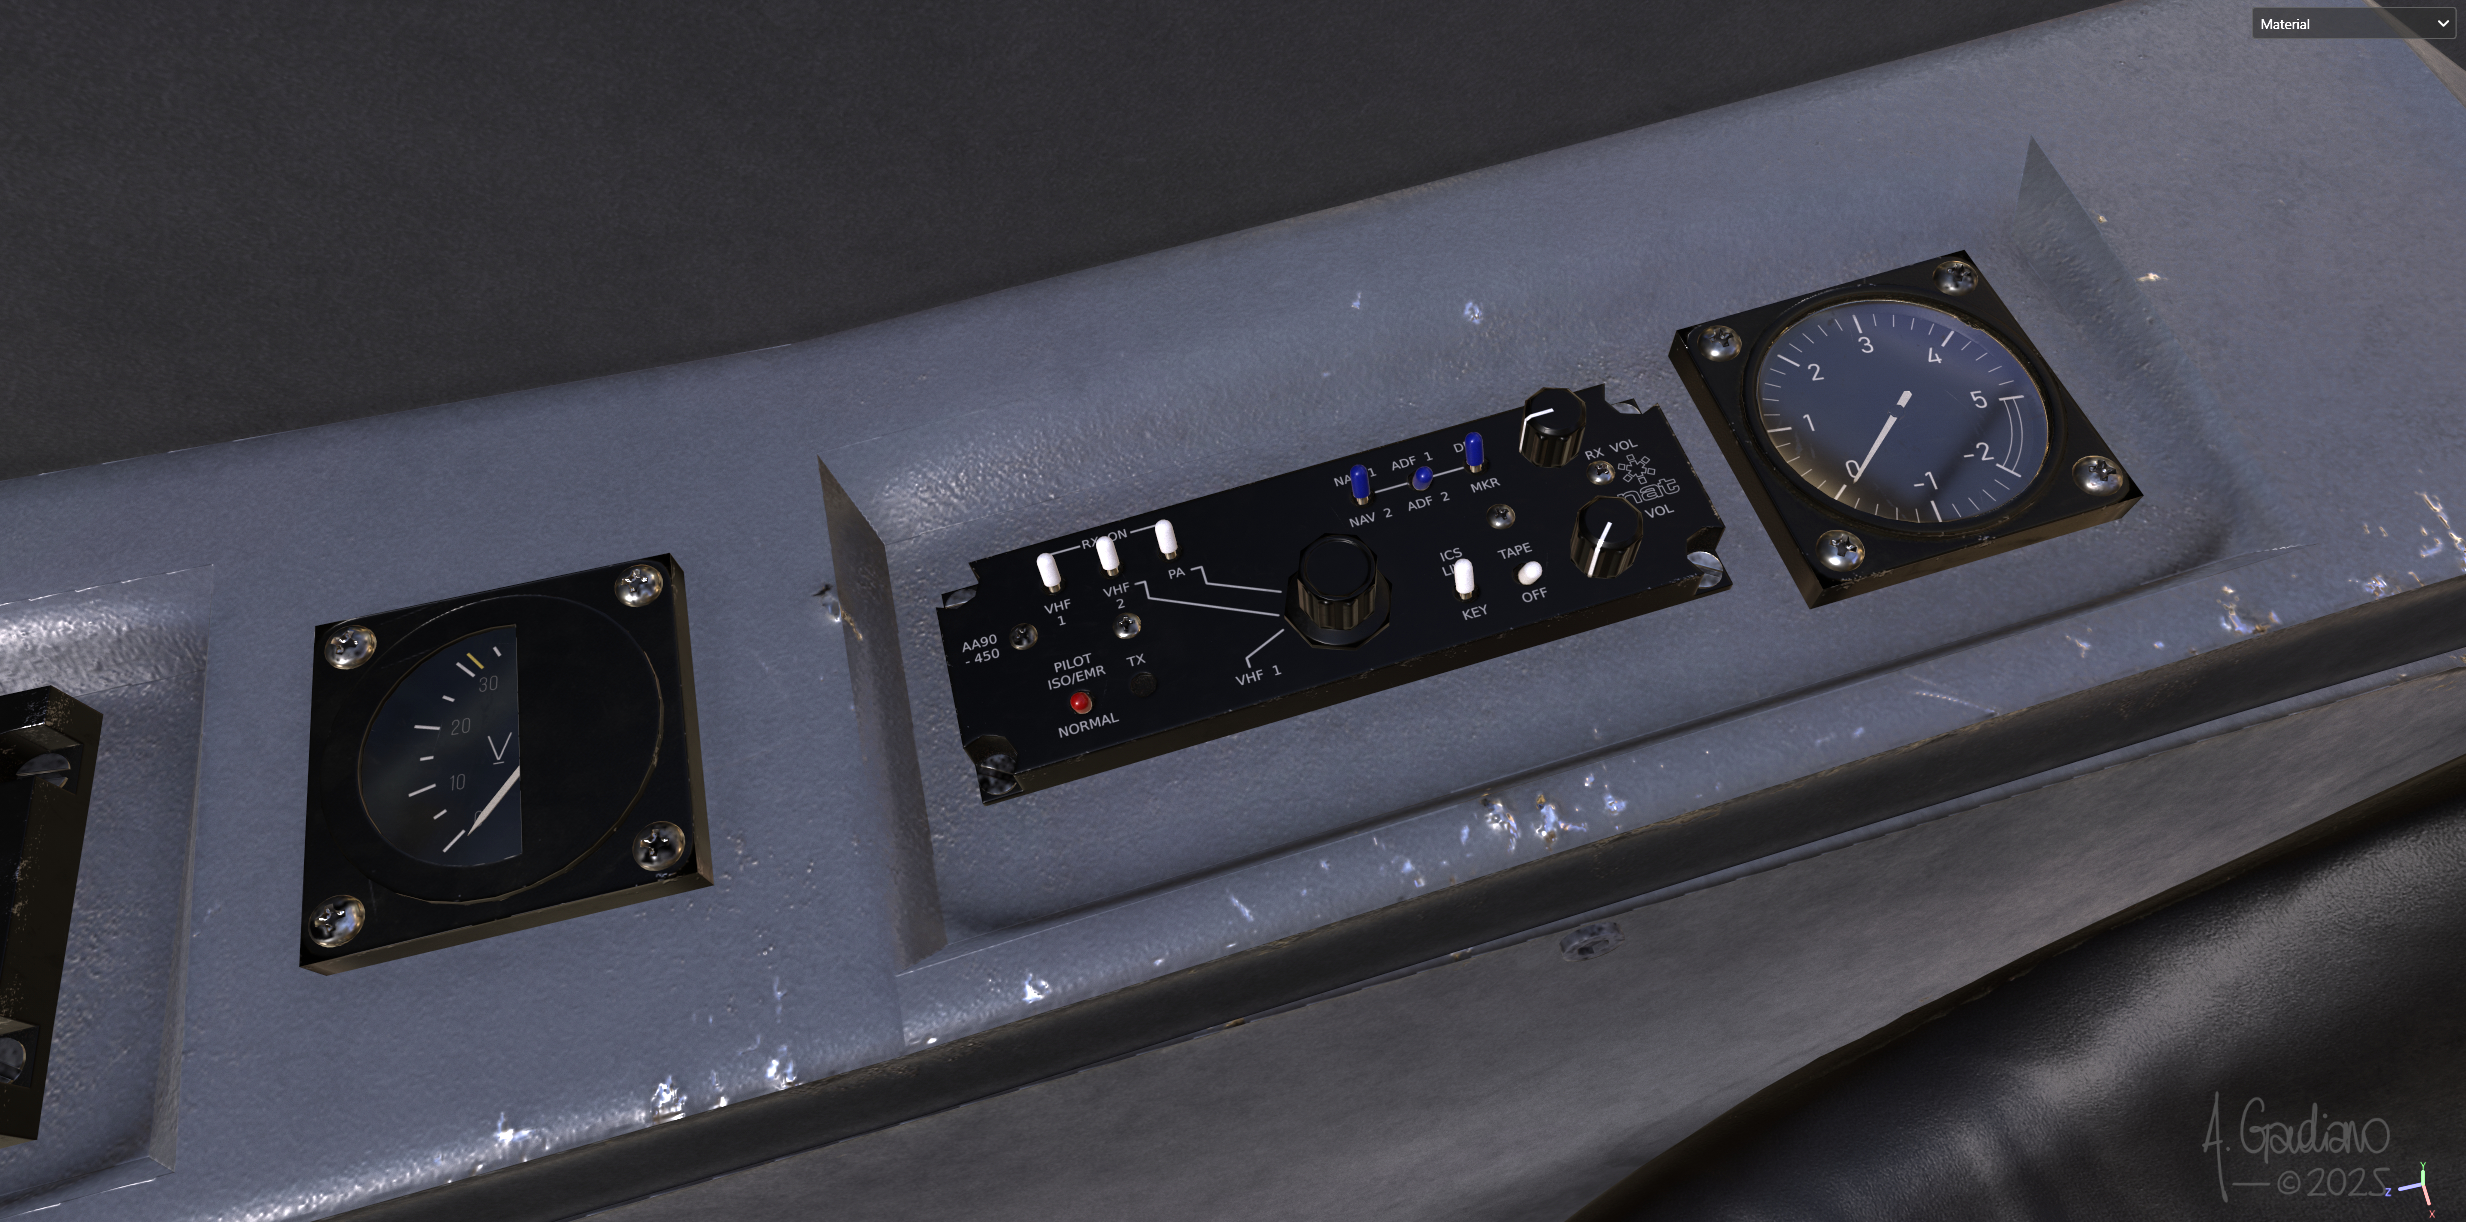
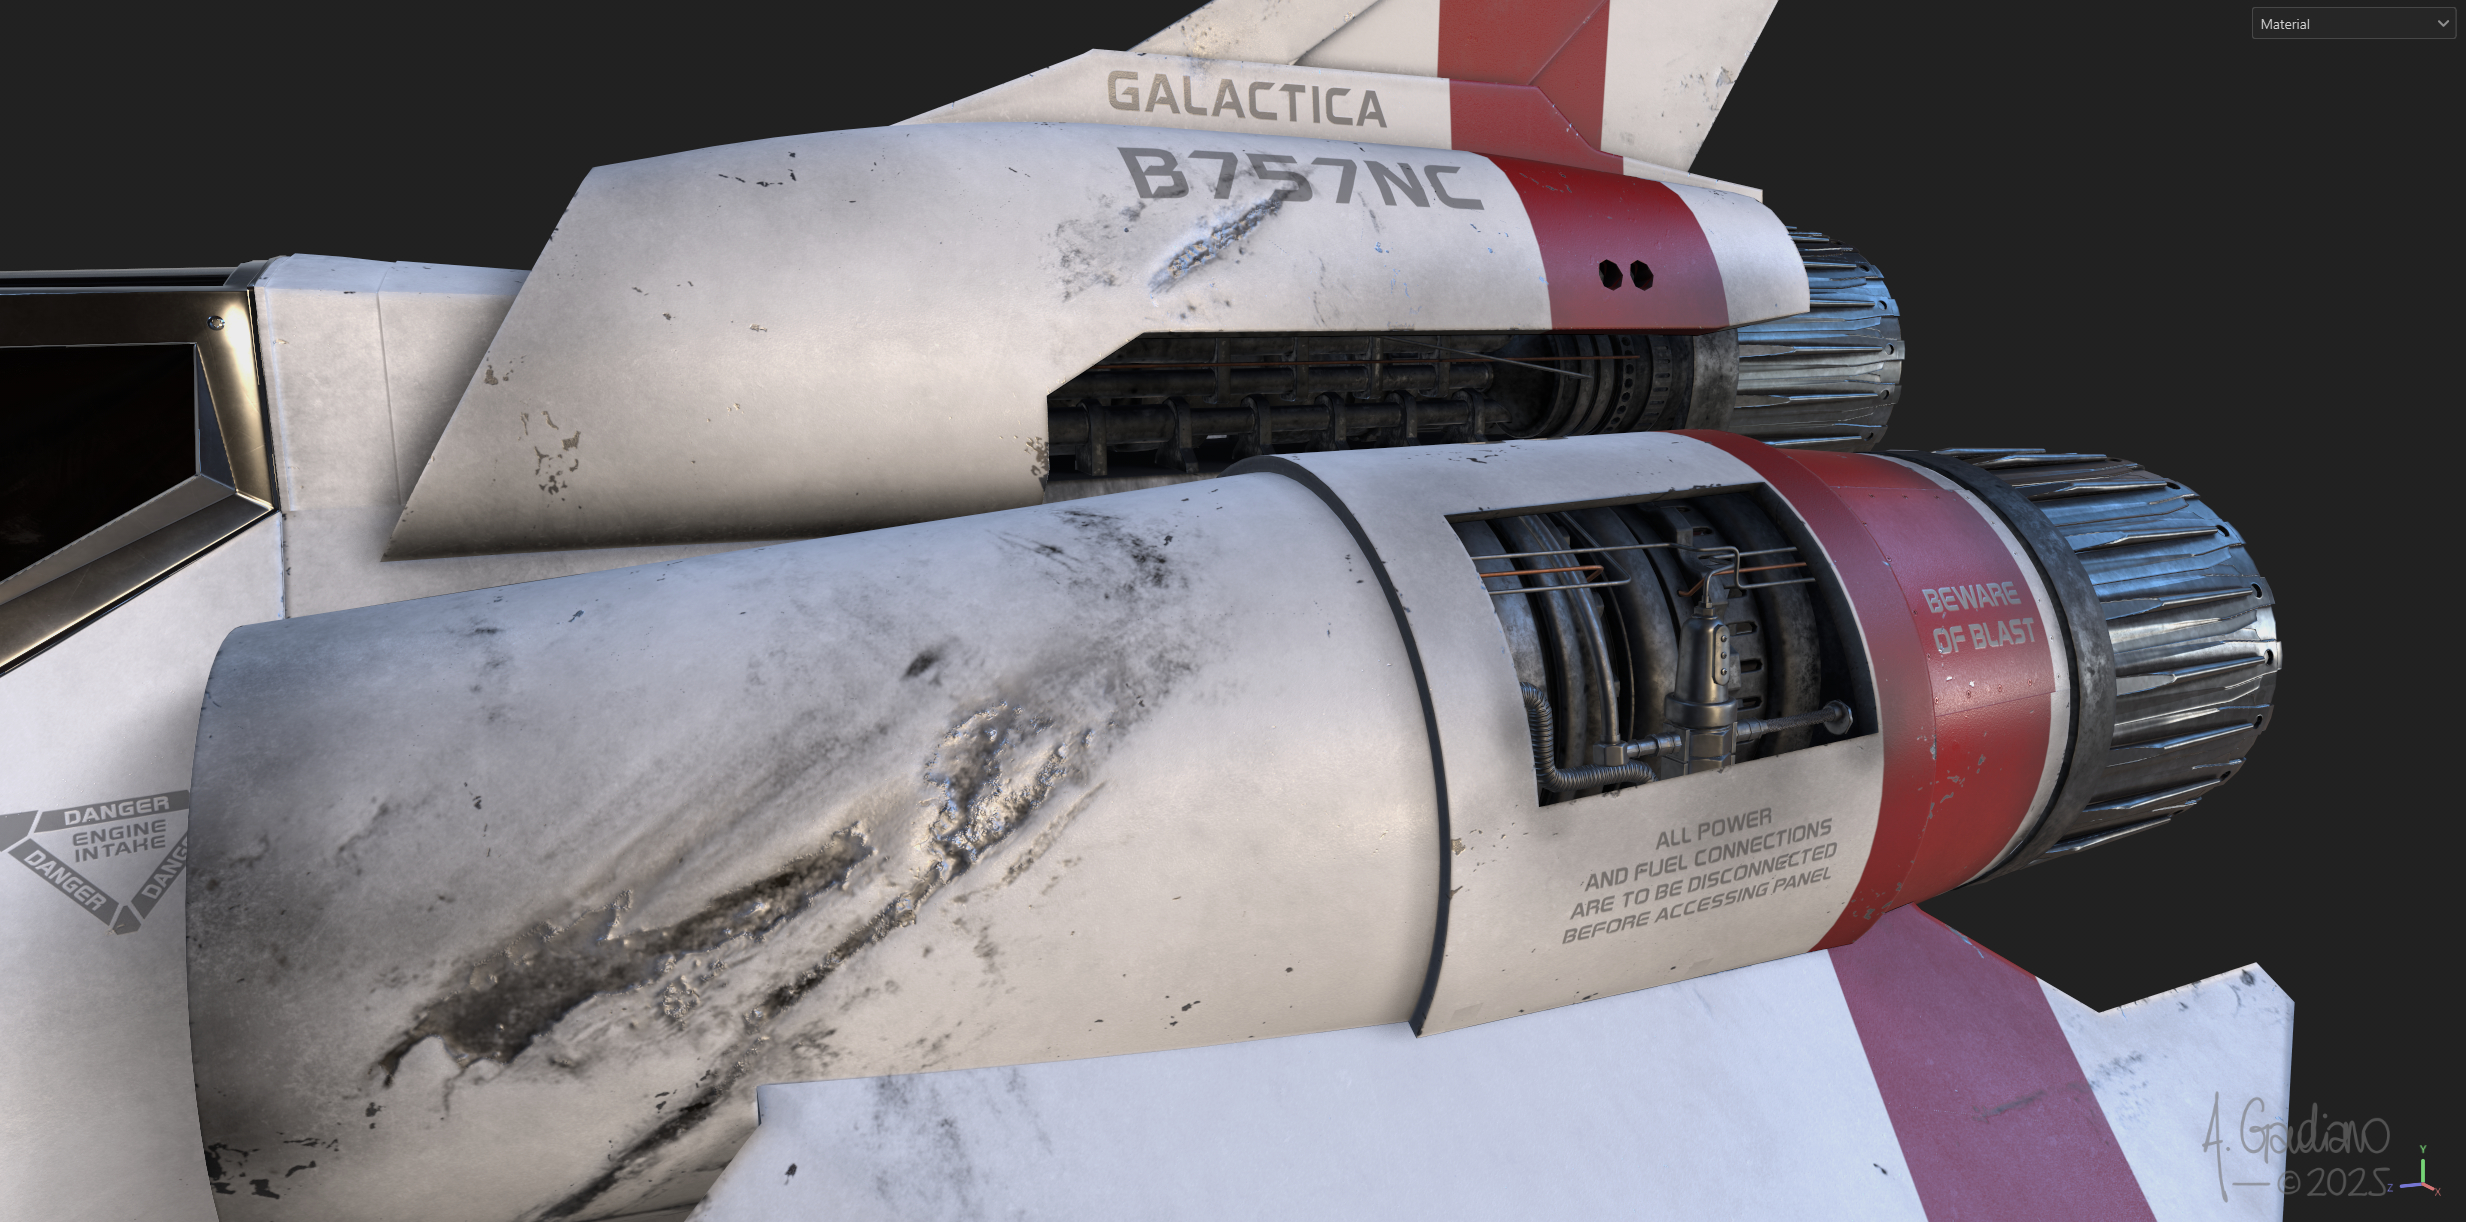
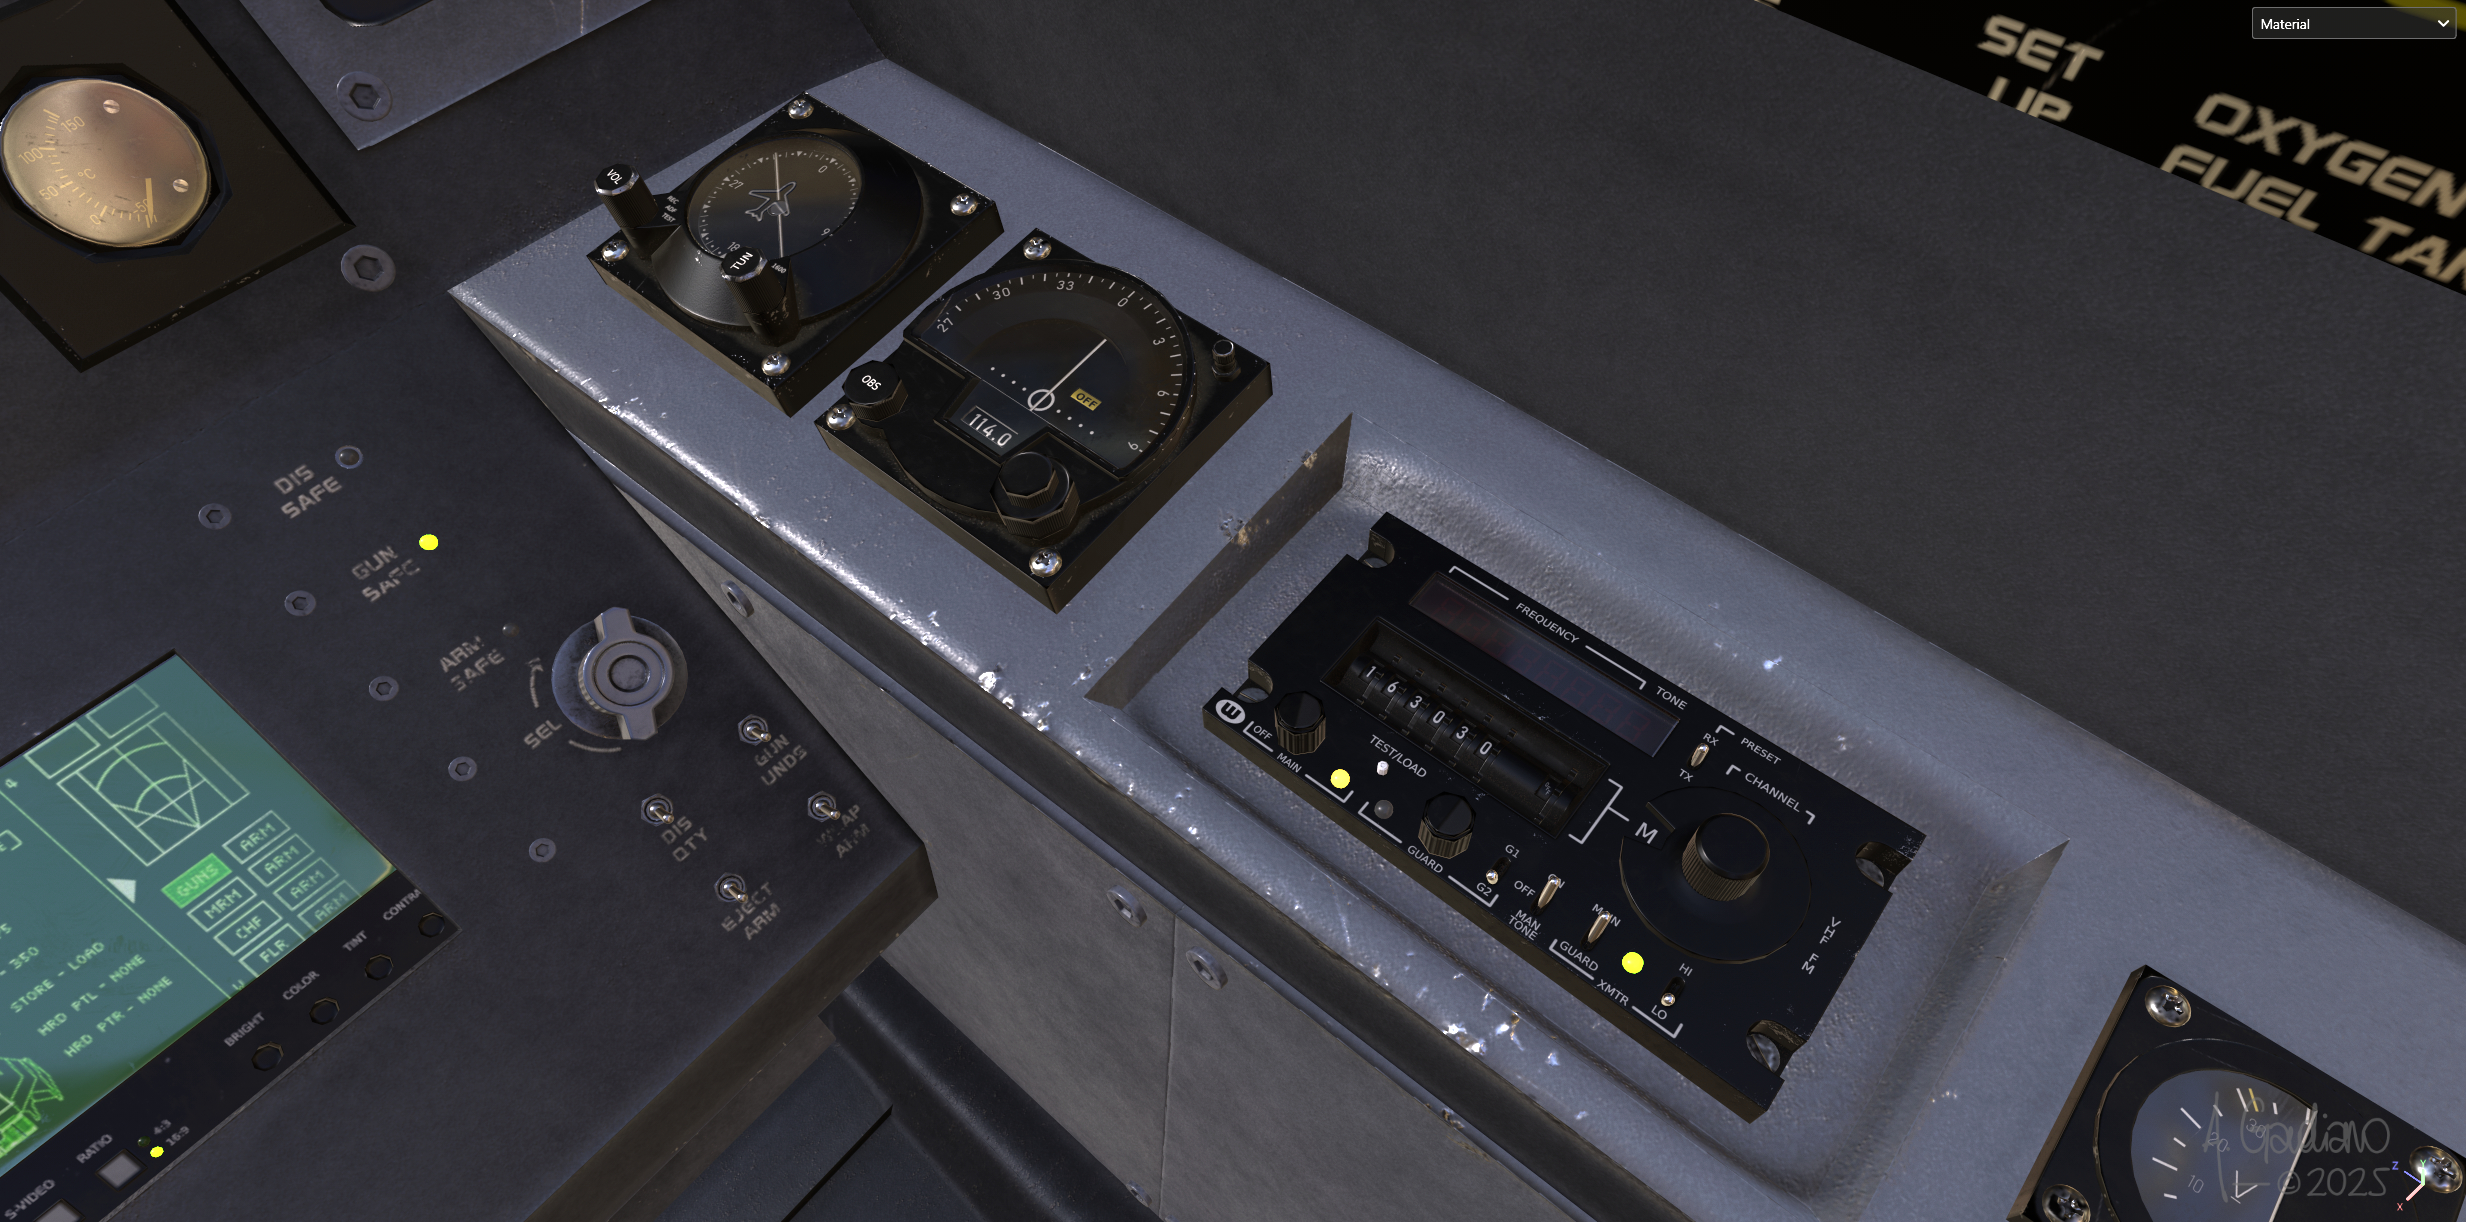
After a very long time working on this project during my spare time, I just finished a big step -> Texturing. It has been very fun to do and it has also been the occasion to test the latest version of Substance Painter. Everything when super smooth, even if I had to do a few back and forth between Substance and Maya to fix some errors.
What you can see are screencaptures taken directly from Substance Painter’s viewport with the low poly model. The light is only coming from the available HDRI.
The part that took me to most of my time has been to design all the gauge graduations (I don’t know what is the correct name to call that). I am pretty happy with the result.
Now it’s time to move to the lighthing. I think I will keep the environnement quite simple so I can focus on the ship itself. I’m almost there, just a few steps before the final.
#1 Modeling – Outside Body | Clay renders

#1 Modeling – Outside Body | Wireframe


#2 Modeling – Inside Cockpit | Clay renders

#2 Modeling – Inside Cockpit | Wireframe
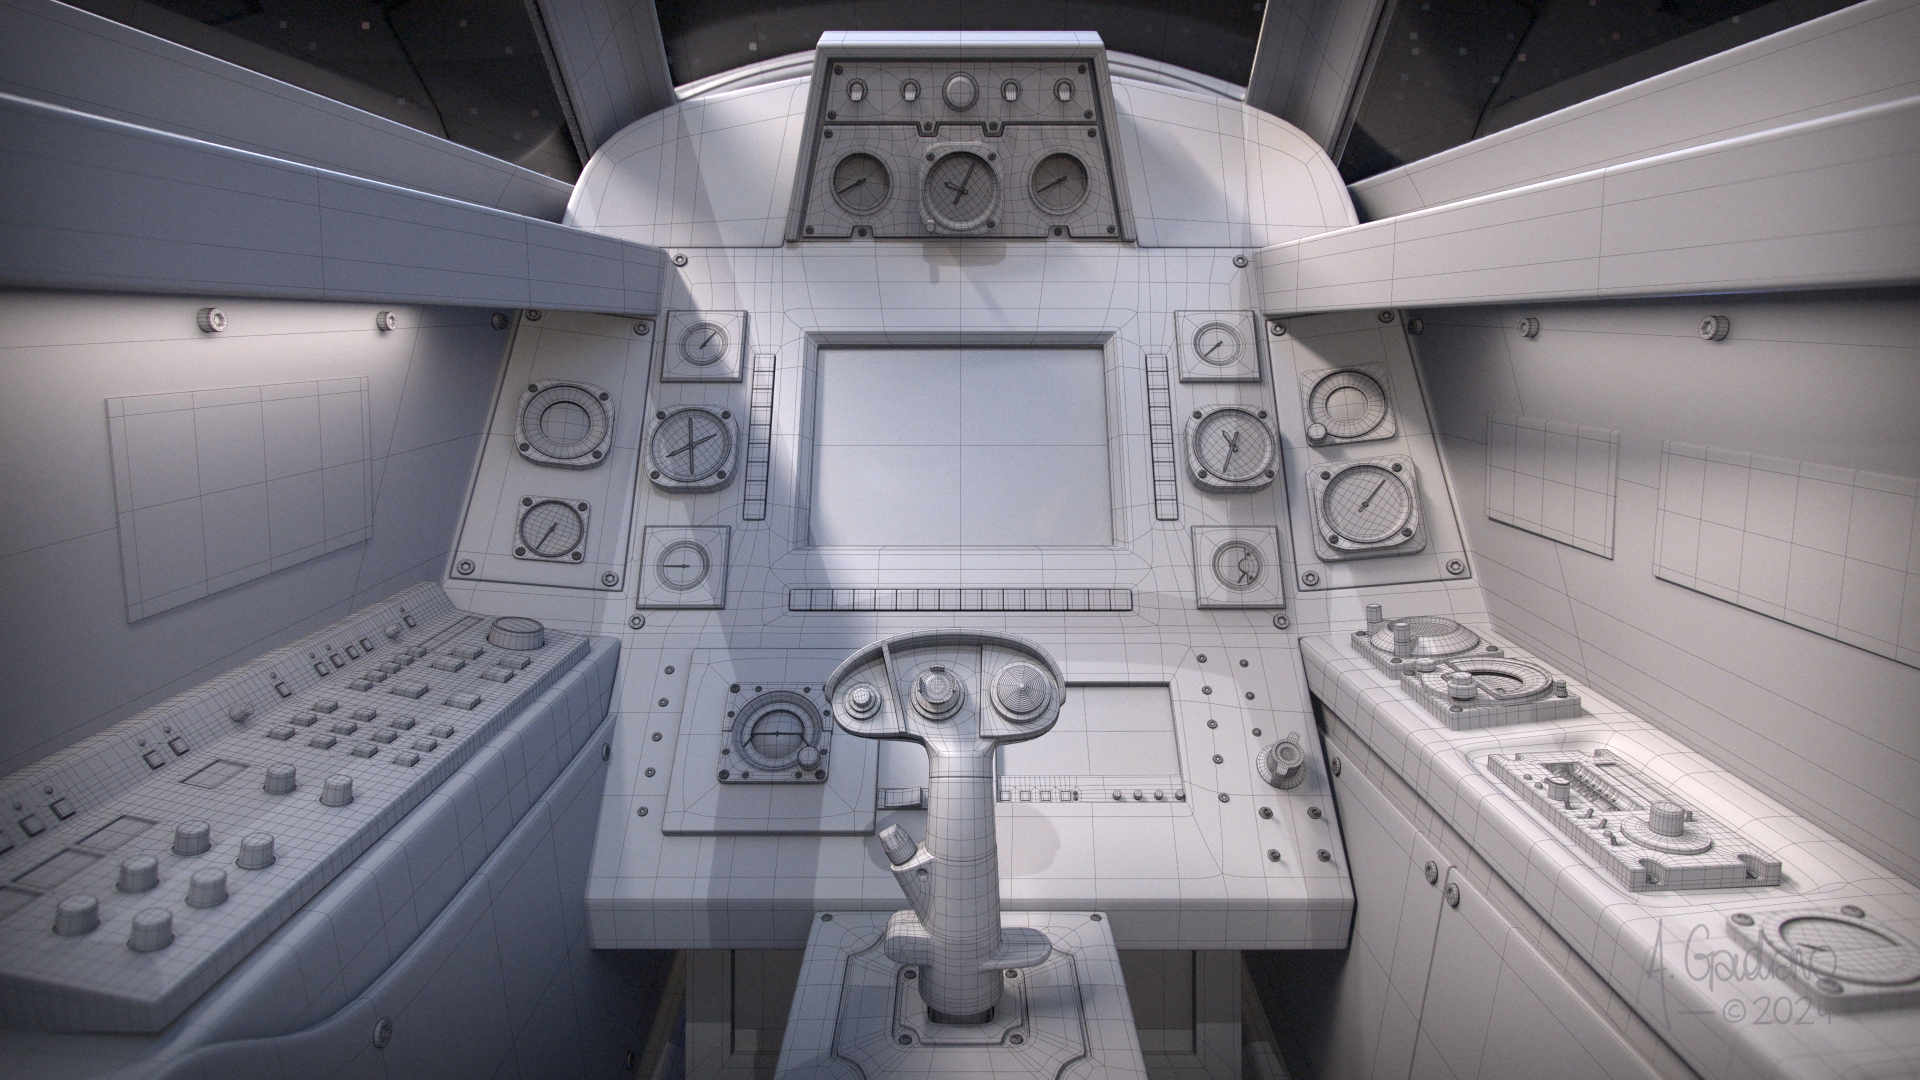
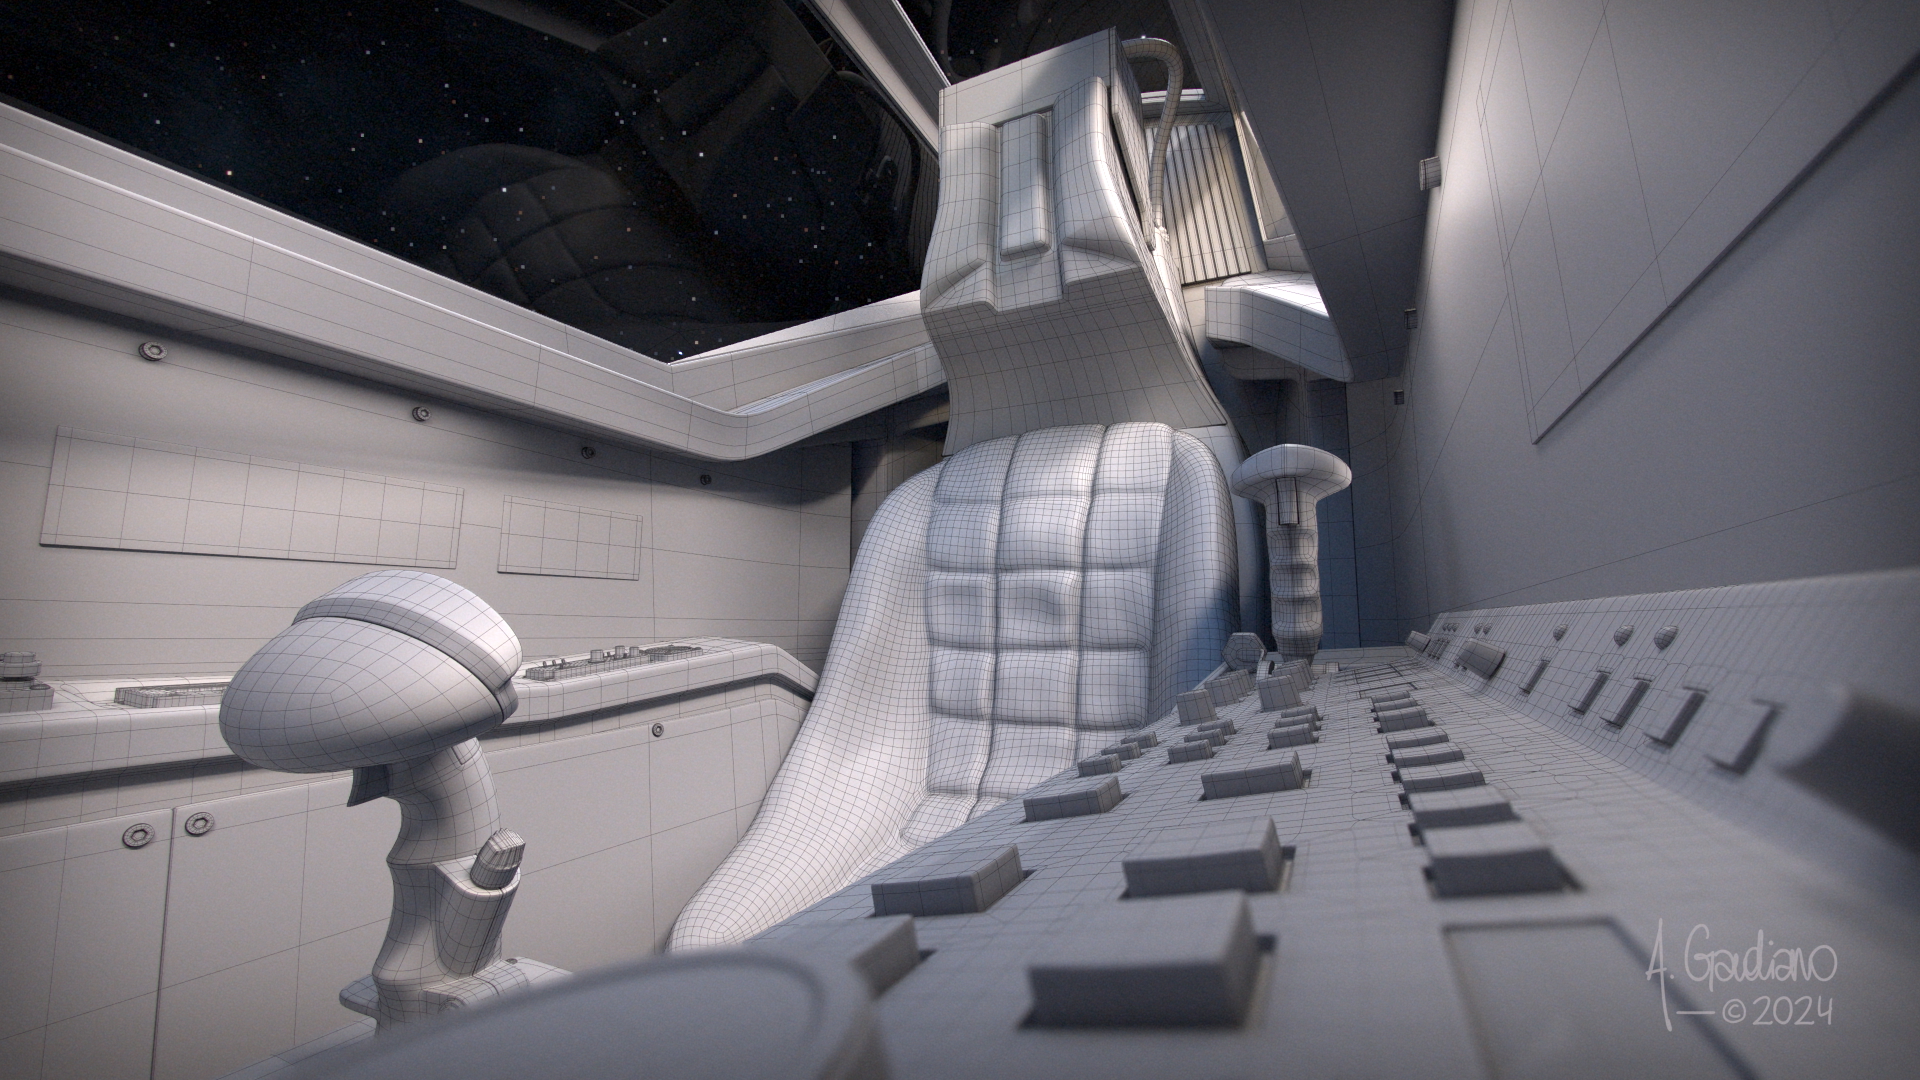


#3 Modeling – UV unwrap

#4 Texturing | Substance 3D Painter screen captures